

Now that the seasons are changing again, it’s not only been getting colder by the day, but it’s also been getting darker too. I especially notice this at the store, all Summer it’s still light out when I leave, but in the Fall and Winter it starts getting dark earlier and earlier and the lights in the store are needed more and more. That brings us to this week’s topic, fixing fluorescent lights.
I’ve got the old-style four foot fluorescent lights in the store, and the one by the counter has been misbehaving all Summer. It has four tubes in it (most lights actually have two, but it’s a double) and only two have been working. I tried new tubes, but no dice, it was time to get to work. Trouble shooting fluorescent lights can be tricky, and sometimes they seem to just be temperamental, working sometimes and not coming on at others. The first thing to do is to try new tubes. Fluorescent tubes seem to last forever, but they do eventually wear out. The only sign of this is often a dark ring around the tube near one end. To change tubes gently turn the tube 90 degrees so that the two pins on the end are lined up with the slot in the holder and then slip it downwards to get it out. Putting in the new tubes is just the reverse. Turn the light back on and “Voila”, it just might work, and boy, doesn’t it seem bright in here now.
If your light didn’t go “Voila”, you probably need a new ballast. You see, fluorescent lights need a special type of transformer to boost the power to get them to light. It’s hidden inside the fixture, and it gets weaker over time and eventually it doesn’t put out enough voltage to light the tubes (even new ones). To change it you need to take the light apart and get a matching ballast from the store (we sell them). First make sure that the power is off to your light. Turn off the breaker or unplug it if it has a cord. Then take out the tubes and locate the screws that hold the reflector onto the back (some of them just snap together instead). When you have taken enough of the light apart you will see a ballast that looks like this (a four tube light might have two).
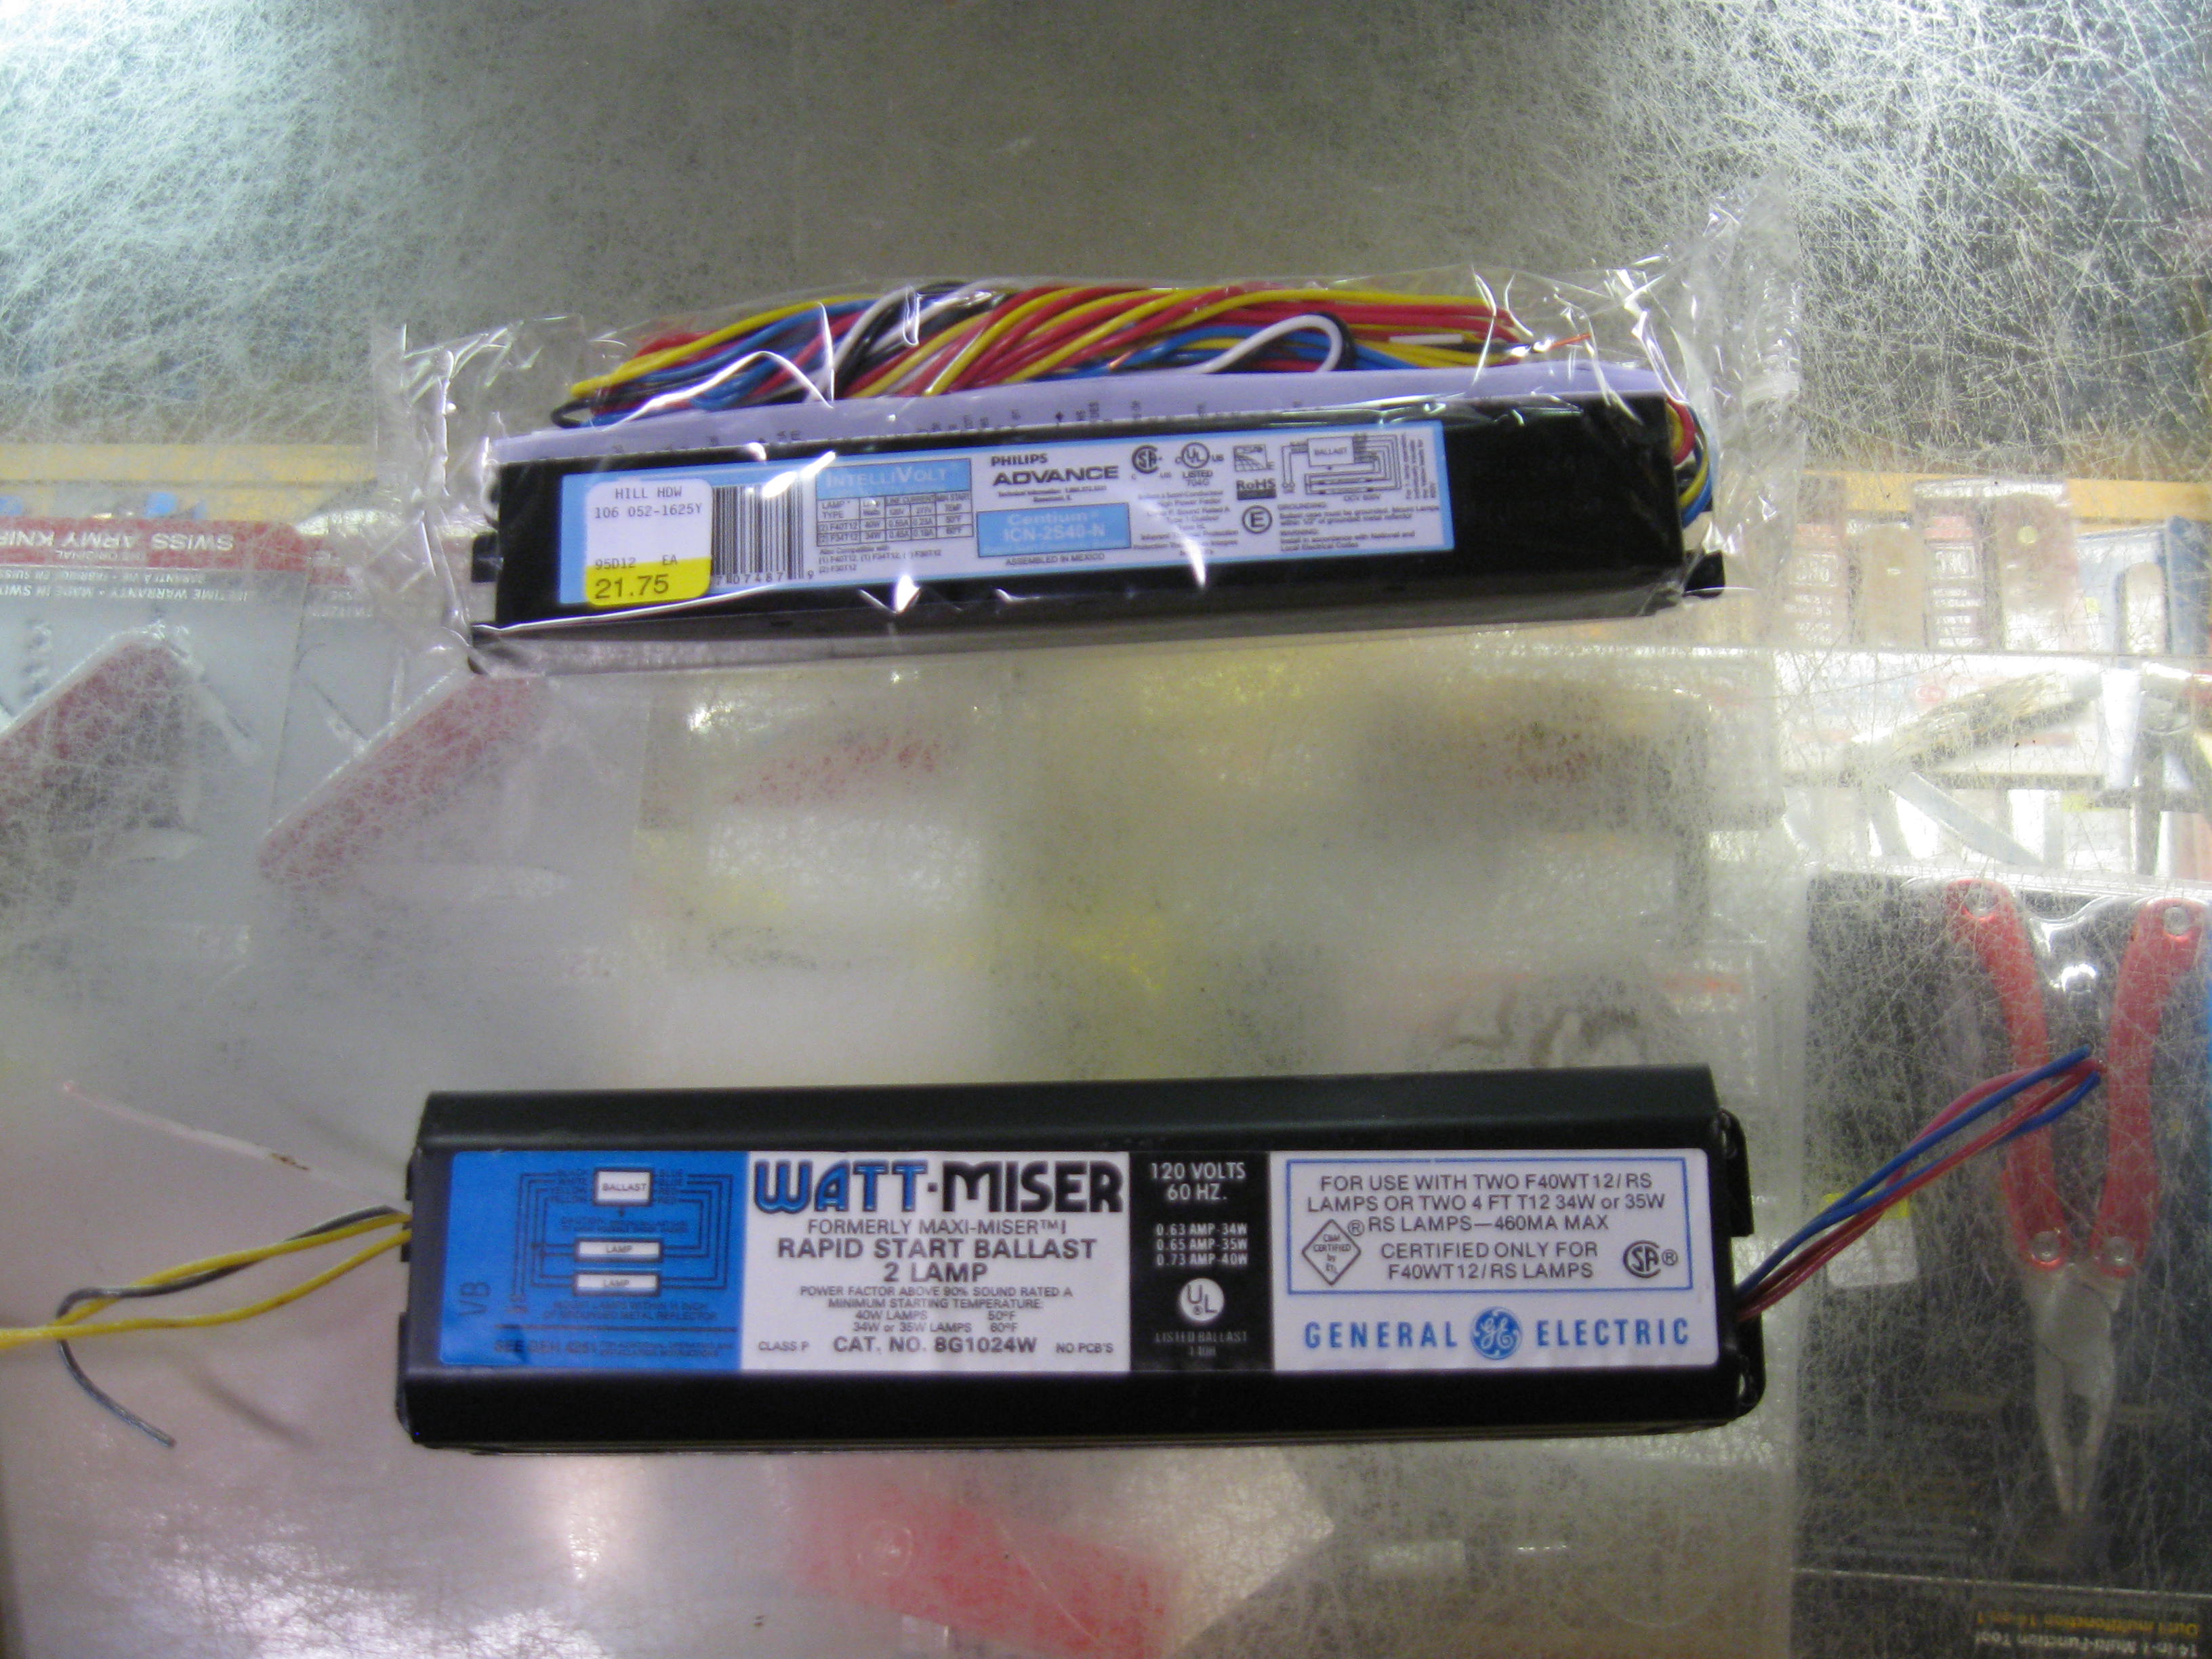
Make sure that your new ballast matches your old one (they vary depending on the type and number of tubes). Then cut the wires that connect the ballast to the fixture close to the ballast with your wire cutters. The wires are all color-coded and should match the ones on your new ballast (if you have the right one). The ballast will be held on the backplate by one or two screws, just loosen these and take the old one off. The new ballast may be smaller than the old one, but it should still fit back into it’s place. The ballasts have gotten smaller (and a lot lighter) because the old ones are a regular transformer full of copper windings, and the newer ones, which are more energy efficient, are electronic and just have featherweight transistors in them.
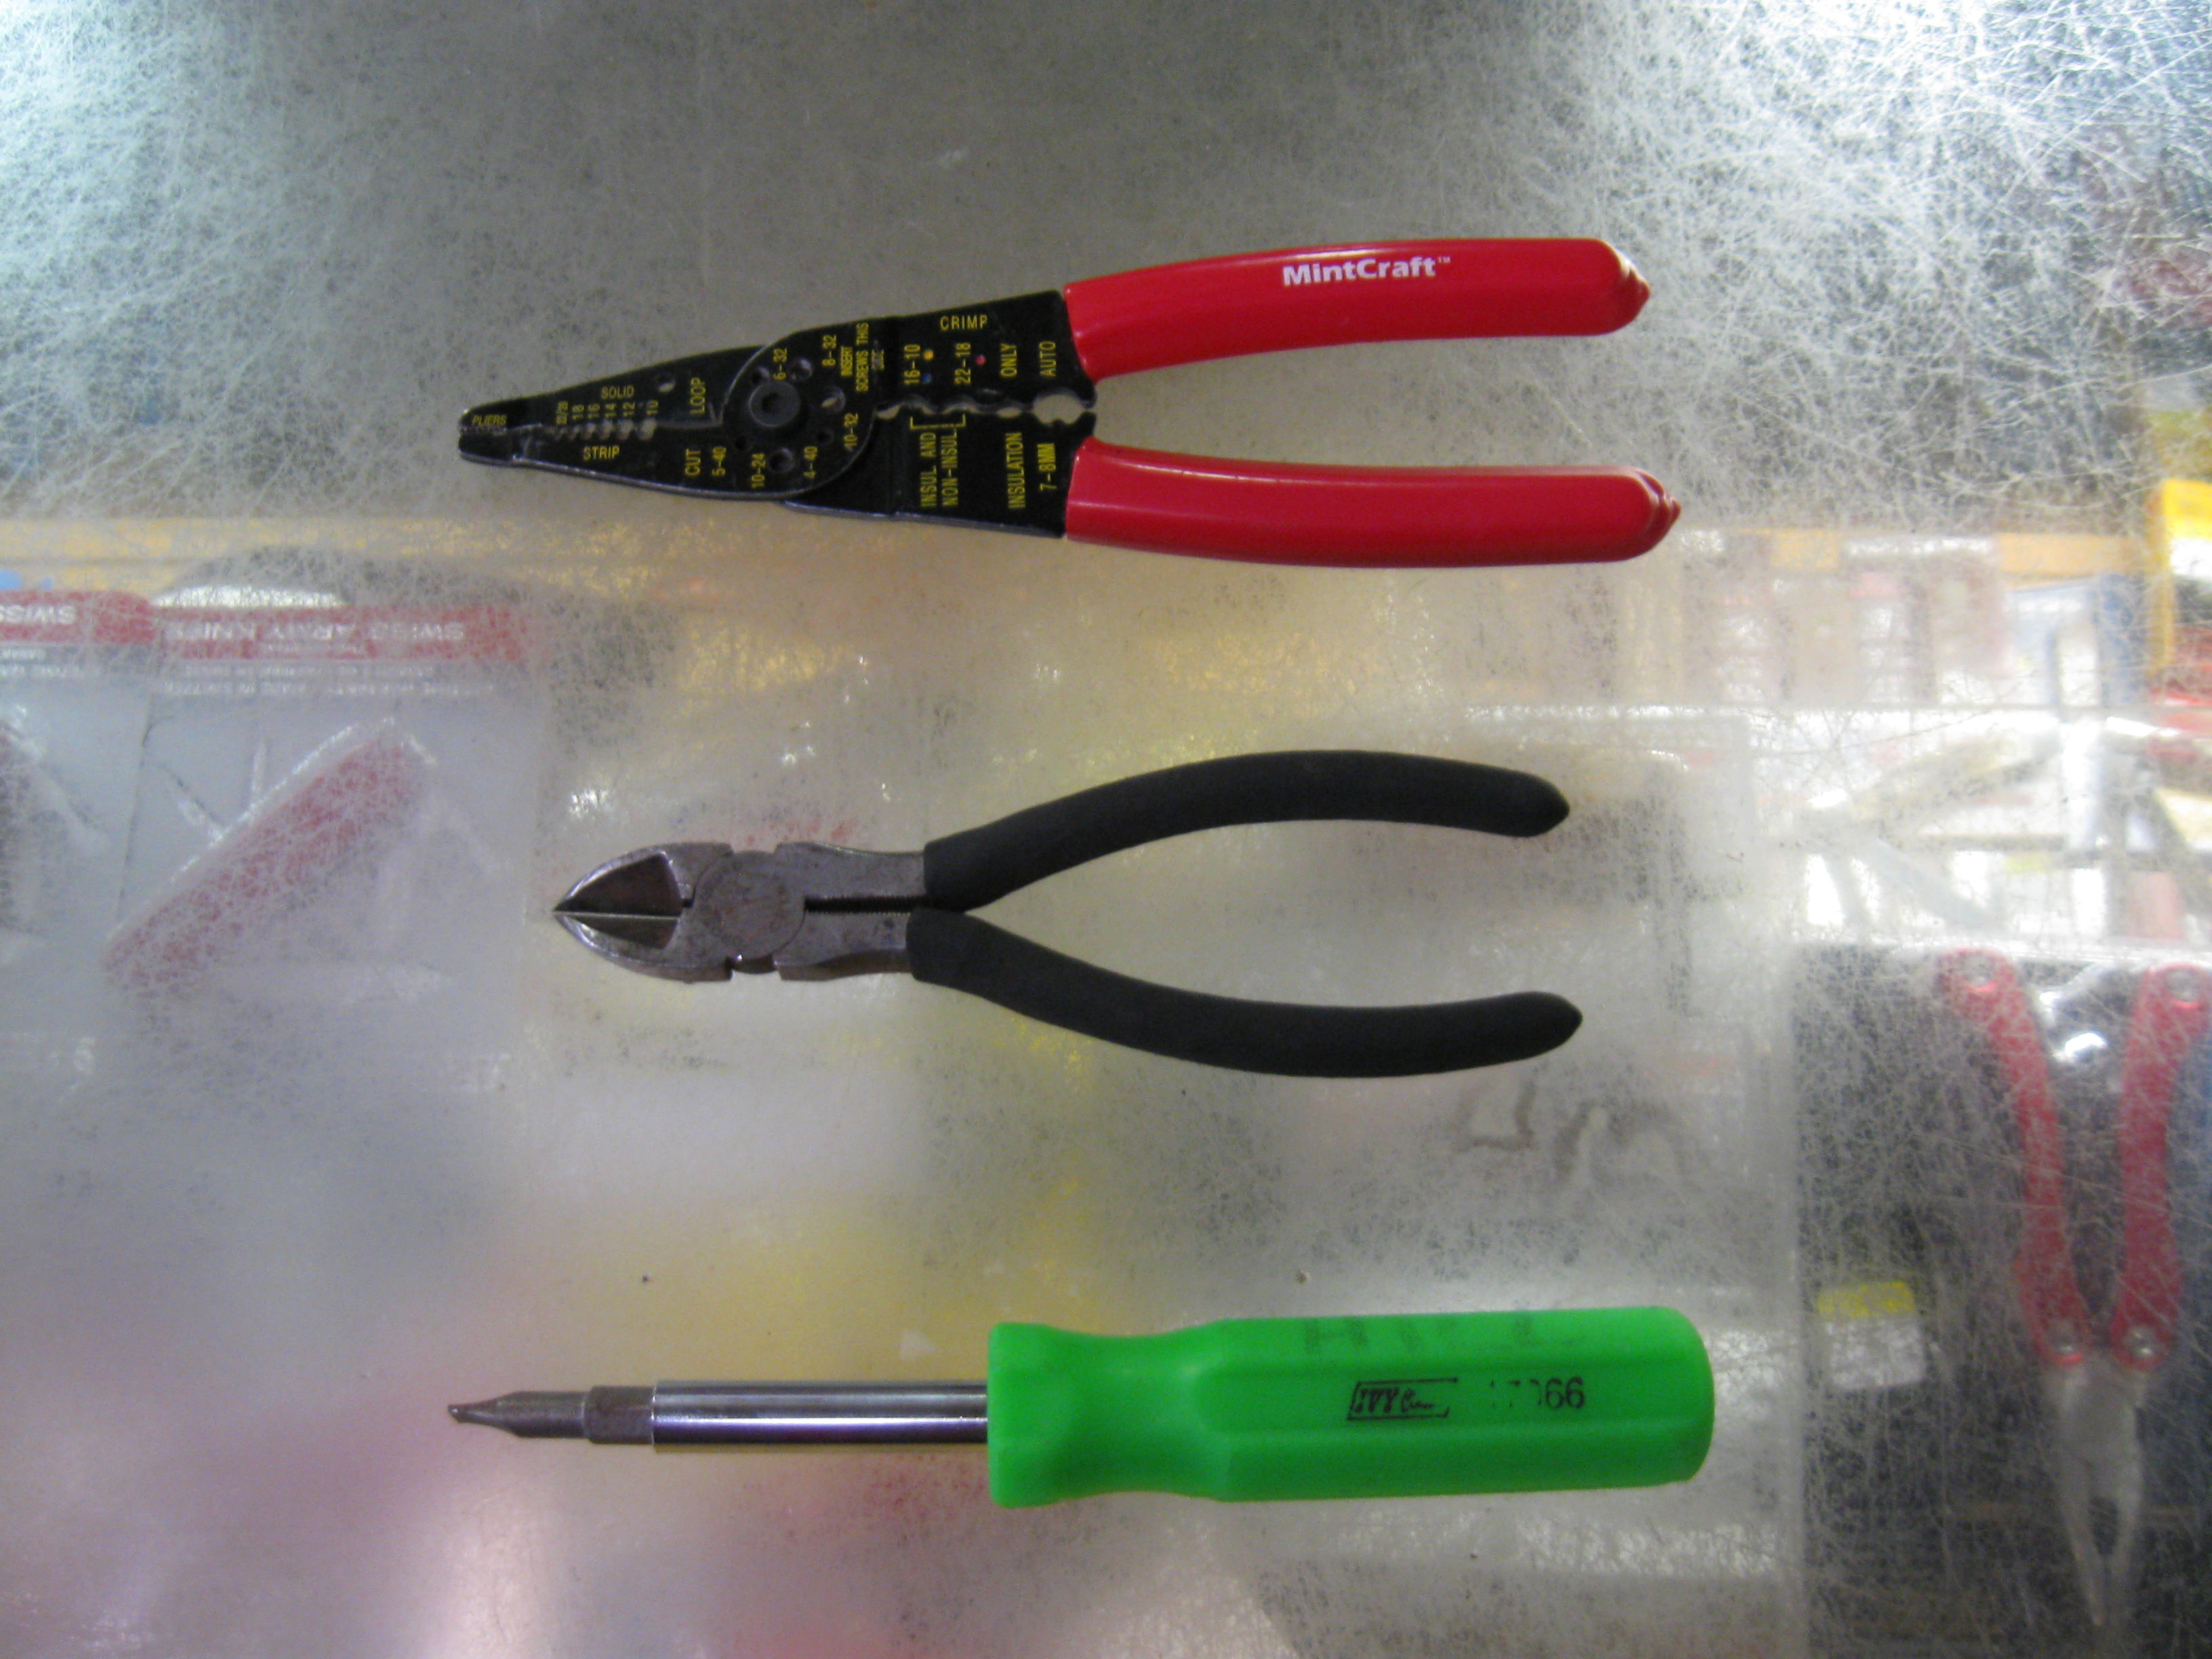
Once you have the new ballast mounted, mach up the wires from it to the stubs of the old ones hanging off the fixture. Strip back the ends of the old wires with your strippers. Connect the wires, one at a time using electrician’s wire nuts of the correct size twisting them up snugly. Once you have all the wires connected, stuff them all back as neatly as you can into the space behind the coverplate (this is actually the hardest part sometimes). Check everything one last time, no extra wires? No exposed copper wire? Good, put the cover back on being careful not to pinch any wires under the edges, and replace the screws. Put the new tubes back in and turn the power back on. No smoke? Good , now it works better, doesn’t it?
I’ve been doing this like crazy for the last week. Two ballasts in the store light, one down in the window shop, and then two more in Larry’s barber shop. A couple more and then I think that I’ll be done. So let there be light, at the Old Hardware Store…