Well actually I do. I don’t like to clean them, but I do repair them. Today I thought that I’d cover what it takes to repair a wood framed window. While most newer homes have jazzy double and even triple glazed window panels, lots of older homes around here still have wood, single glazed sashes (I know that our house is full of them). I had to fix one for a customer recently, so I figured that I would take some pictures to illustrate the procedure and write it up for the blog.
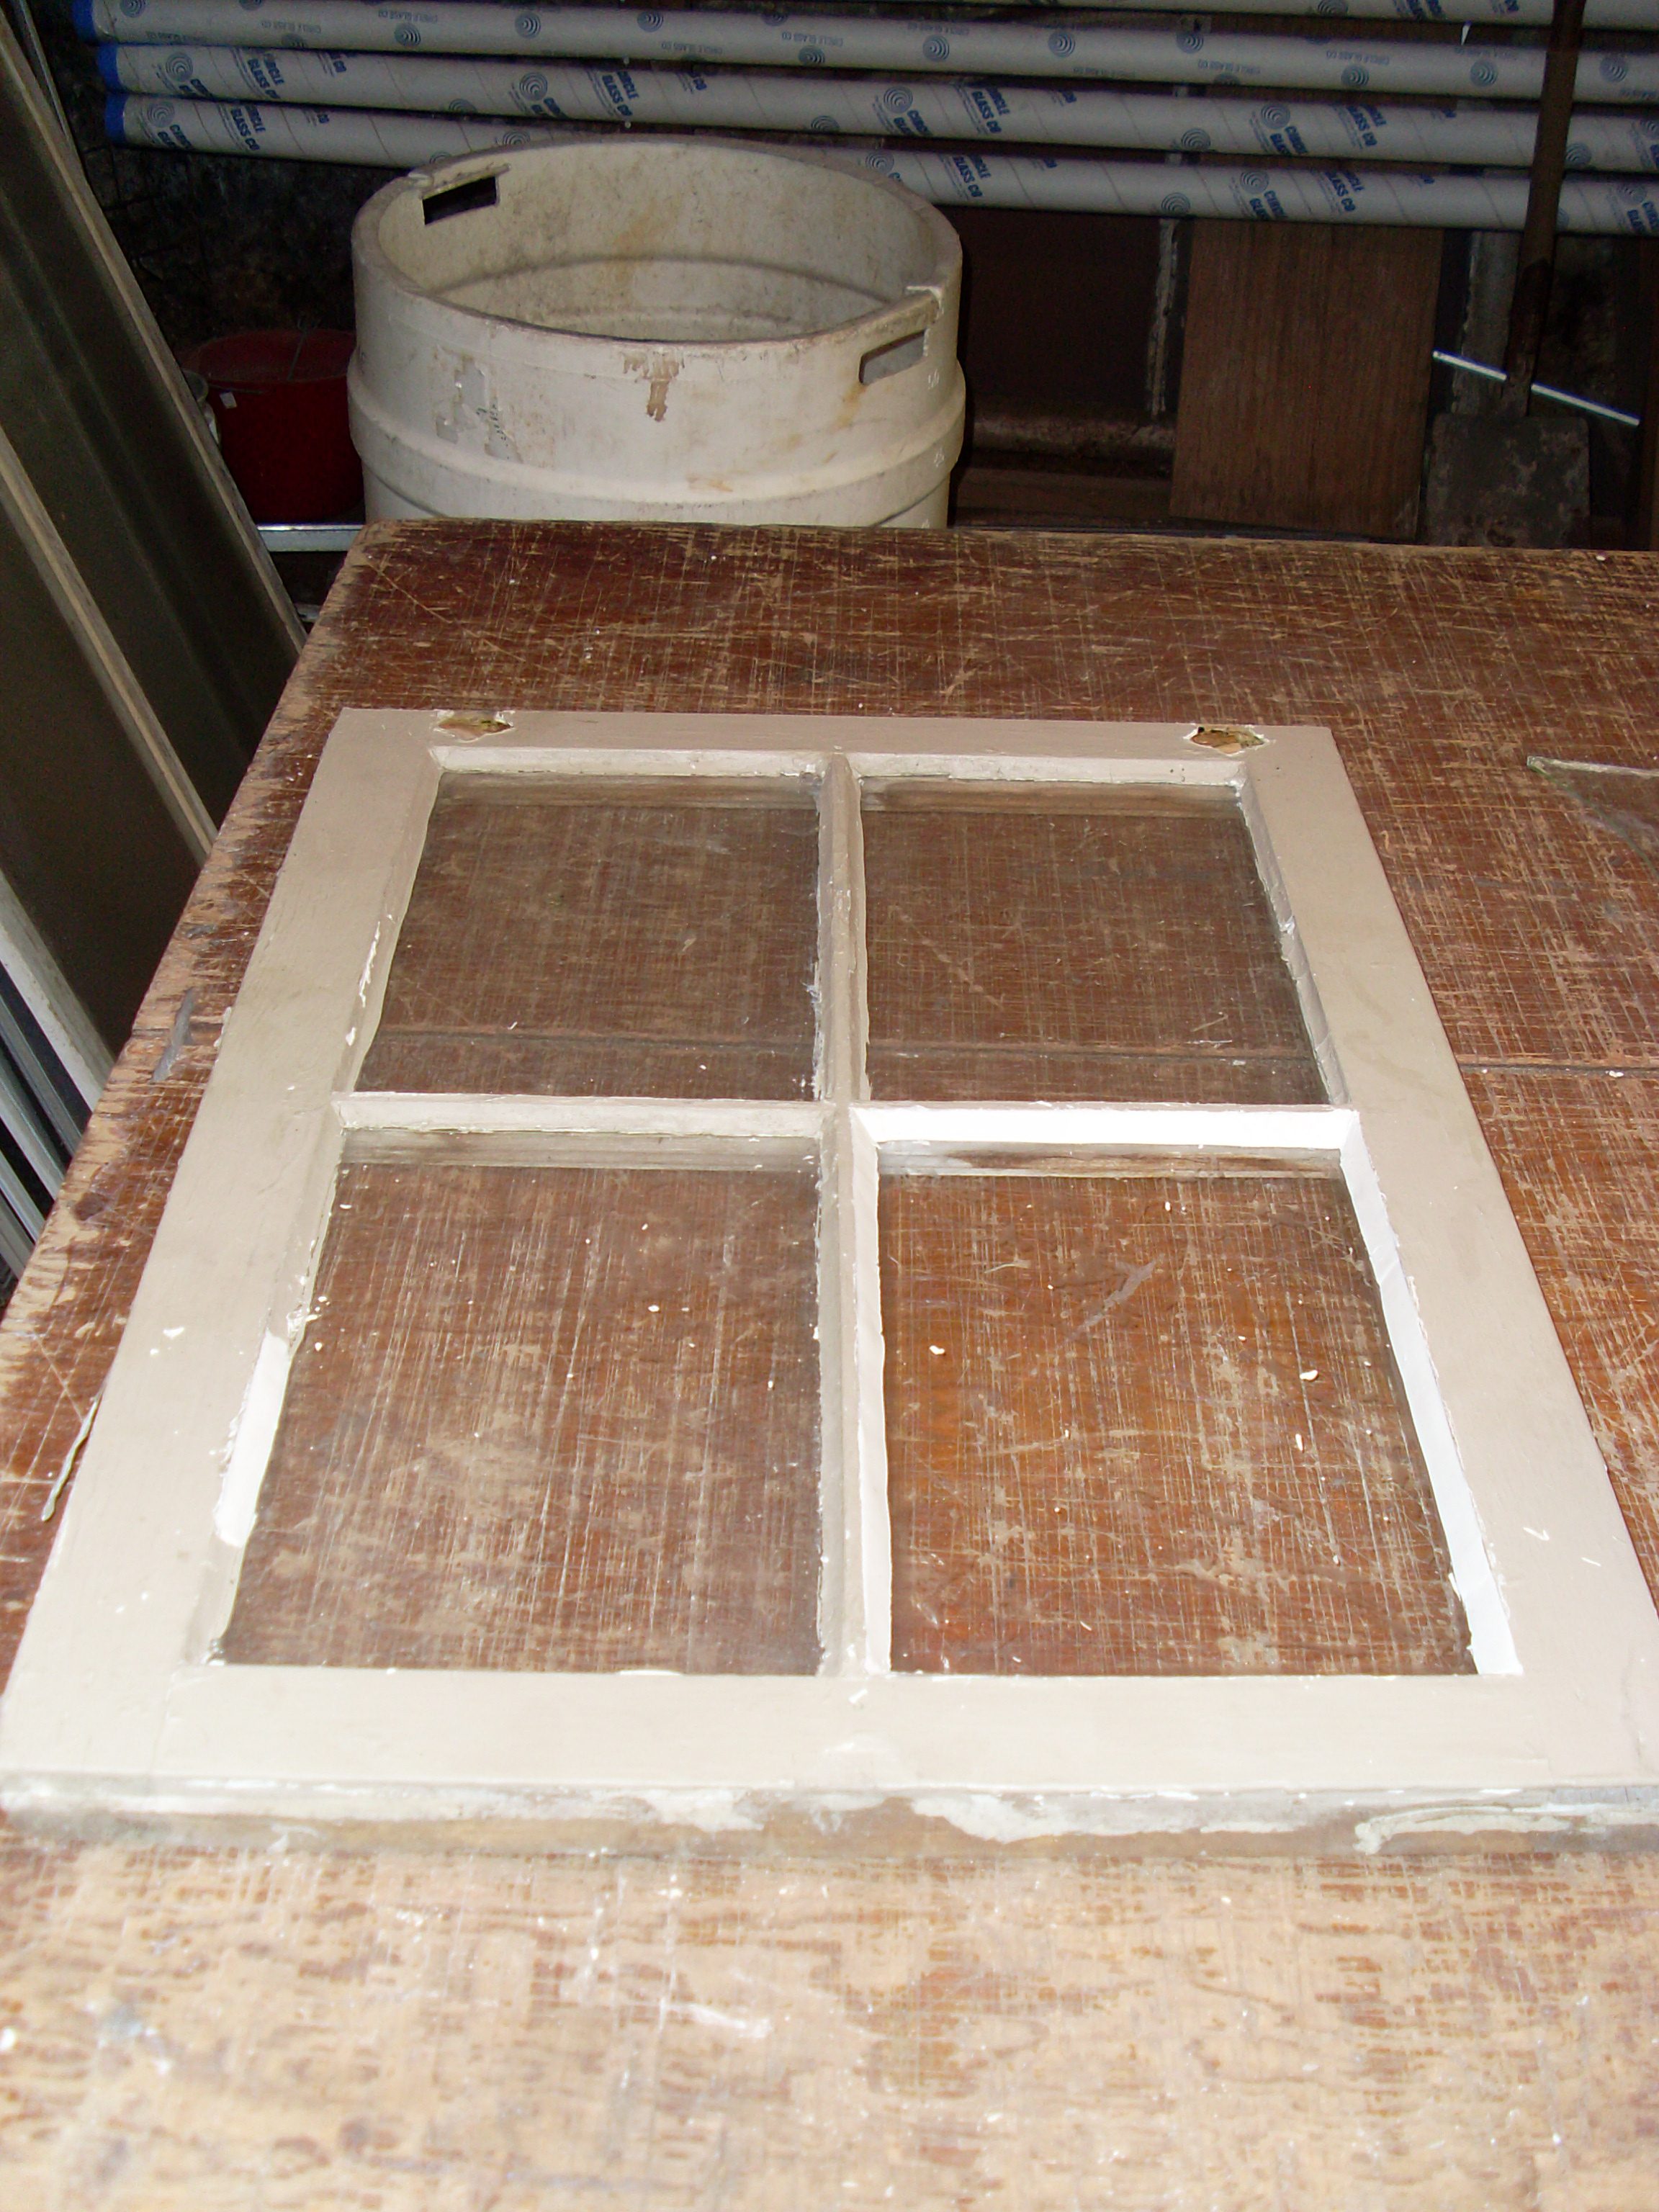
The first thing that happens when I get an older window into the shop to repair is to evaluate it. All old windows are unique, and some have other problems besides just broken panes. They were well made when new, but now many are over 100 years old and often they have cracked or rotten wood, loose joints or other problems. Most of these can be fixed, but usually before, not after the glass is replaced. This window was in pretty good shape, and passed the inspection.

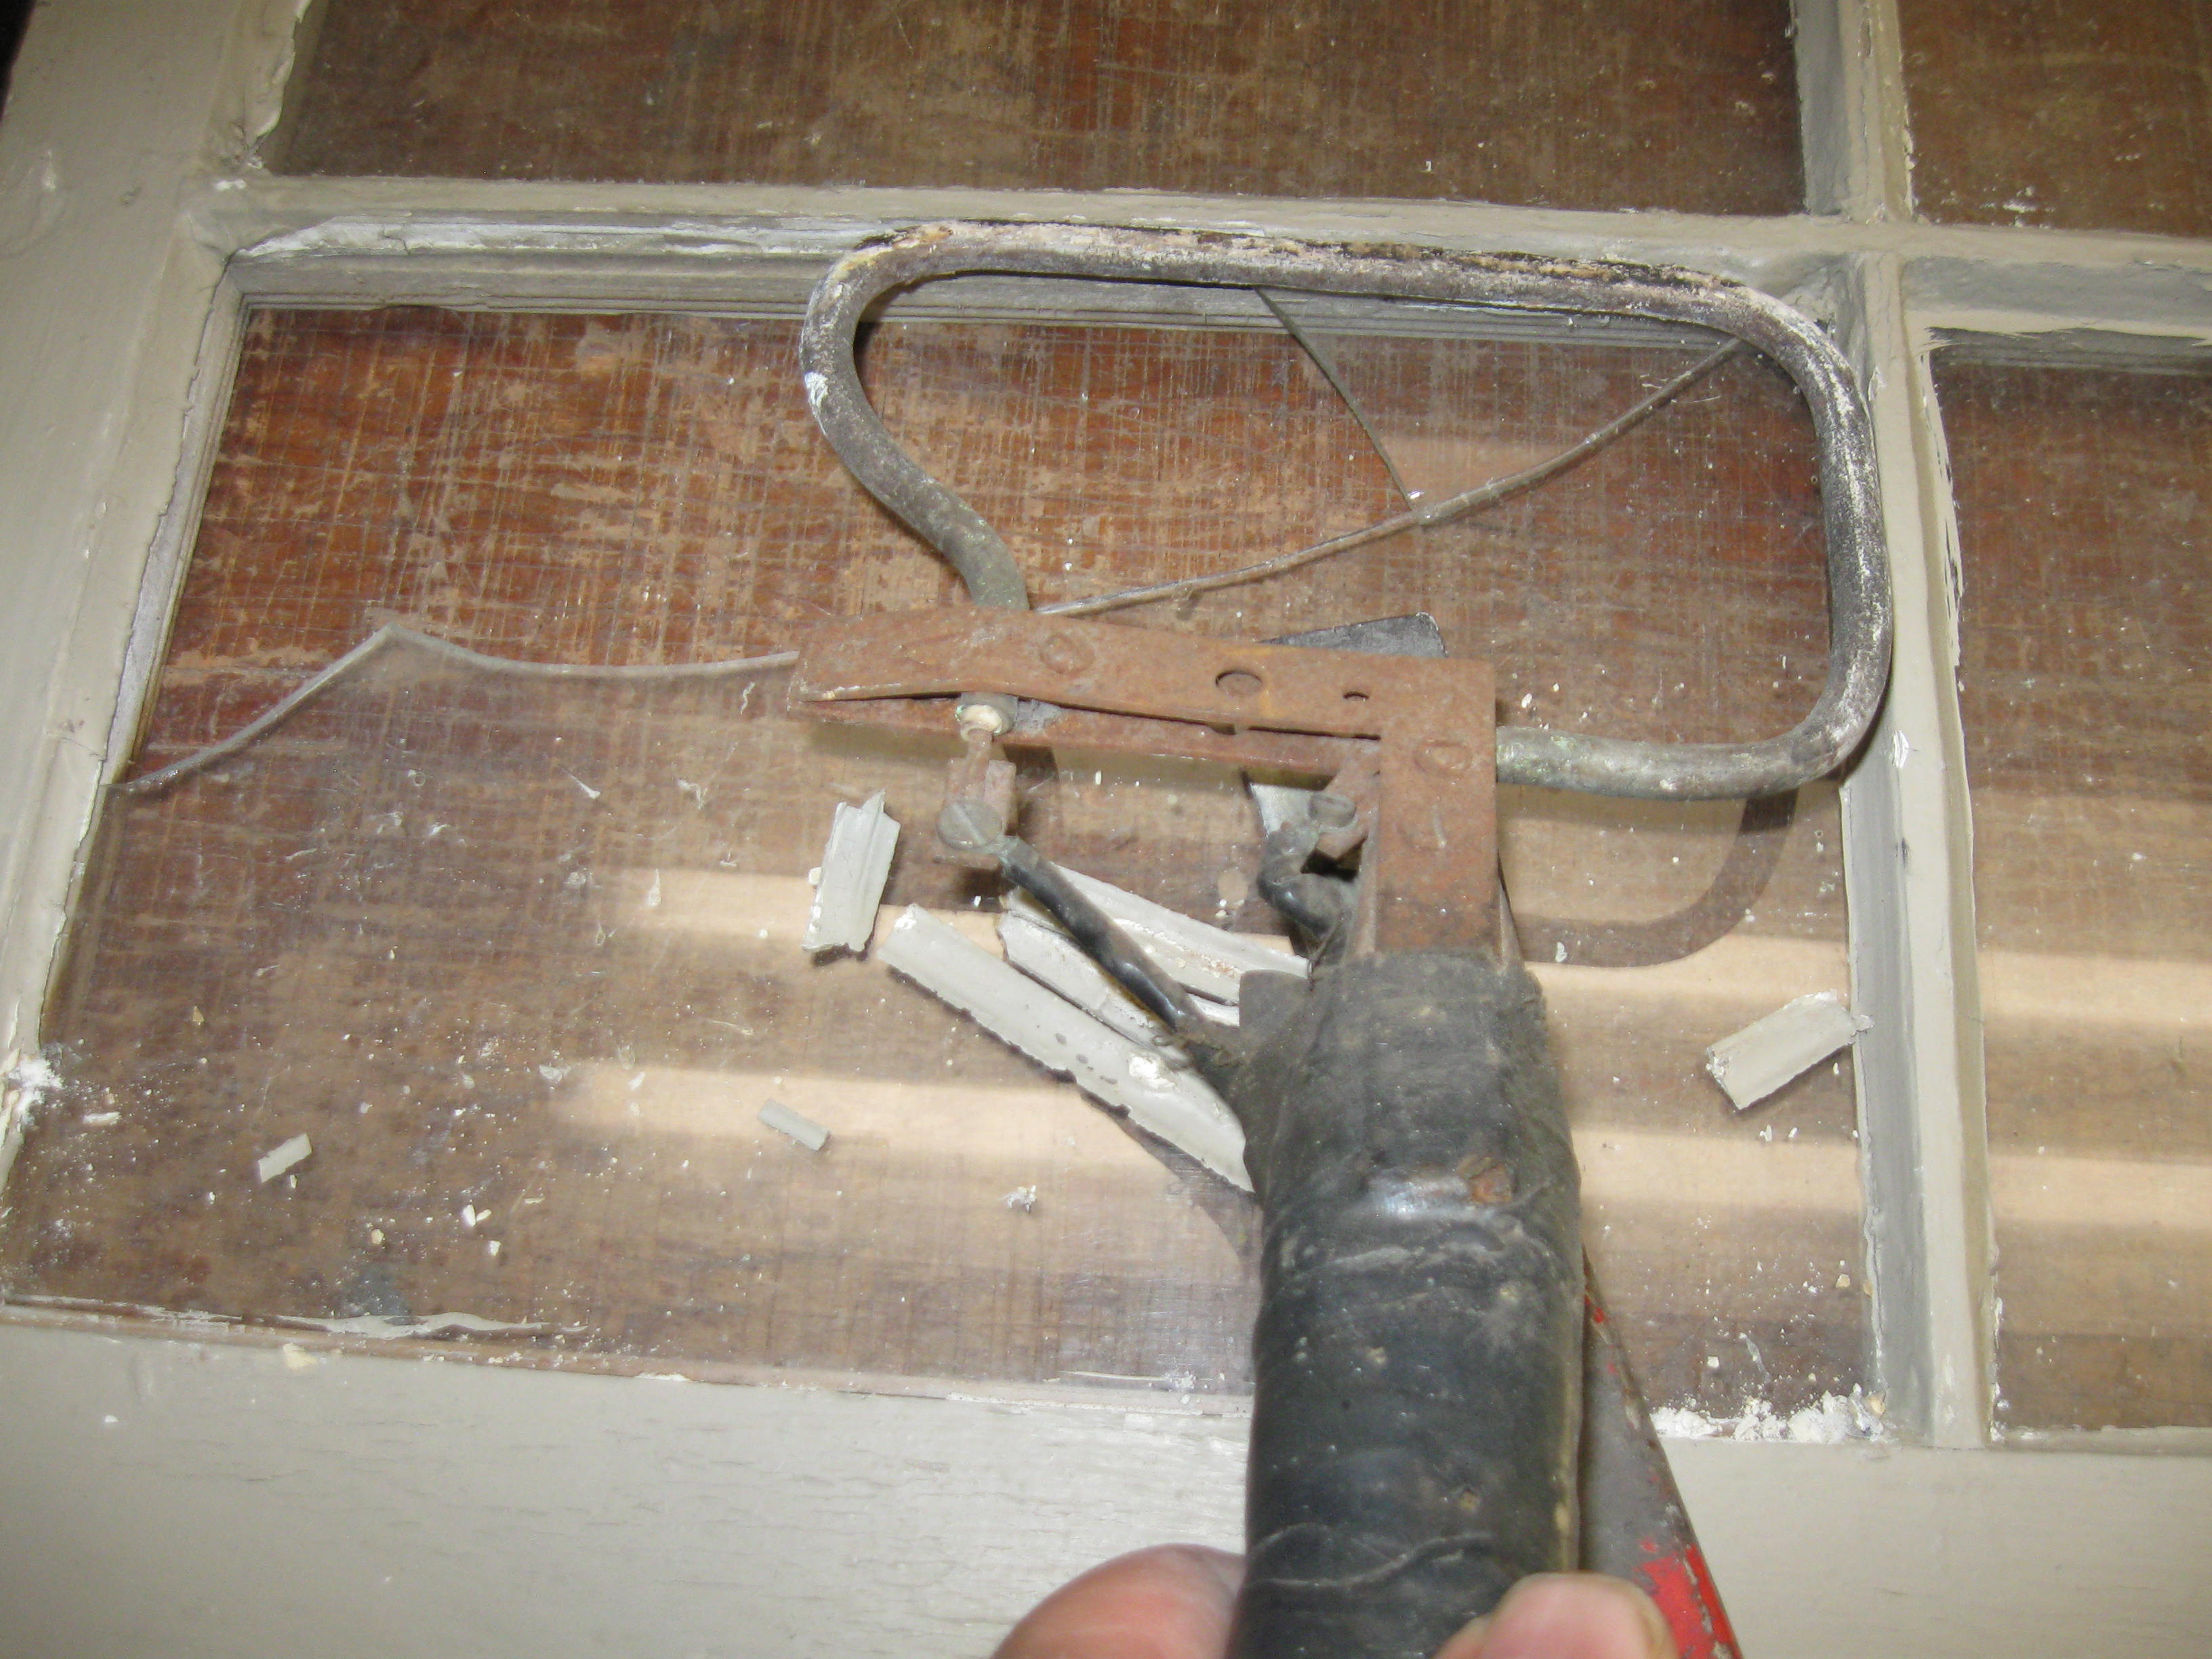
Next is glass removal. The glass is held in by glazing putty, which is supposed to stay pliable, but is usually petrified with age. You can usually chip it out, but it takes a lot of time and can break the narrow wood window stiles. Heating it usually helps and they make an electric heater specifically to soften old putty. Ours is homemade, but it works well and I’m used to it, so that is what I use. You have to lay it along the line of old putty and heat it for about a minute, and then see if it is getting softer. Sometimes it peels right out, sometimes you need more heating time, and sometimes it just stays hard and you have to start chipping.

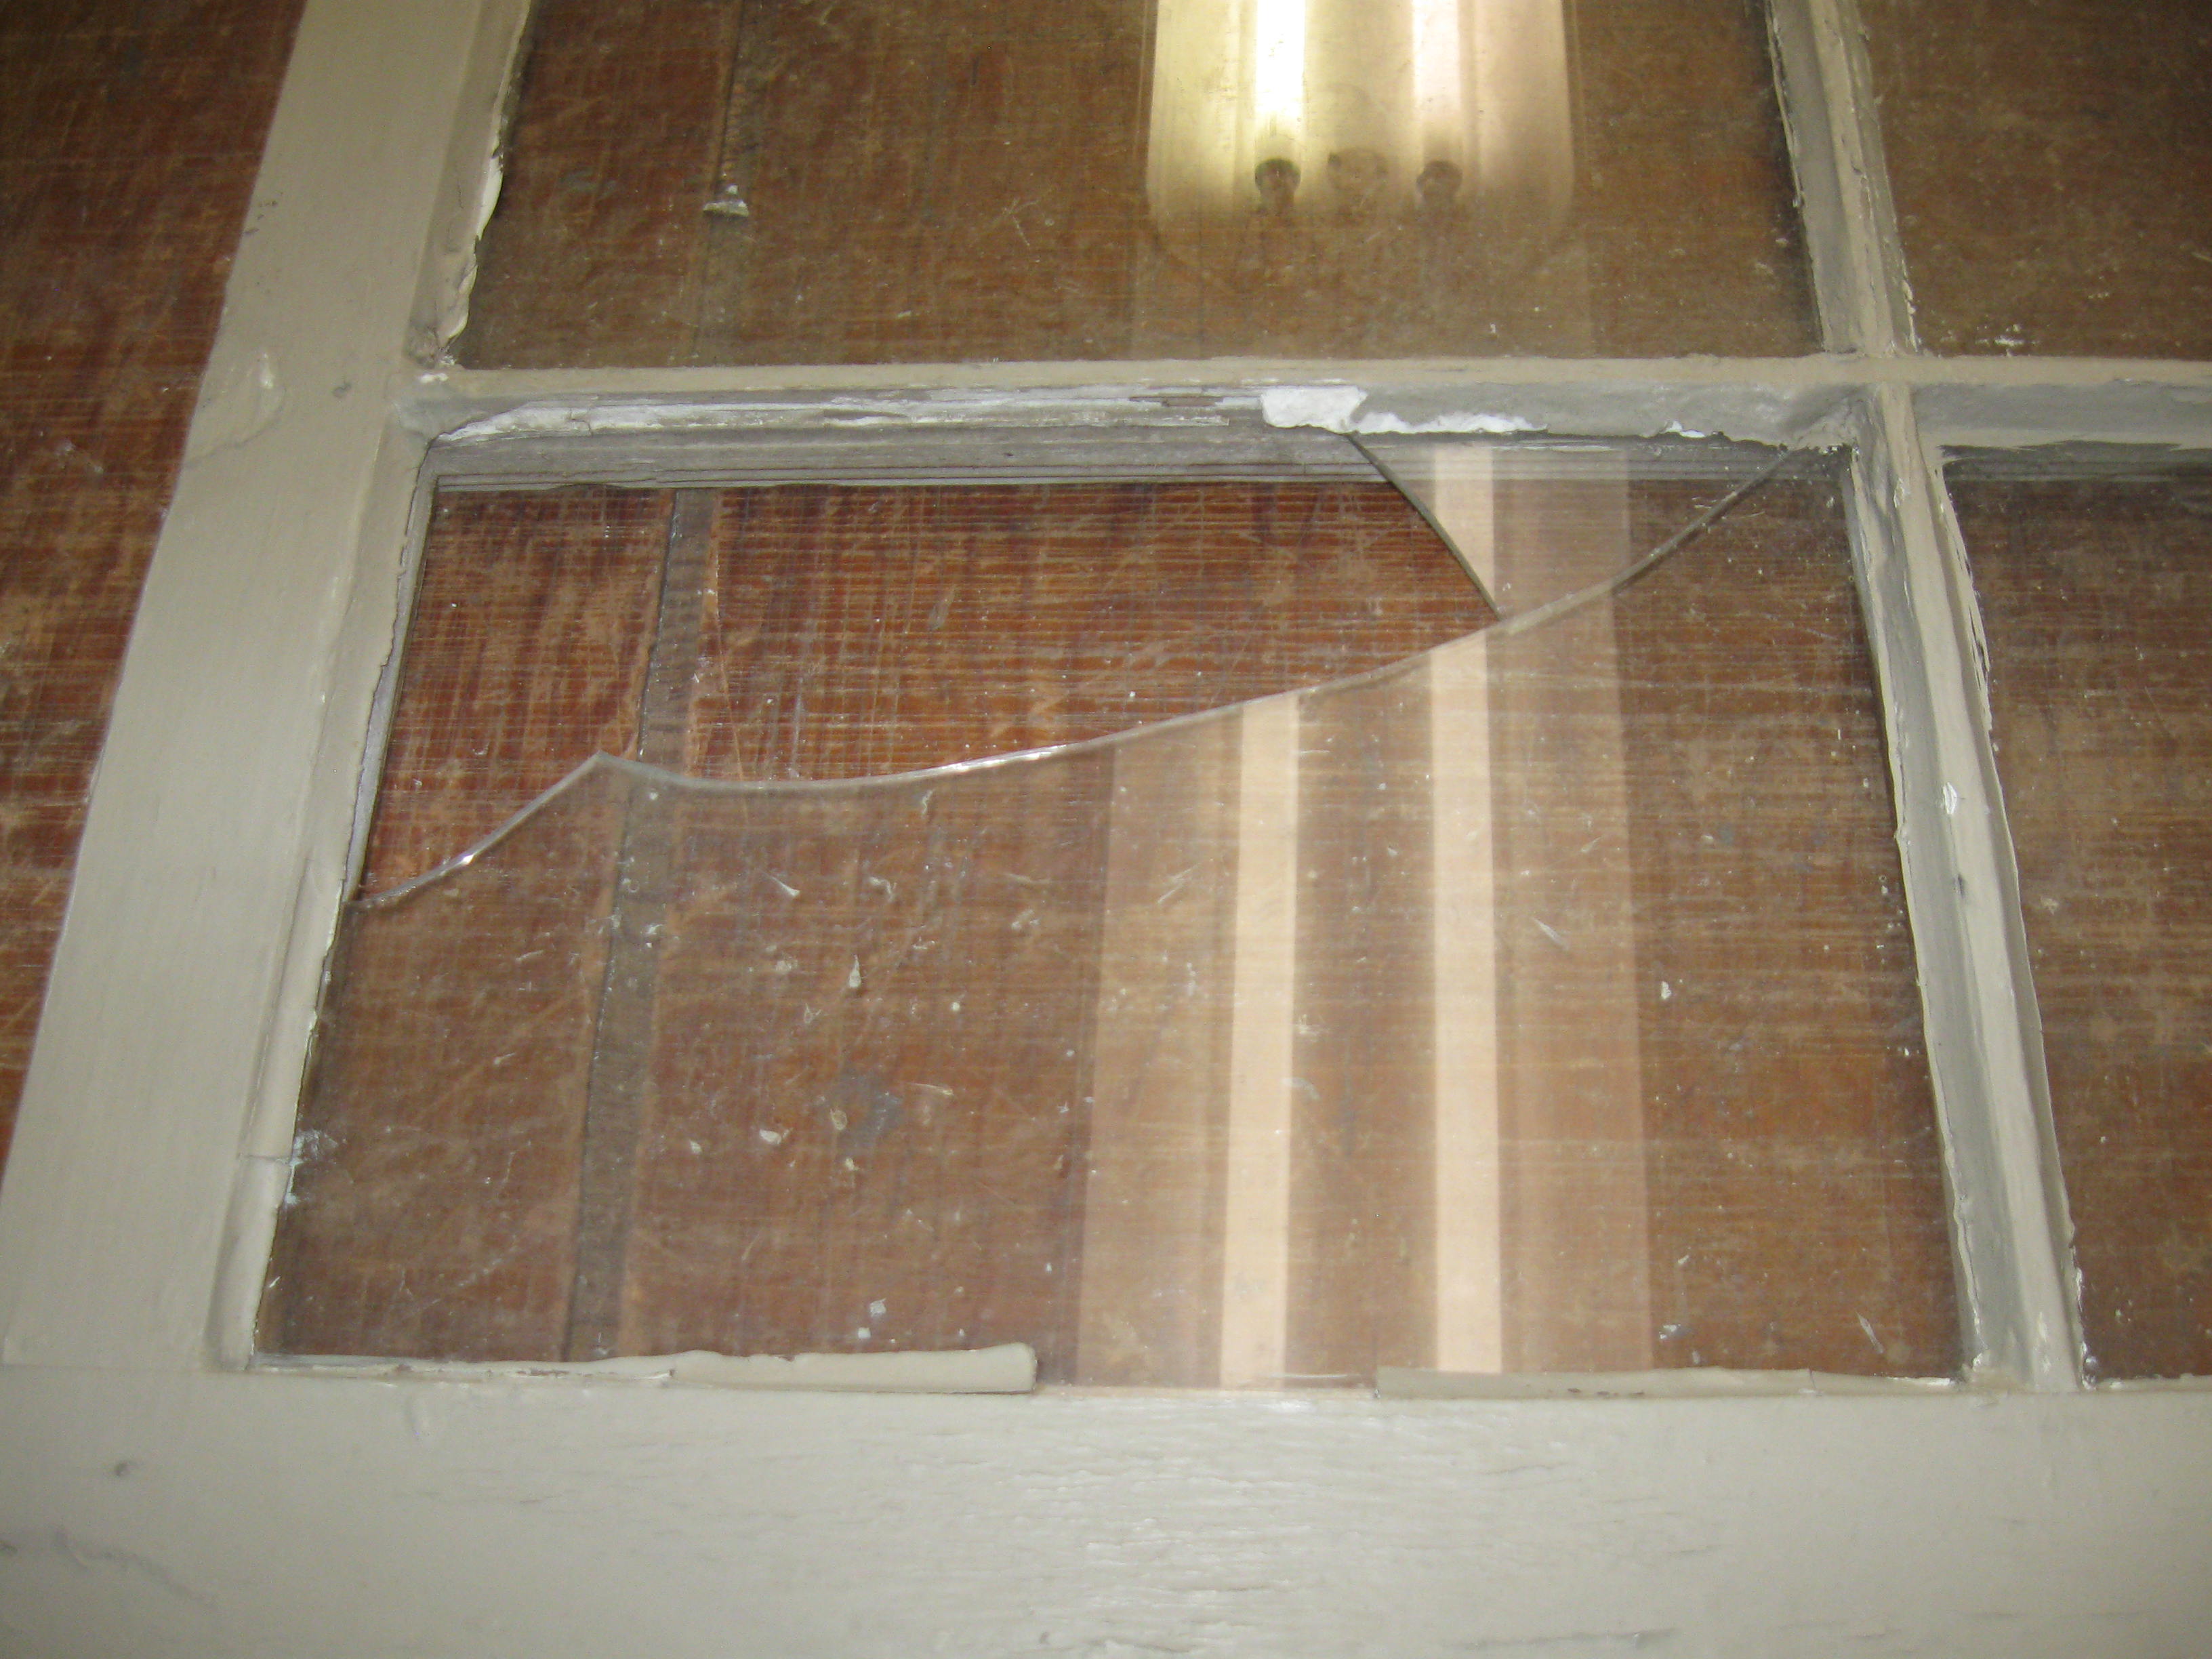
Once all the putty is out you can usually pry out the glass (it WILL be stuck) and it will probably break. As they are usually already cracked, or broken as in this case, that’s not a problem. After you get the old glass out, or before if the glass is intact, you will need to find and remove any metal glazing “points” sticking into the frame to hold the glass in. This can be tricky, as they were put in decades ago, by persons unknown, and every one has a different idea on how many to use. Sometimes you find a few, sometimes a lot, and a few times none. Whatever you find, you have to get them all out, or they will catch on the edge of the new glass pane when you put it in and when you push on it to bed it in, the new glass will crack (ask me how I know this).
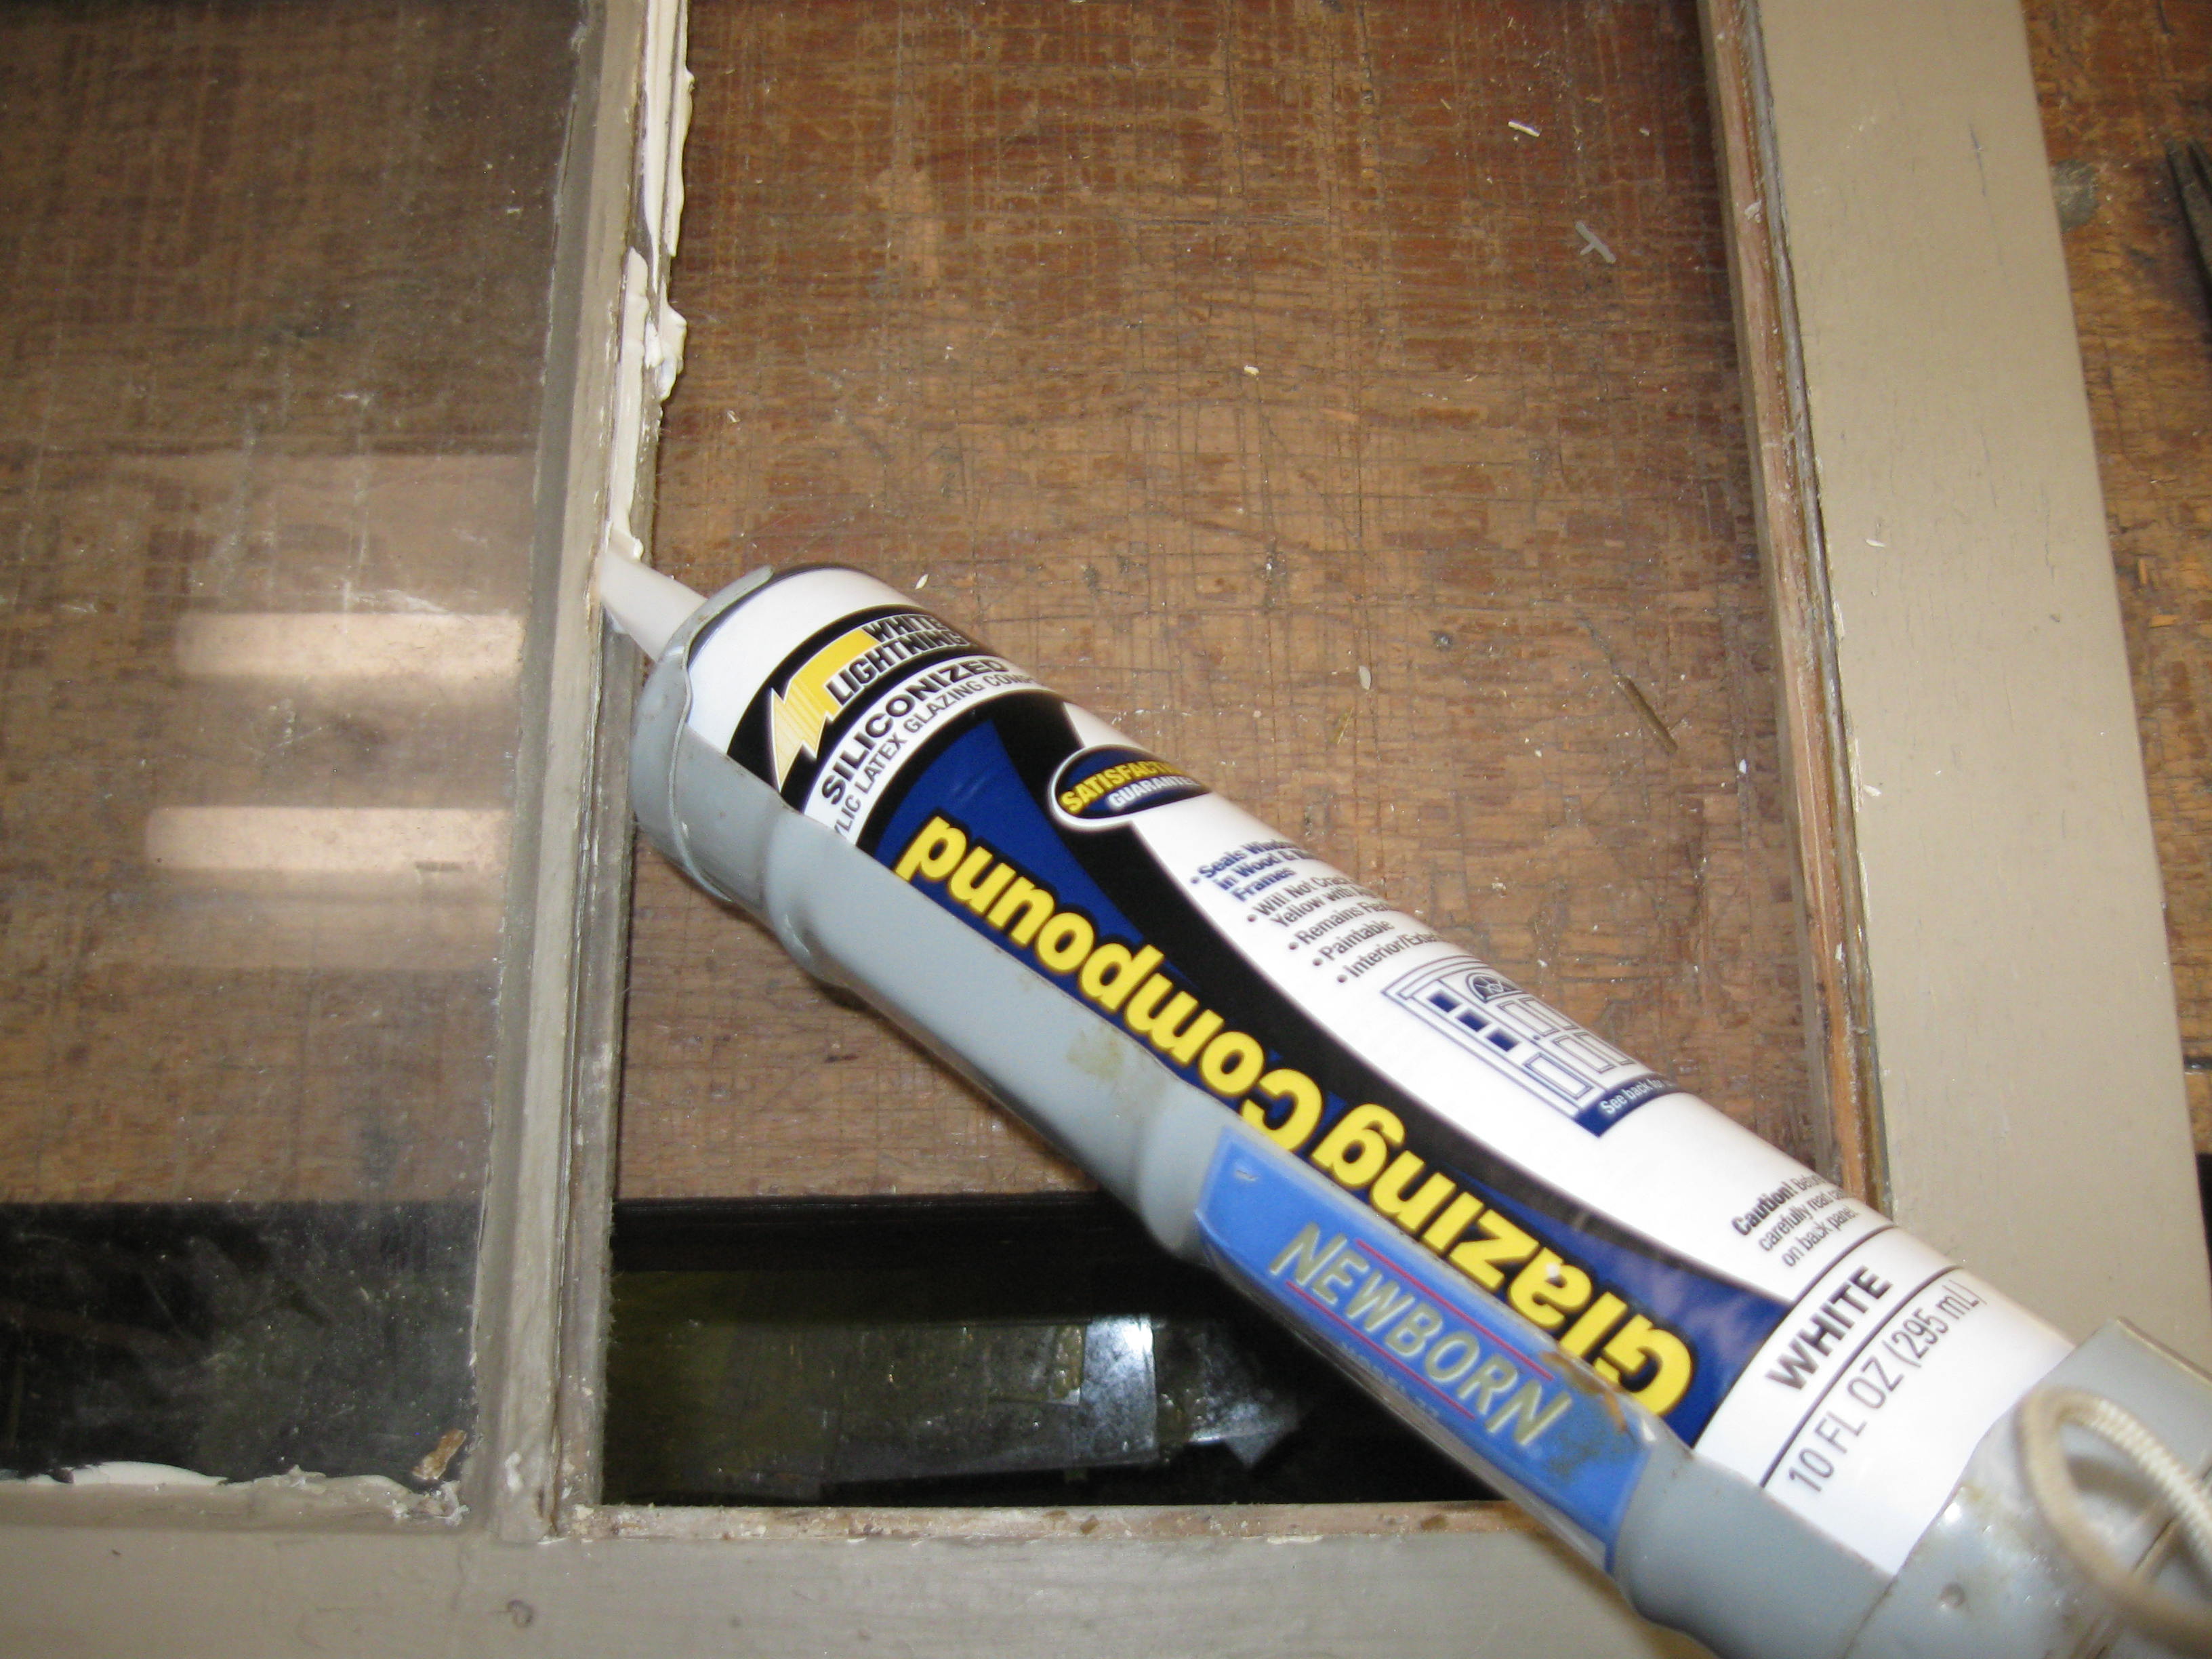
When you have all the putty cleaned out of the frame and you are sure that all the old points have been located and removed (check twice) it is time for the new glass. New glass must be “bedded” in a layer of putty to support and seal it. I like to use glazing putty that comes in a caulk tube for this. It is extra soft and the glass squishes down into it well, with just a little pressure. You can use regular glazing putty for this, but make sure that you knead it thoroughly to get it as soft as possible. Yes, you can crack the glass if you have to push down on it too hard (once again, ask me how I know this). Then select a few new glazing points to hold the glass in. I generally use one per side on small panes, and go up to 2 or more on longer sides. I then like to leave the window overnight to let the bedding putty harden a little.
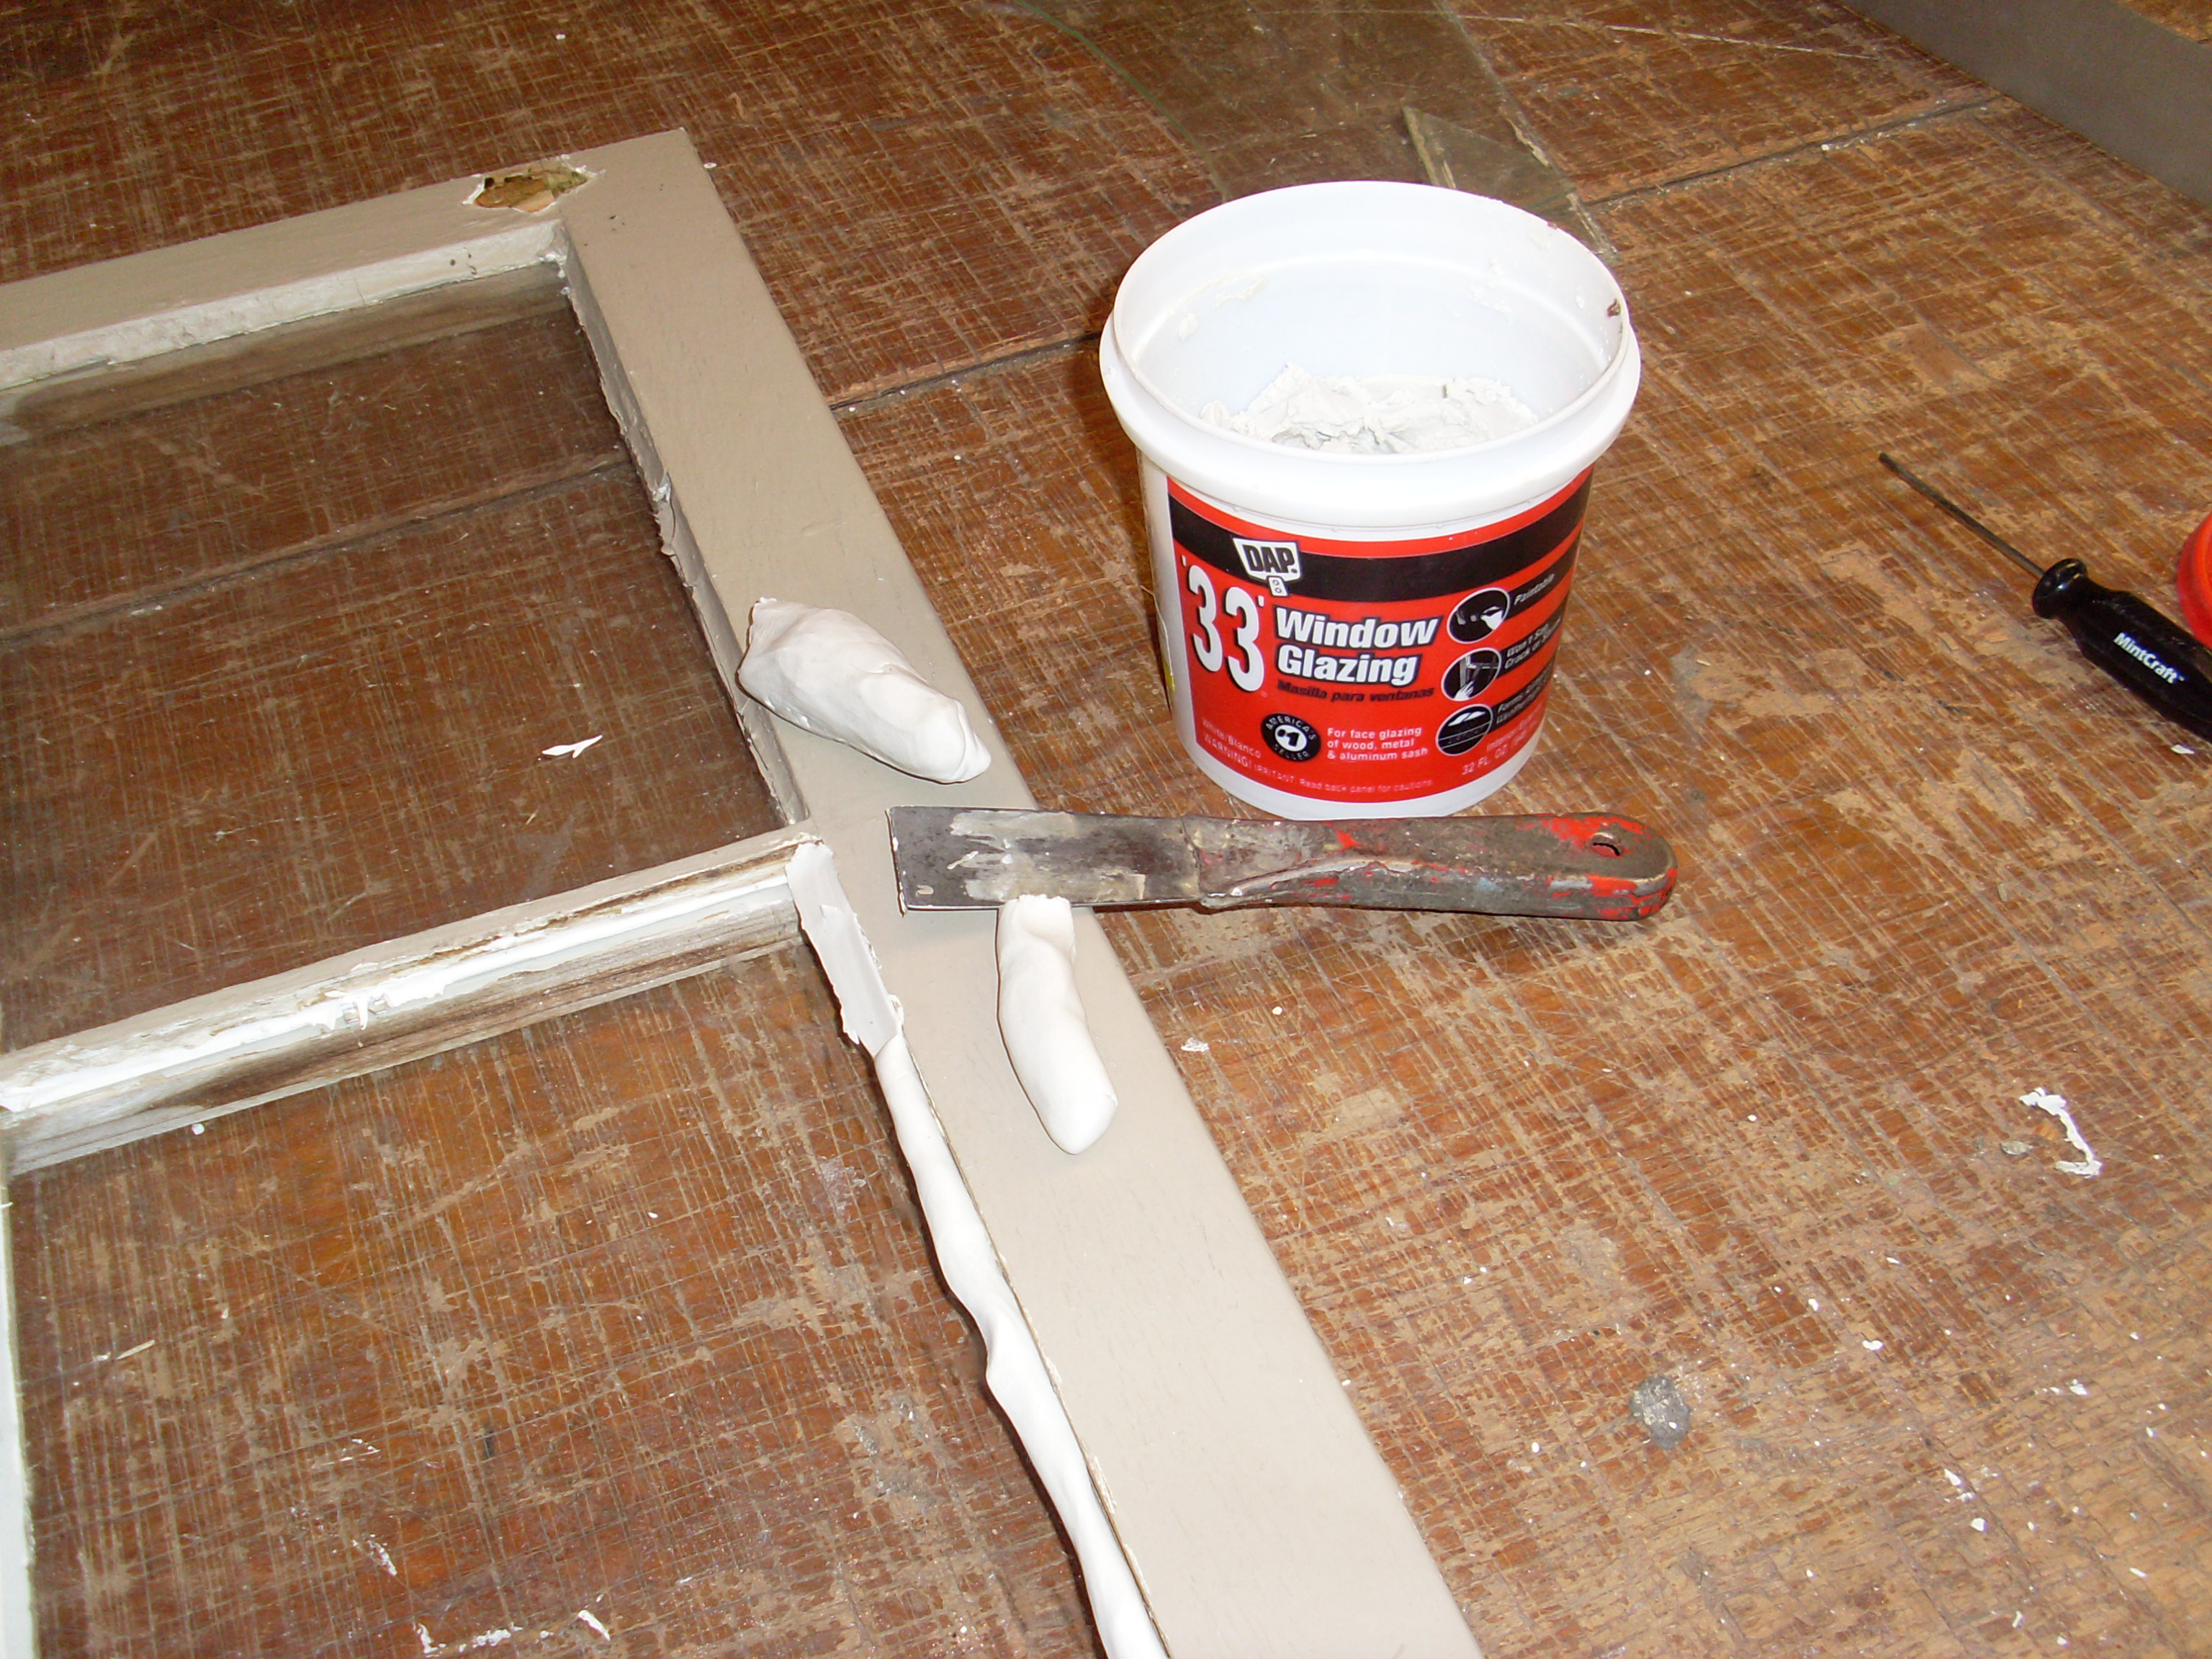
Next morning, it’s time for the final seal. First turn the window over and carefully use your putty knife to clean off any bedding putty that squished out on the back of the glass. Then, back on the front, you’re ready for the final putty seal. I use regular glazing putty for this as the harder, playdough-like consistency I find better for getting a smooth seal on. First, knead the putty until it is as soft as possible. Then roll it between your palms to make a “snake” as long as you can (it’s all coming back to me now). Lay the snake along one side of the window pane along the wood frame. Then use the putty knife to push the putty tightly into the corner between the glass and the wood. Don’t worry about getting it too neat, just get it in there firmly. Then once you’ve done that all along the side go back and give it a final smoothing. I like to hold the putty knife at about a 45 degree angle with the side against the wood frame and one tip corner against the glass. Pulling the knife along the edge fairly hard (but not too hard!) will remove most of the putty, leaving a smooth angled surface that looks just right.
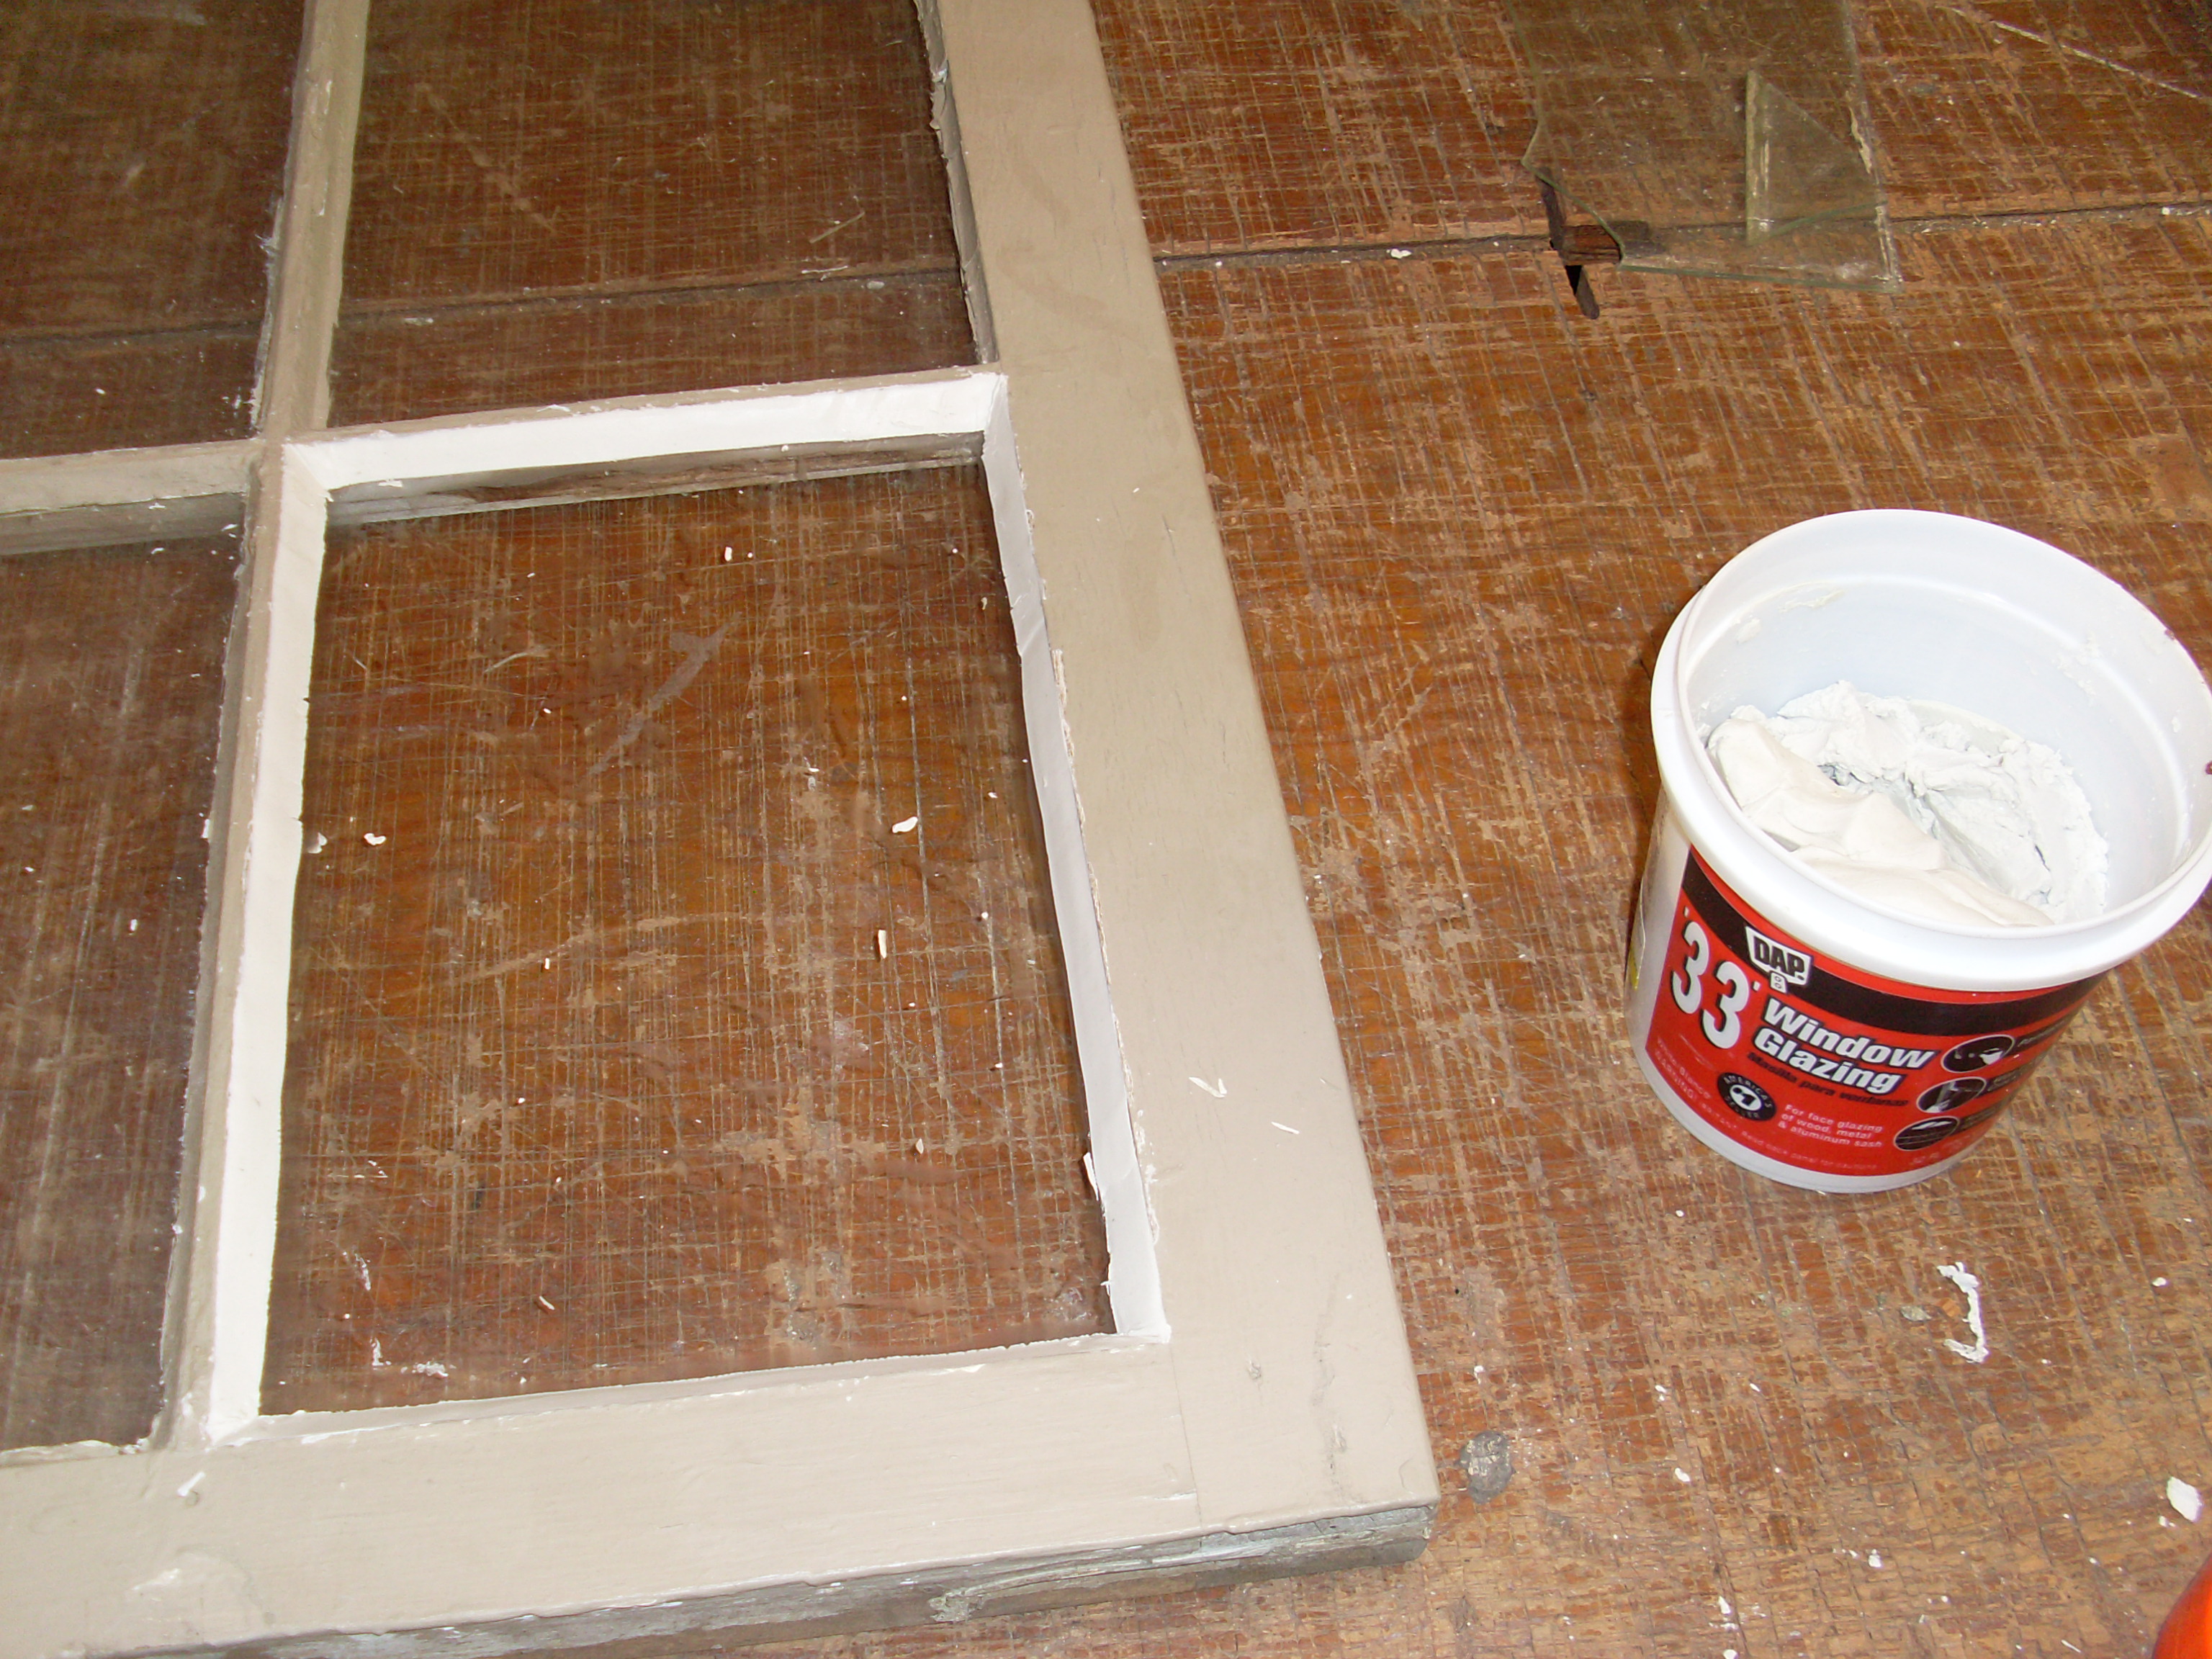
Use the putty that you just scraped off and a little fresh to make new snakes for the next edge and so on. You will have to sort of freelance the corners, but just match the angles that you have on either side with the putty knife as best you can. The putty will need a coat of paint to seal it once it has set up for about two weeks. This seals it against the glass and then it will last for many years. That’s all there is to fixing wood windows (isn’t that enough?) here at the Old Hardware Store…