
As we had several lamps dropped off to repair lately, I thought that lamp wiring and repair might be a good topic to talk about today. Household lamps can be trouble-free for years at a time (except for burned out bulbs), but sooner or later they often start to give trouble. Most, however, are fairly simple and inexpensive to repair, whether you do it yourself, or bring it in to us. The good thing about lamps is that they all work about the same way, and utilize most of the same parts. To begin with we’ll cover how they work, and then some of the things that can need fixing.
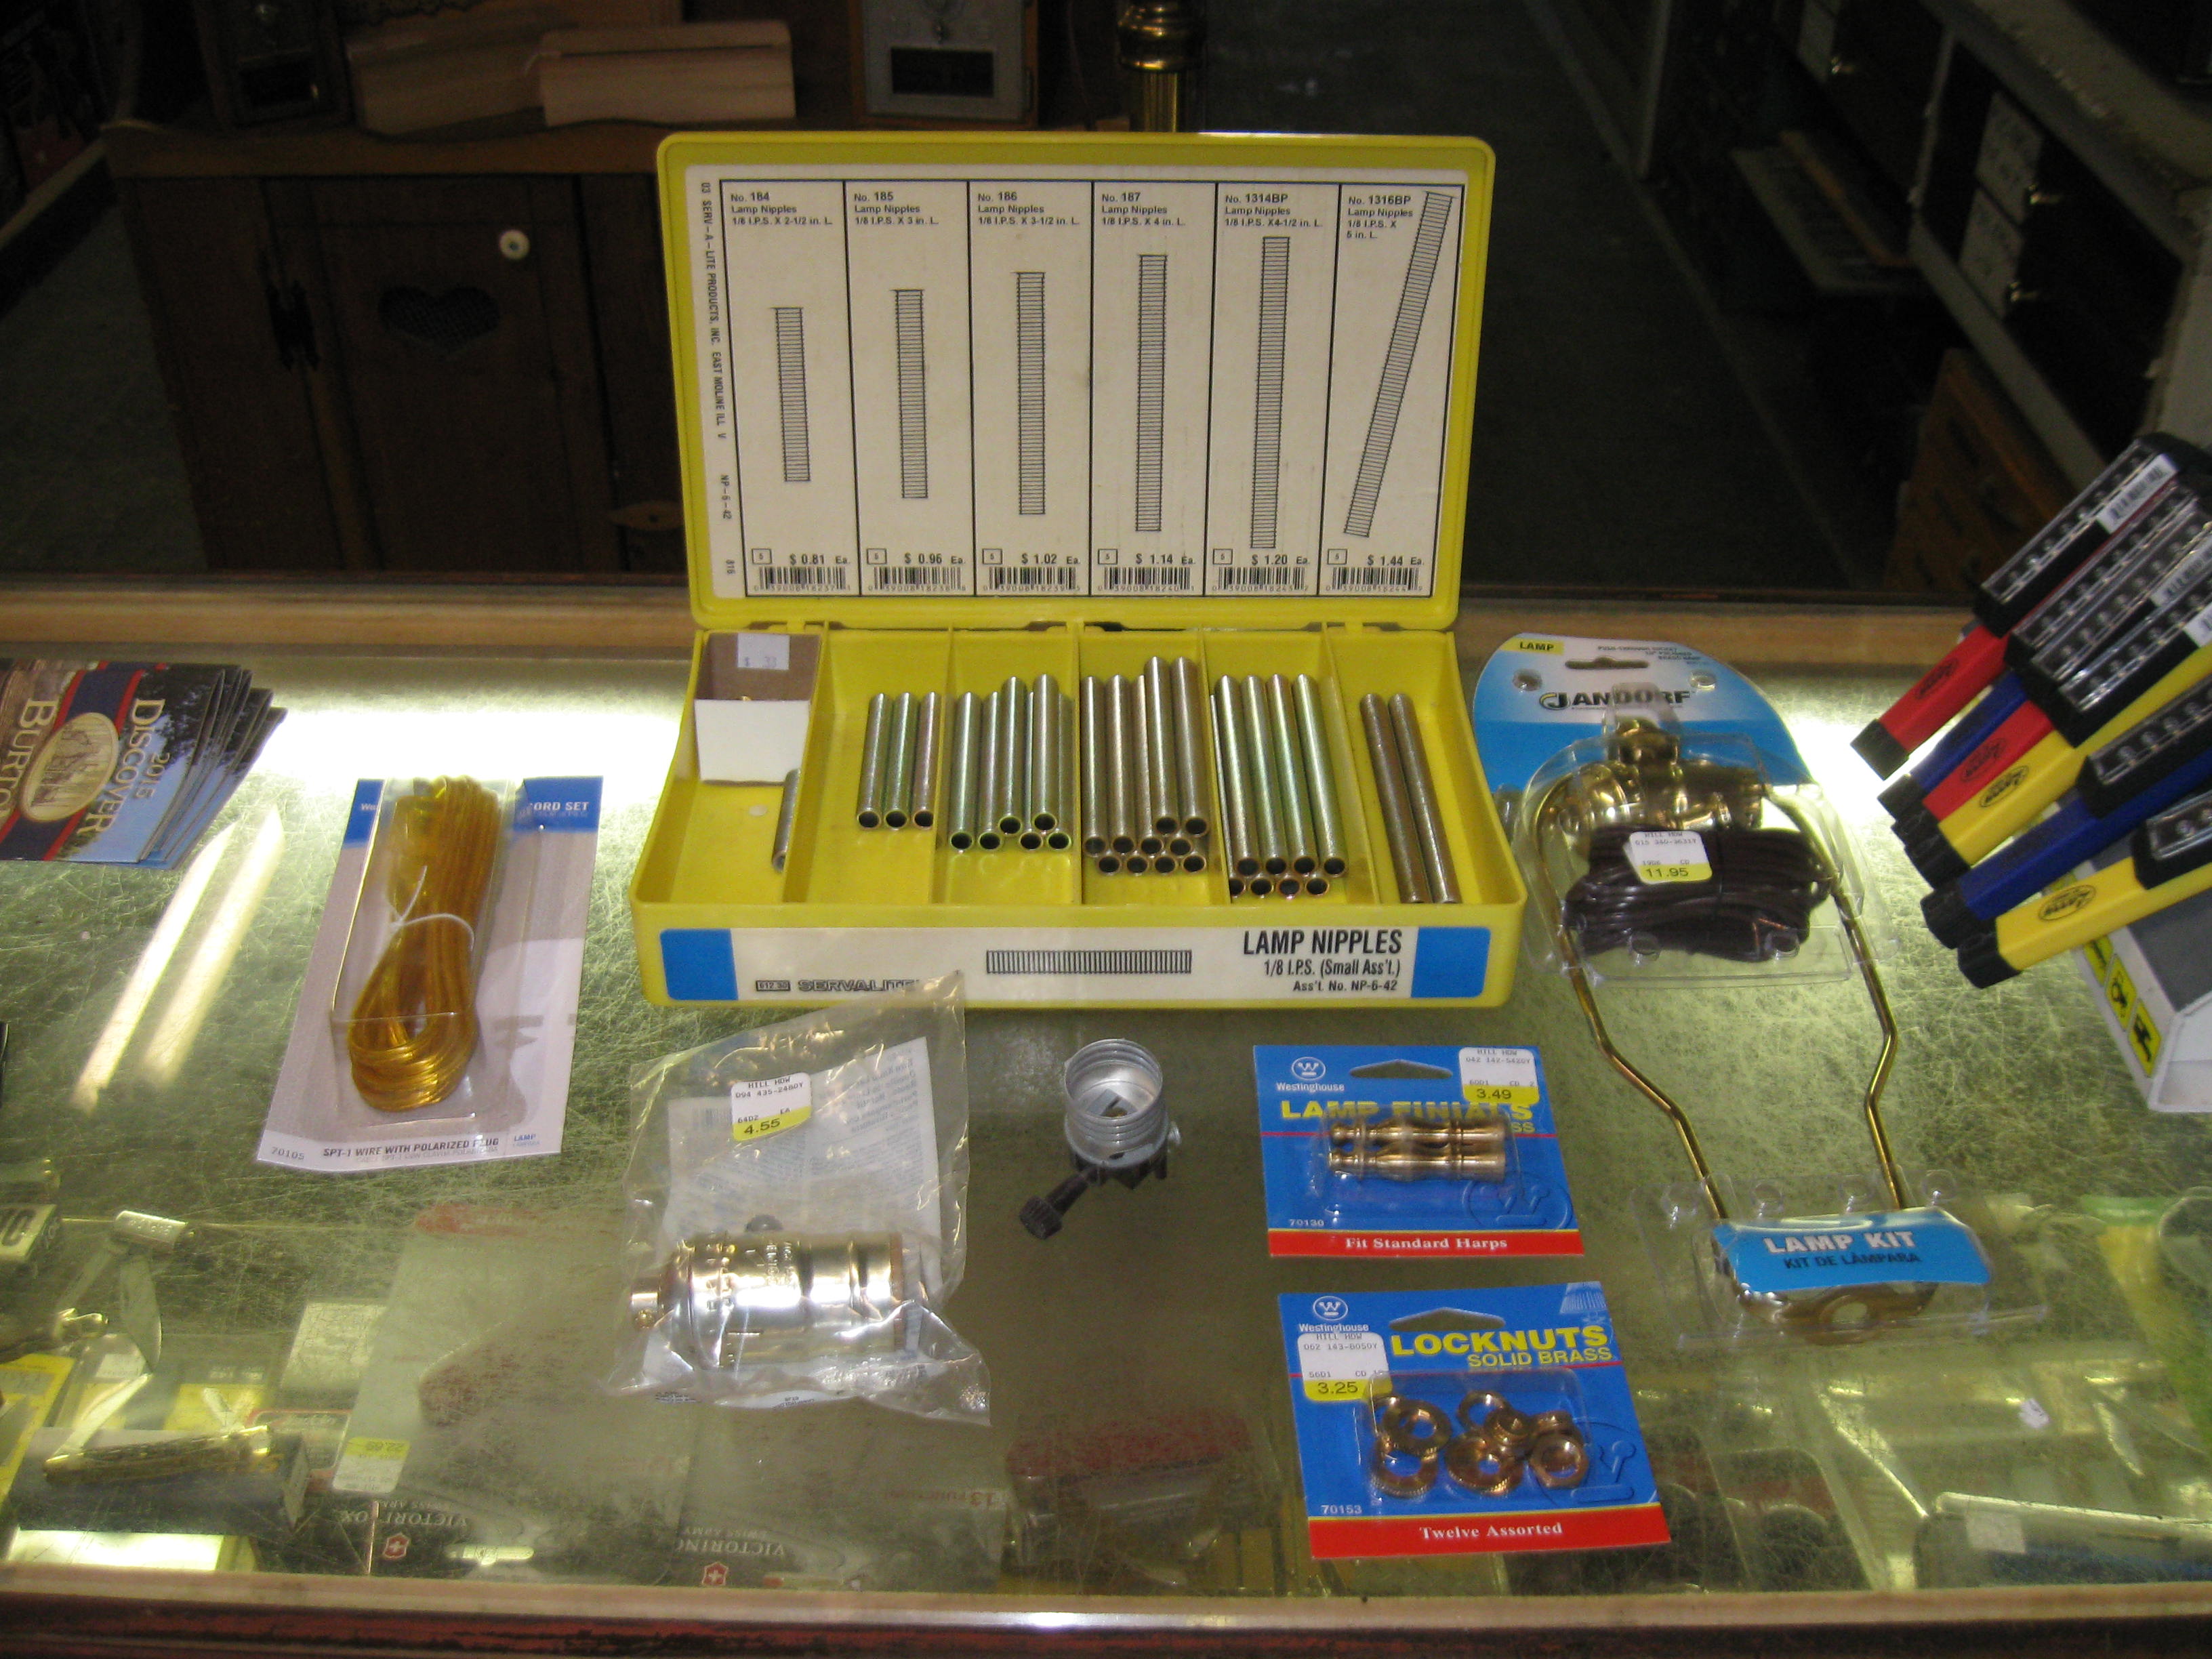
First of all, these remarks only apply to regular household lamps, fluorescent lamps with built in ballasts, or lamps with electronic controls (like touch-lamps) are different. The best way to cover a lamp’s wiring is to trace it from one end to the other. All lamp wiring starts with a plug that goes into a wall outlet. A two-conductor cord then goes into the lamp base and up though the body. It usually doesn’t matter what the lamp body looks like, ceramic molding, glass shapes, or rocket ship, the wire just passes up through it in a hollow tube called a lamp nipple, to the top where the bulb(s) are located.
Somewhere along the way there is a switch, or else the lamp would be on all the time. Usually it is built into the lamp socket, but sometimes it is a separate switch built into the lamp base, in which case, there should be no switch on the socket. If the lamp has multiple sockets, the wires are spliced together, usually in the part of the lamp where the arms that lead to the separate sockets are mounted.
The function of most lamps is pretty simple, The electricity goes through the plug, up one wire, is interrupted by the switch, goes to the center electrode in the lamp socket, through the bulb filament, back to the lamp socket shell, and back down the other wire to the plug. There, clear as mud! Assuming that the light bulb is good, if the lamp doesn’t light, there is a problem with some component in the system not letting the electricity flow through.
The usual culprit is the lamp socket, loose bulbs often cause a poor connection in the socket, this will cause arcing which gives the contact inside the socket a burned appearance, and either prevents the light from coming on at all, or causes erratic operation. Either way a new socket is the prescription. The switch itself can break or get a worn out contact, and since it is usually part of the socket, the remedy is the same, new socket. The plug on the end of the cord is usually pretty trouble free, but sometimes it will need replacing if the prongs have been bent too many times, or the plastic case becomes cracked. The only other part of the works is the cord, which usually lasts the longest. Time is its enemy, too many years and the rubber or plastic insulation can get hard and crack, which can cause a short circuit or even a shock. Pets can also be tempted to chew on the cords, so make sure to keep an eye on any new puppy or old chewer. Bad insulation on the cord is actually more dangerous than a bad connection in the switch or socket as a short will cause sparking and usually blown fuses or tripped breakers. This is definitely a potential fire hazard so tend to bad cord promptly.
Lamp repair is usually as basic as replacing the defective part. The hardest part is usually figuring out how to get the lamp apart and then back together after the repair. Sockets pop apart or sometimes unscrew to access the two screws where the wires are connected, just loosen the screws and connect the new socket. Plugs are the same, either two screws, or the new type clip-on style plug connect to the wires and you’re done. Rewiring the entire lamp is a little more complicated, as you often have to get creative to get the new wire threaded through the lamp before you can make the connections.
So whether you need the parts to do-it-yourself, or just want to drop it off and let us have the fun, the old hardware store is definitely your “Let There Be Light” headquarters.