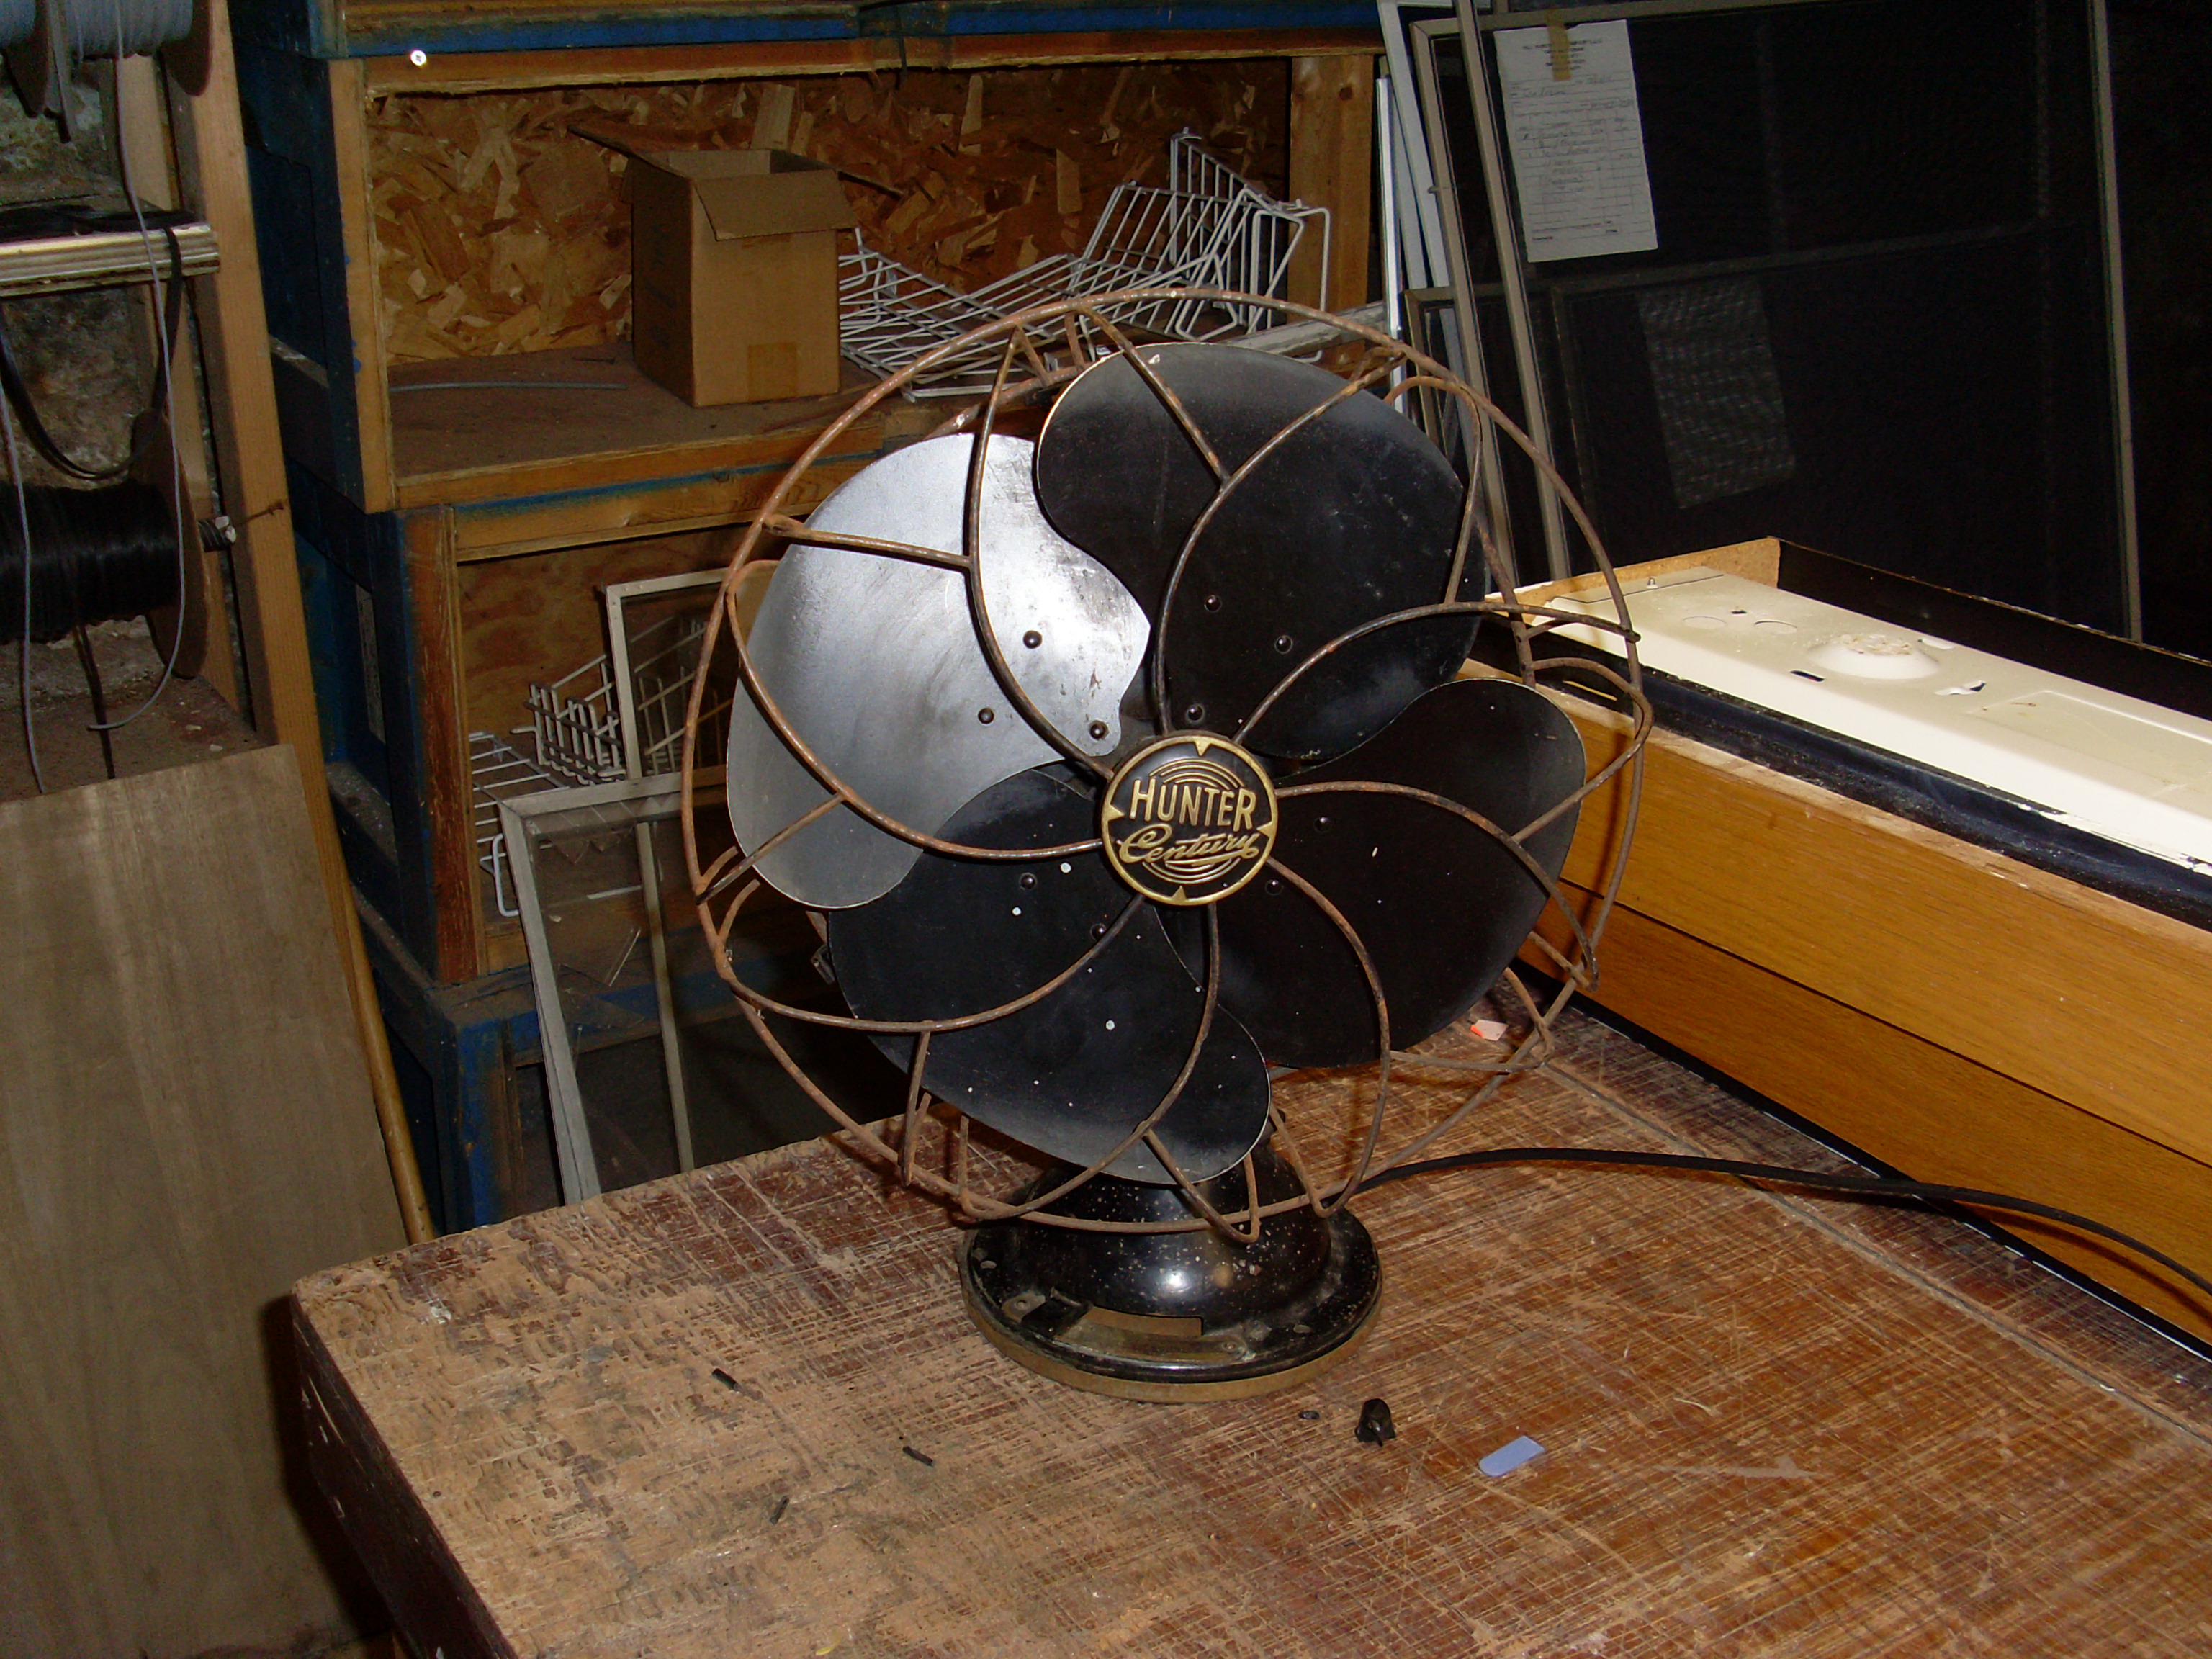
This week I have just a short article about one of my hardware store projects. One of my customers brought in an old Hunter oscillating fan and wanted me to put a new electrical cord on it for her. The fan was in very good shape otherwise, so it was a good idea to replace the old cord, which had cracked insulation. These old fans are real tanks. I have several old fans similar to this, and despite the fact that they are pushing 80 years old, most of them work great.
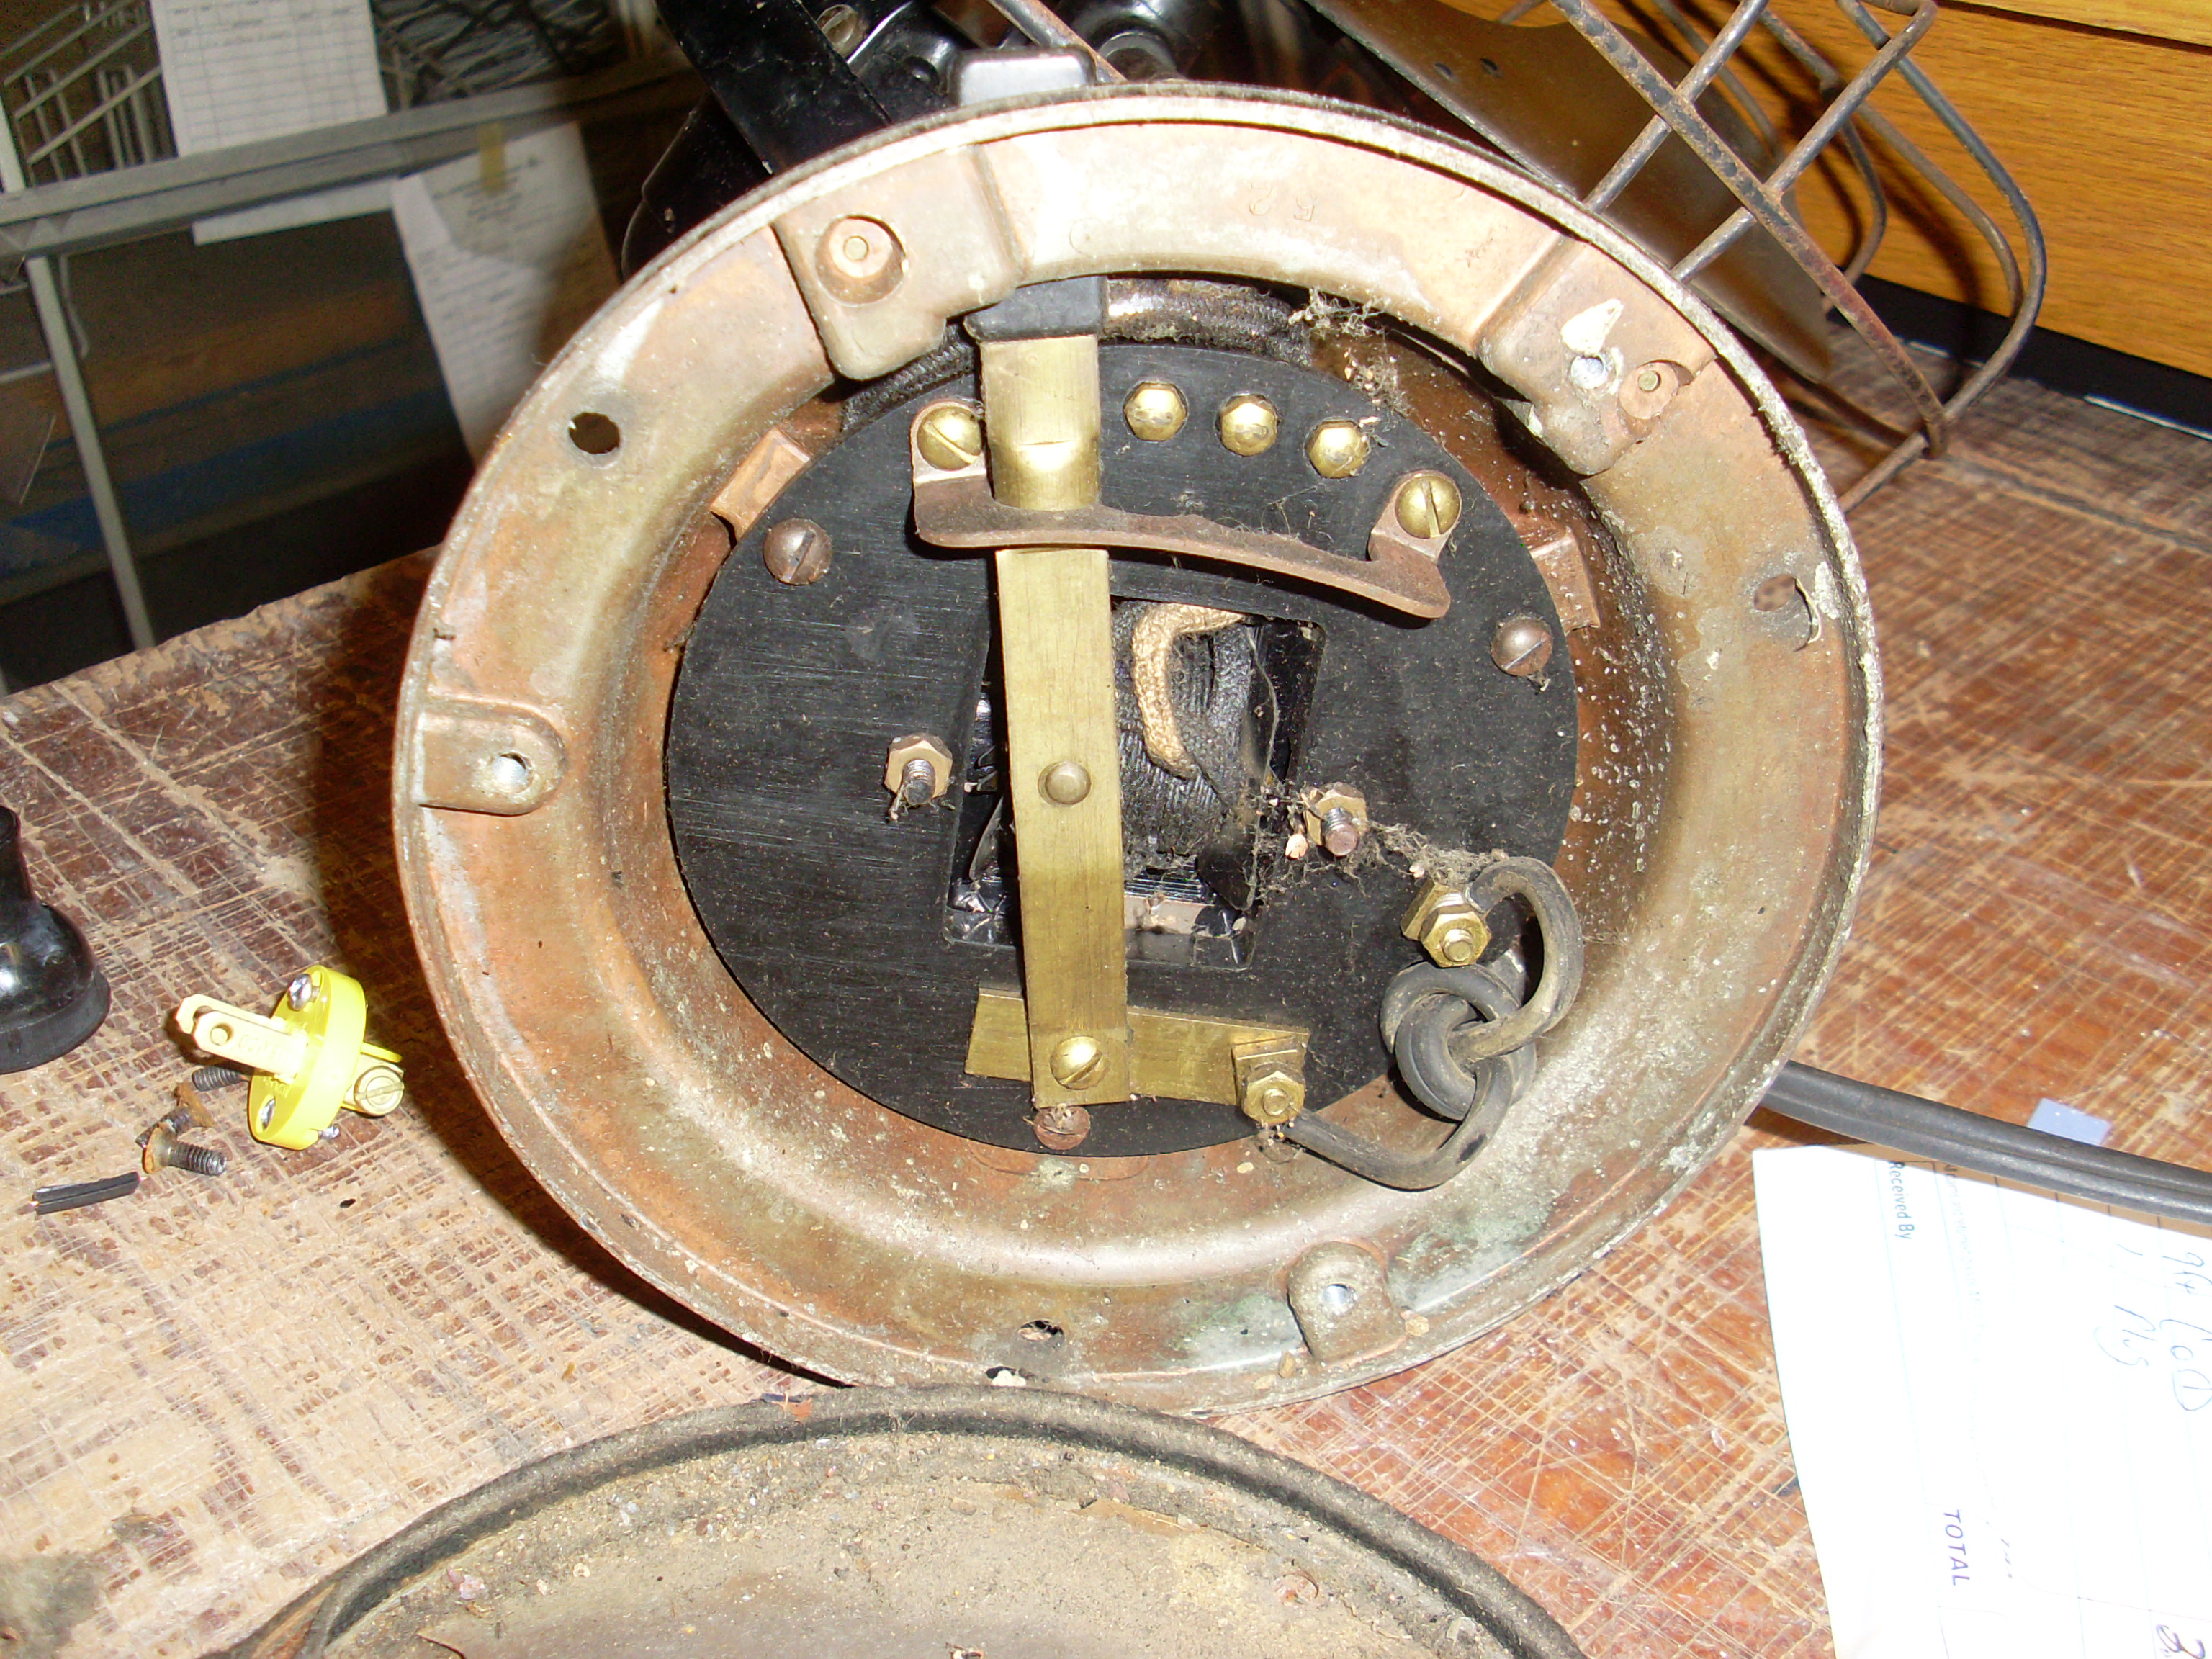
To replace the cord, first you have to remove the screws holding the baseplate of the motor on. With the baseplate off, the cord terminals and speed control switch are exposed on the bottom. This area is not really sealed, so there was a lot of dust to clean out. The power supply cord connects to two small studs with nuts on them. Remove the nuts and take out the old wire, taking careful note of how it is routed through the fan base.
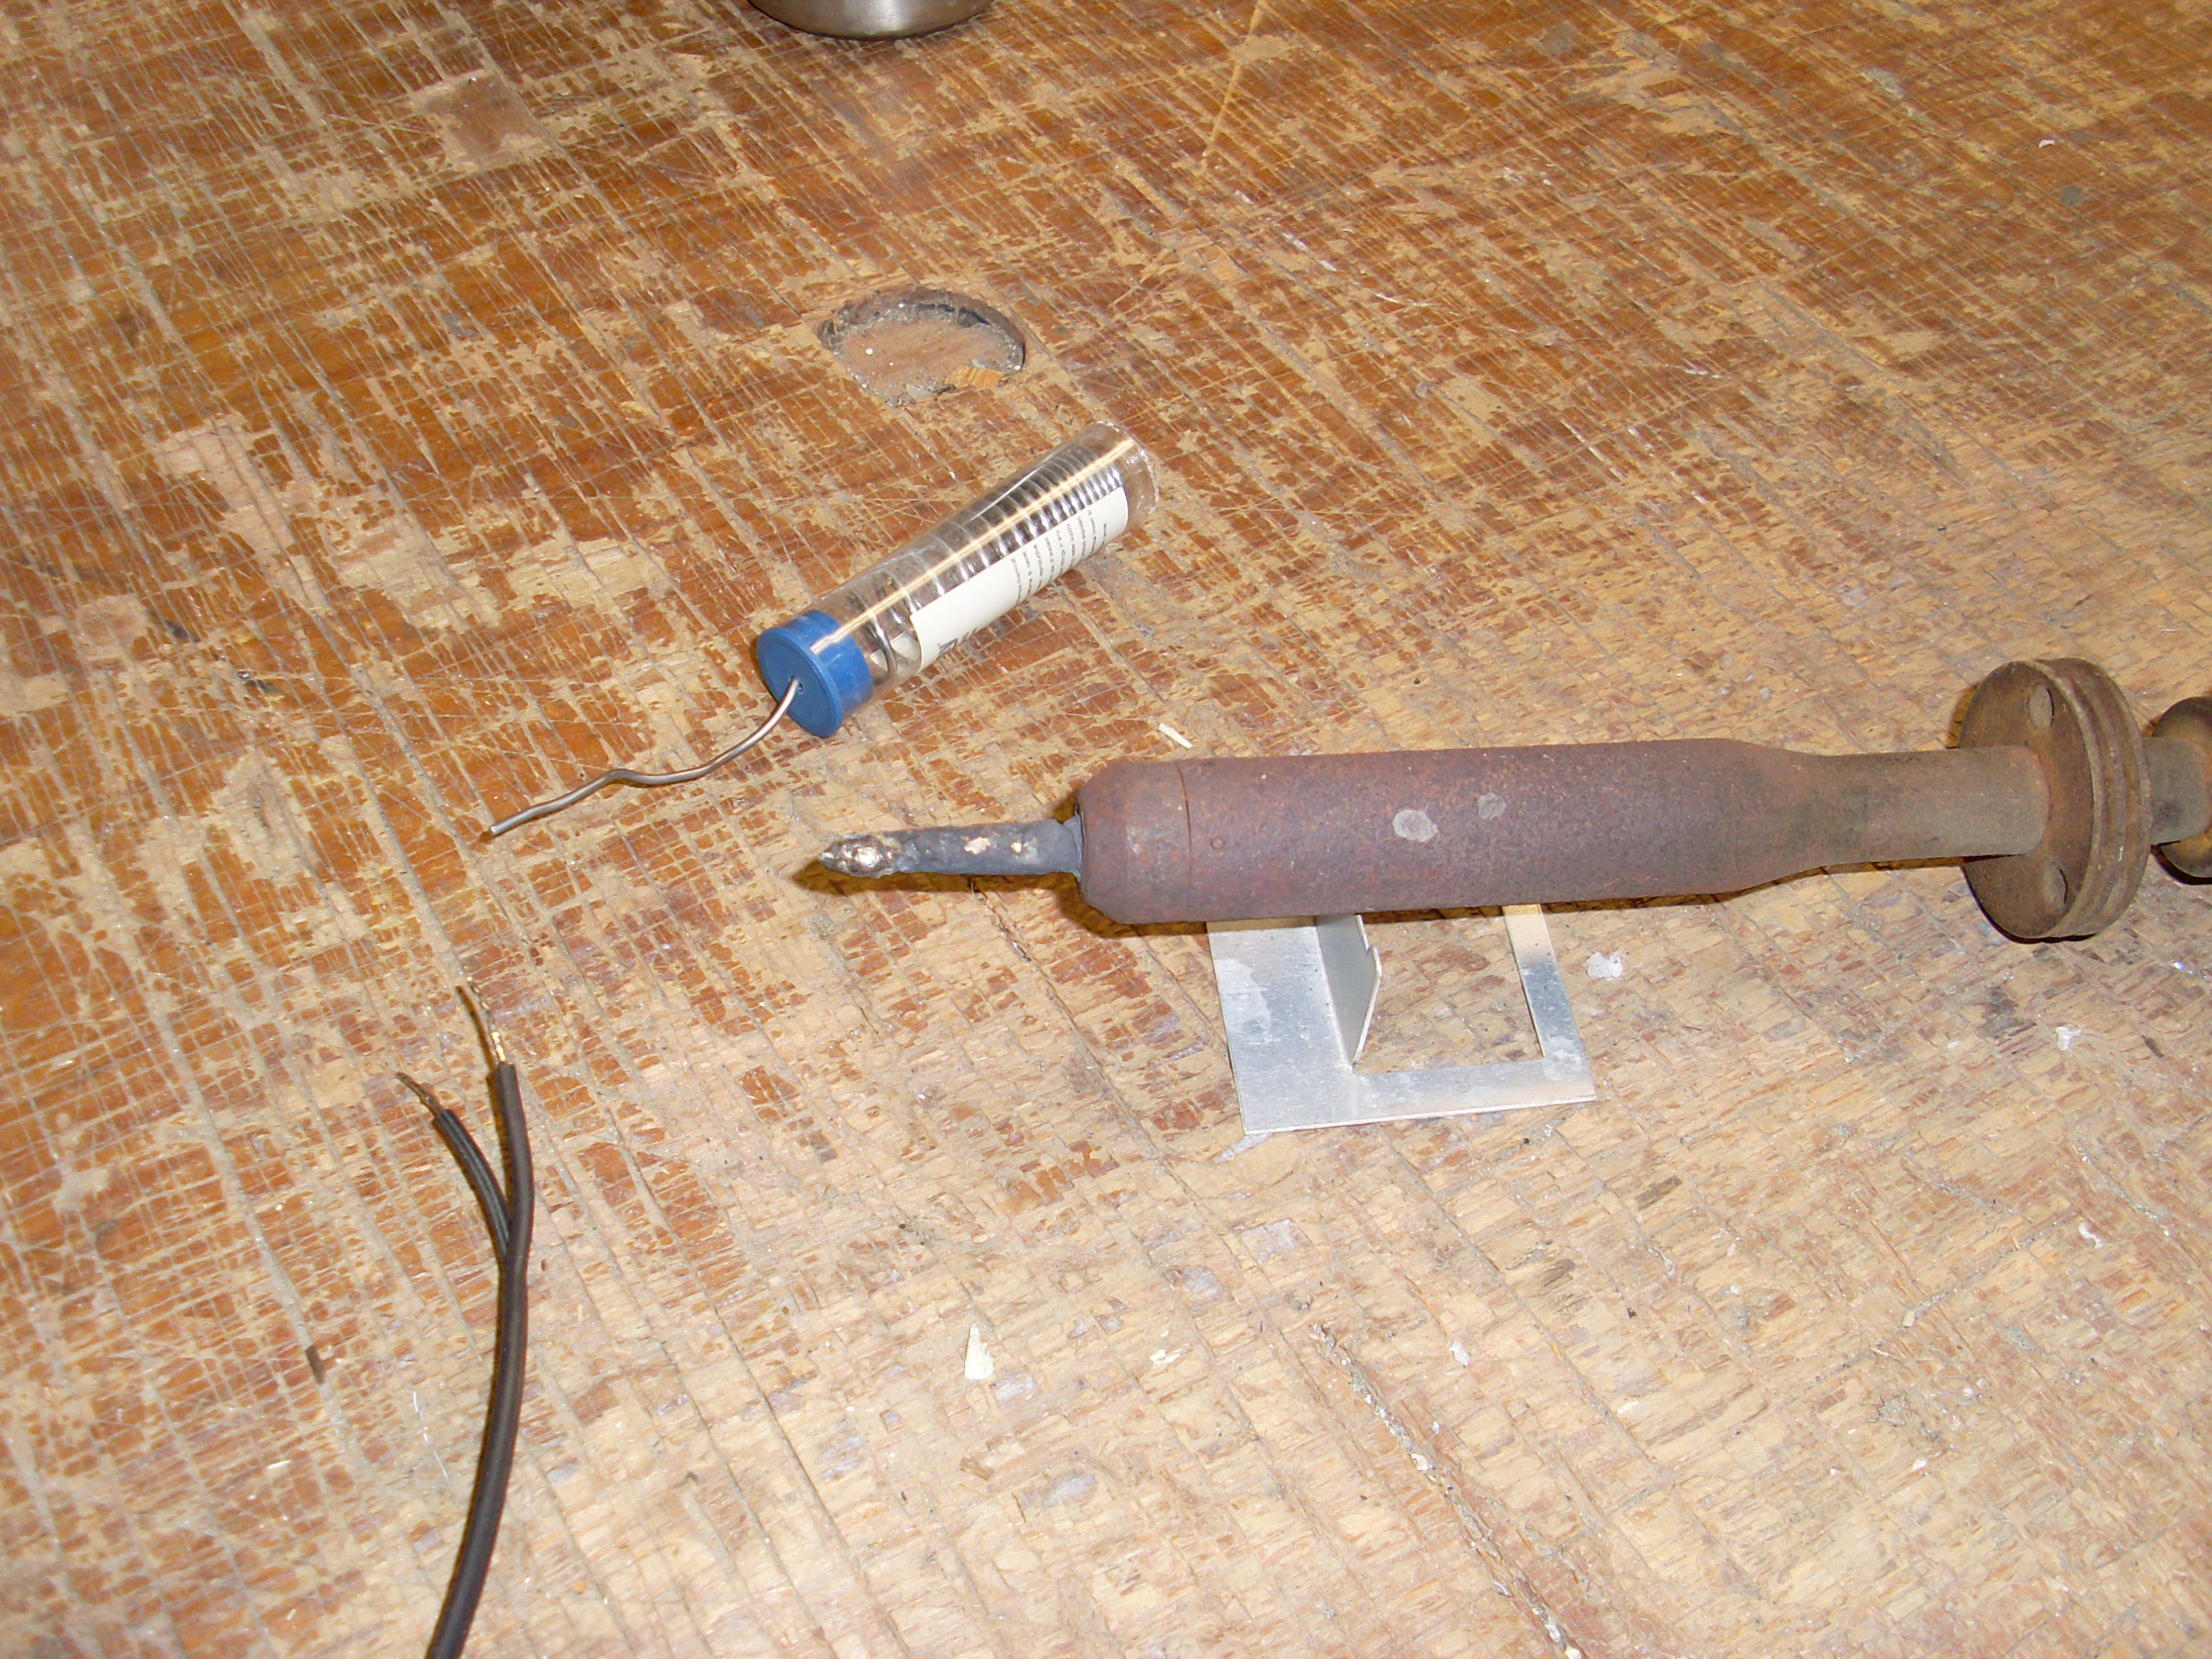
The new cord needed a plug put on the end, but first I tinned the stripped wire ends. My Grandfather taught me how to do this when replacing wiring. While not absolutely required, it accomplishes a couple things. Firstly it holds all the wire strands together, making it easier to wind them around the connection screws without letting any loose strands get away. Secondly it makes for a better electrical connection by electrically bonding all the wire strands together to make sure that they all carry their fair share of the current.
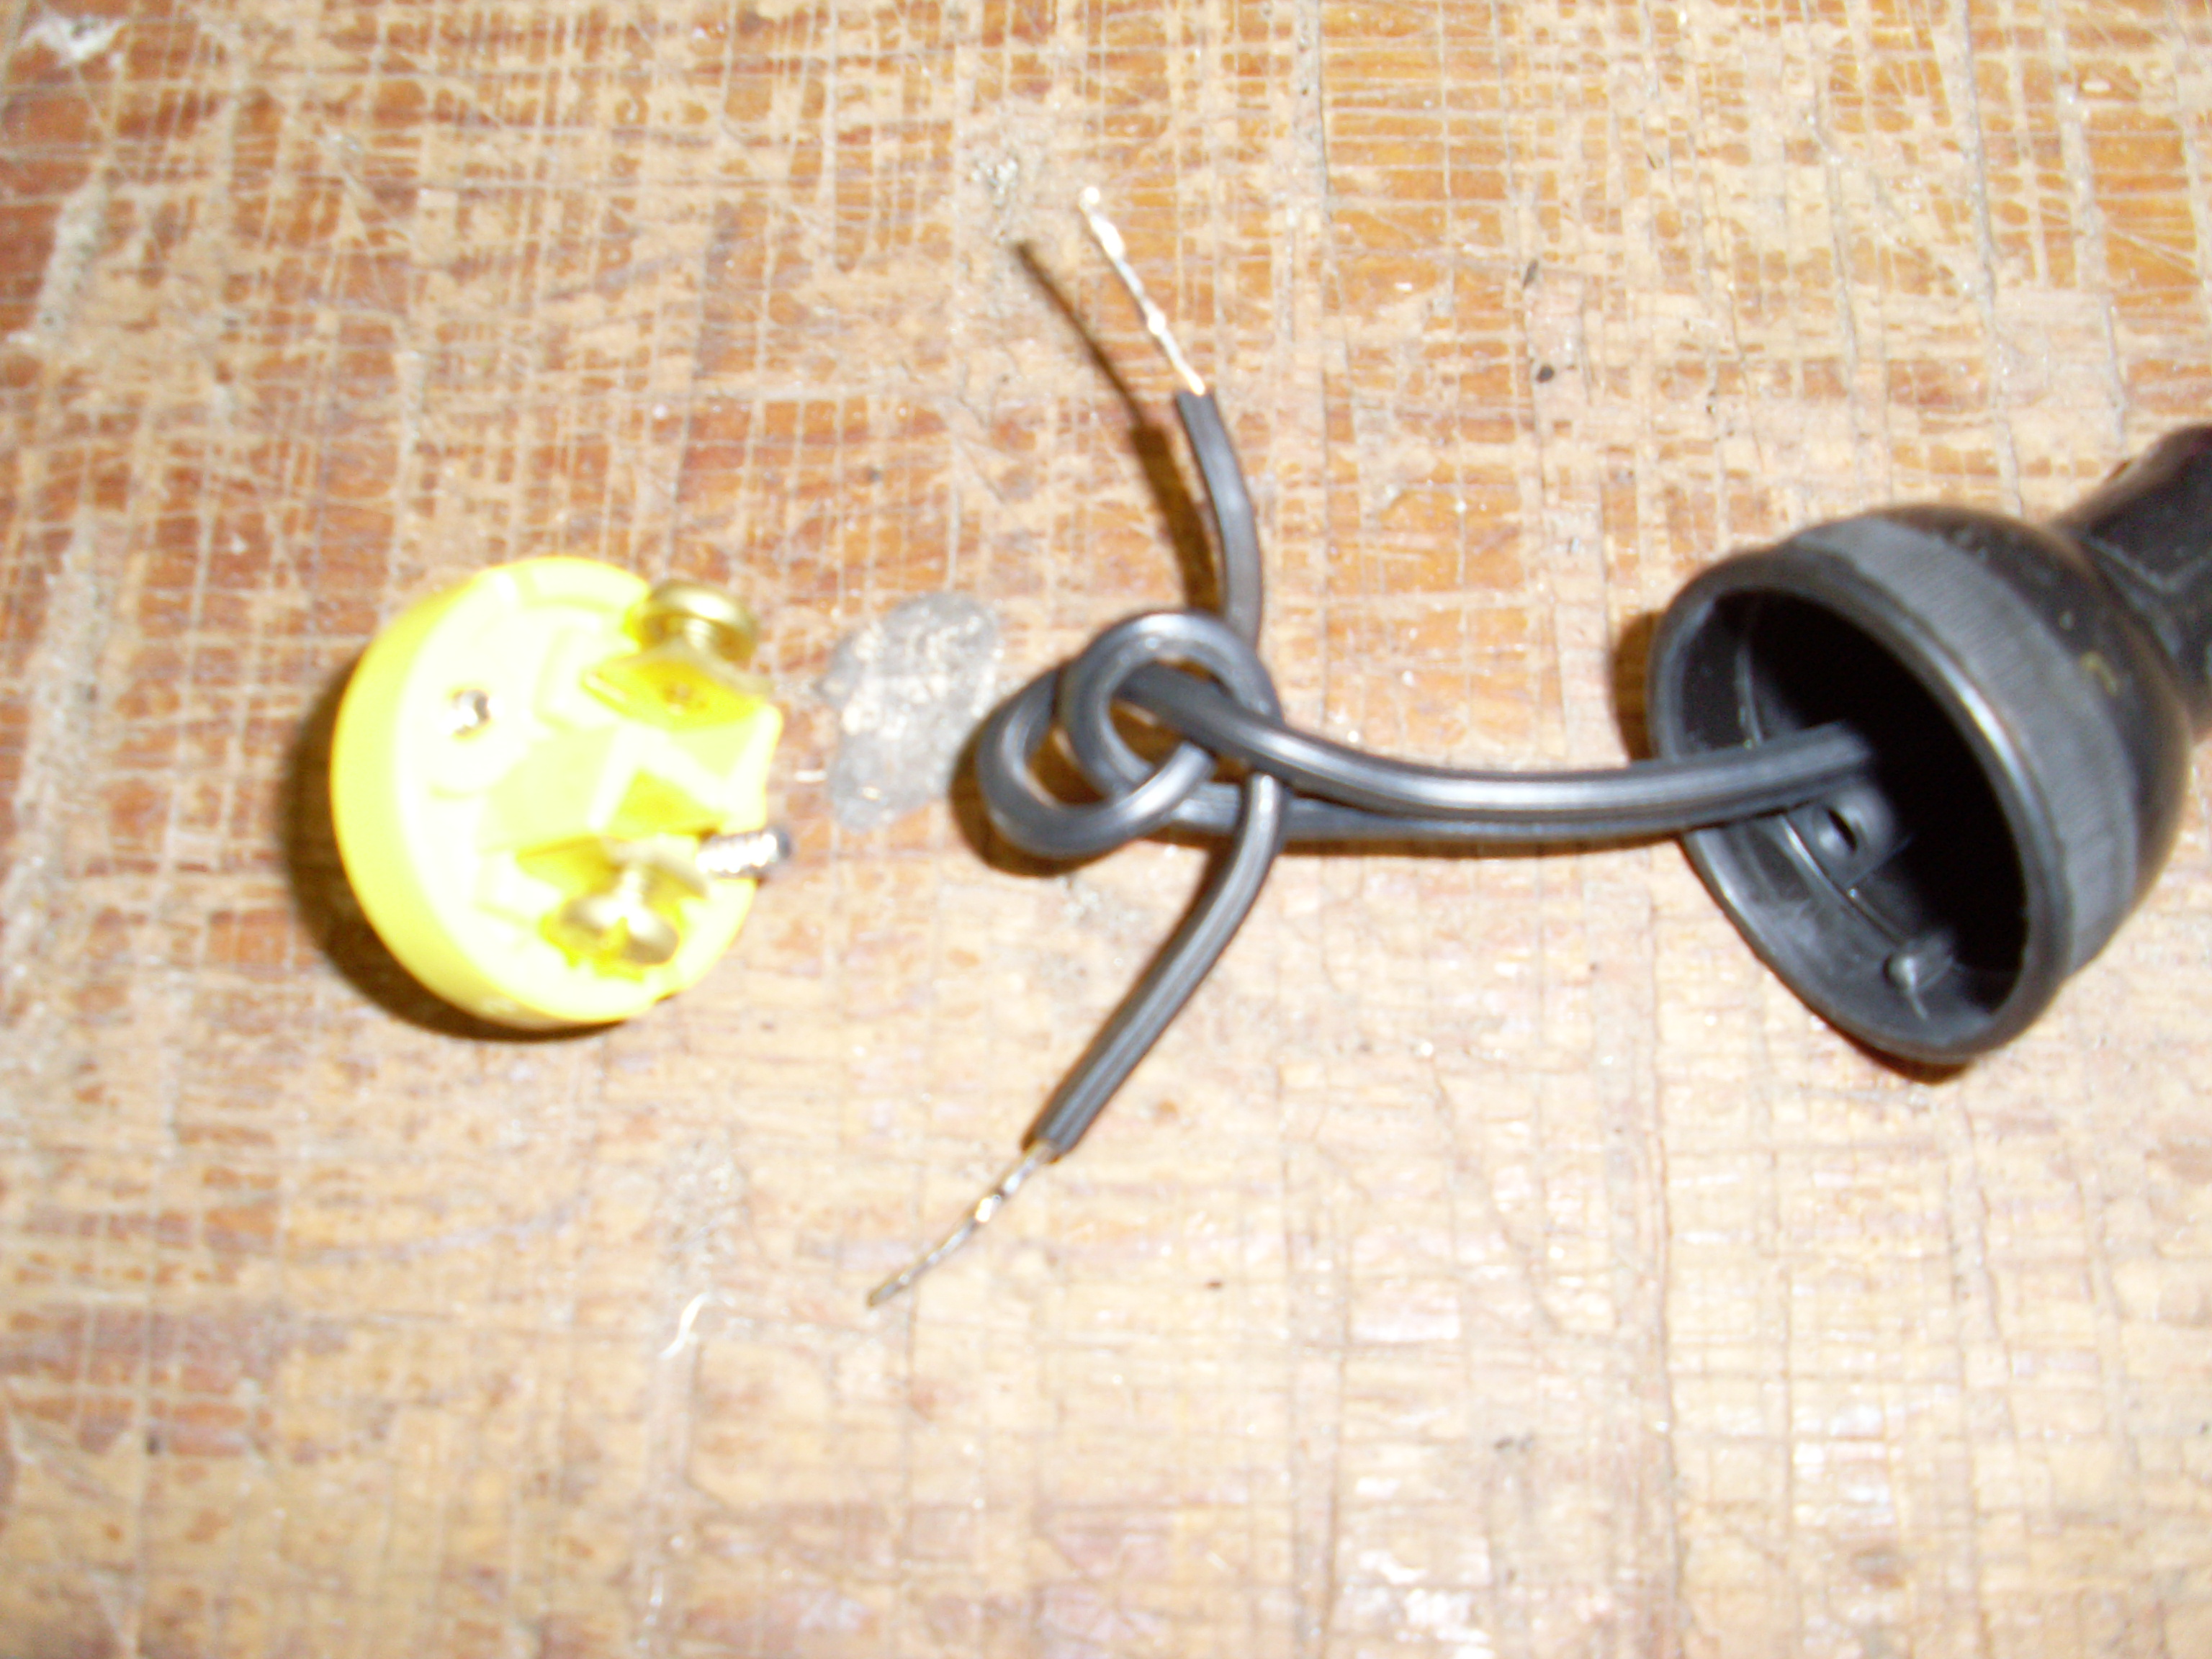
Another thing that you should do when installing a new cord is to tie an electrician’s knot in the end after threading it through the hole in the plug. This is needed on any wiring device that does not have a cord clamp (more properly a “strain relief”) incorporated in it’s design. That way, when you pull on the cord (which you shouldn’t, of course) the entire cord will take the strain, not just the copper conductors. I can’t really explain how to tie one, but a completed electrician’s knot looks like a pretzel to me (or maybe I’m just hungry). Instructions on how to tie one are included with most plugs, or I’m sure that you could look it up on YouTube.
Thread the other end of the cord through the fan base and then tin and tie it too. Connect the wires snugly, but don’t break anything. I then replaced the baseplate and re-glued the felt that was coming off the bottom of the fan and the job was finished. Well, not quite, my Dad told me that no repair is finished until you have tested it out. So I plugged the fan in and gave it a whirl. And as they say, that is that, at the Old Hardware Store…