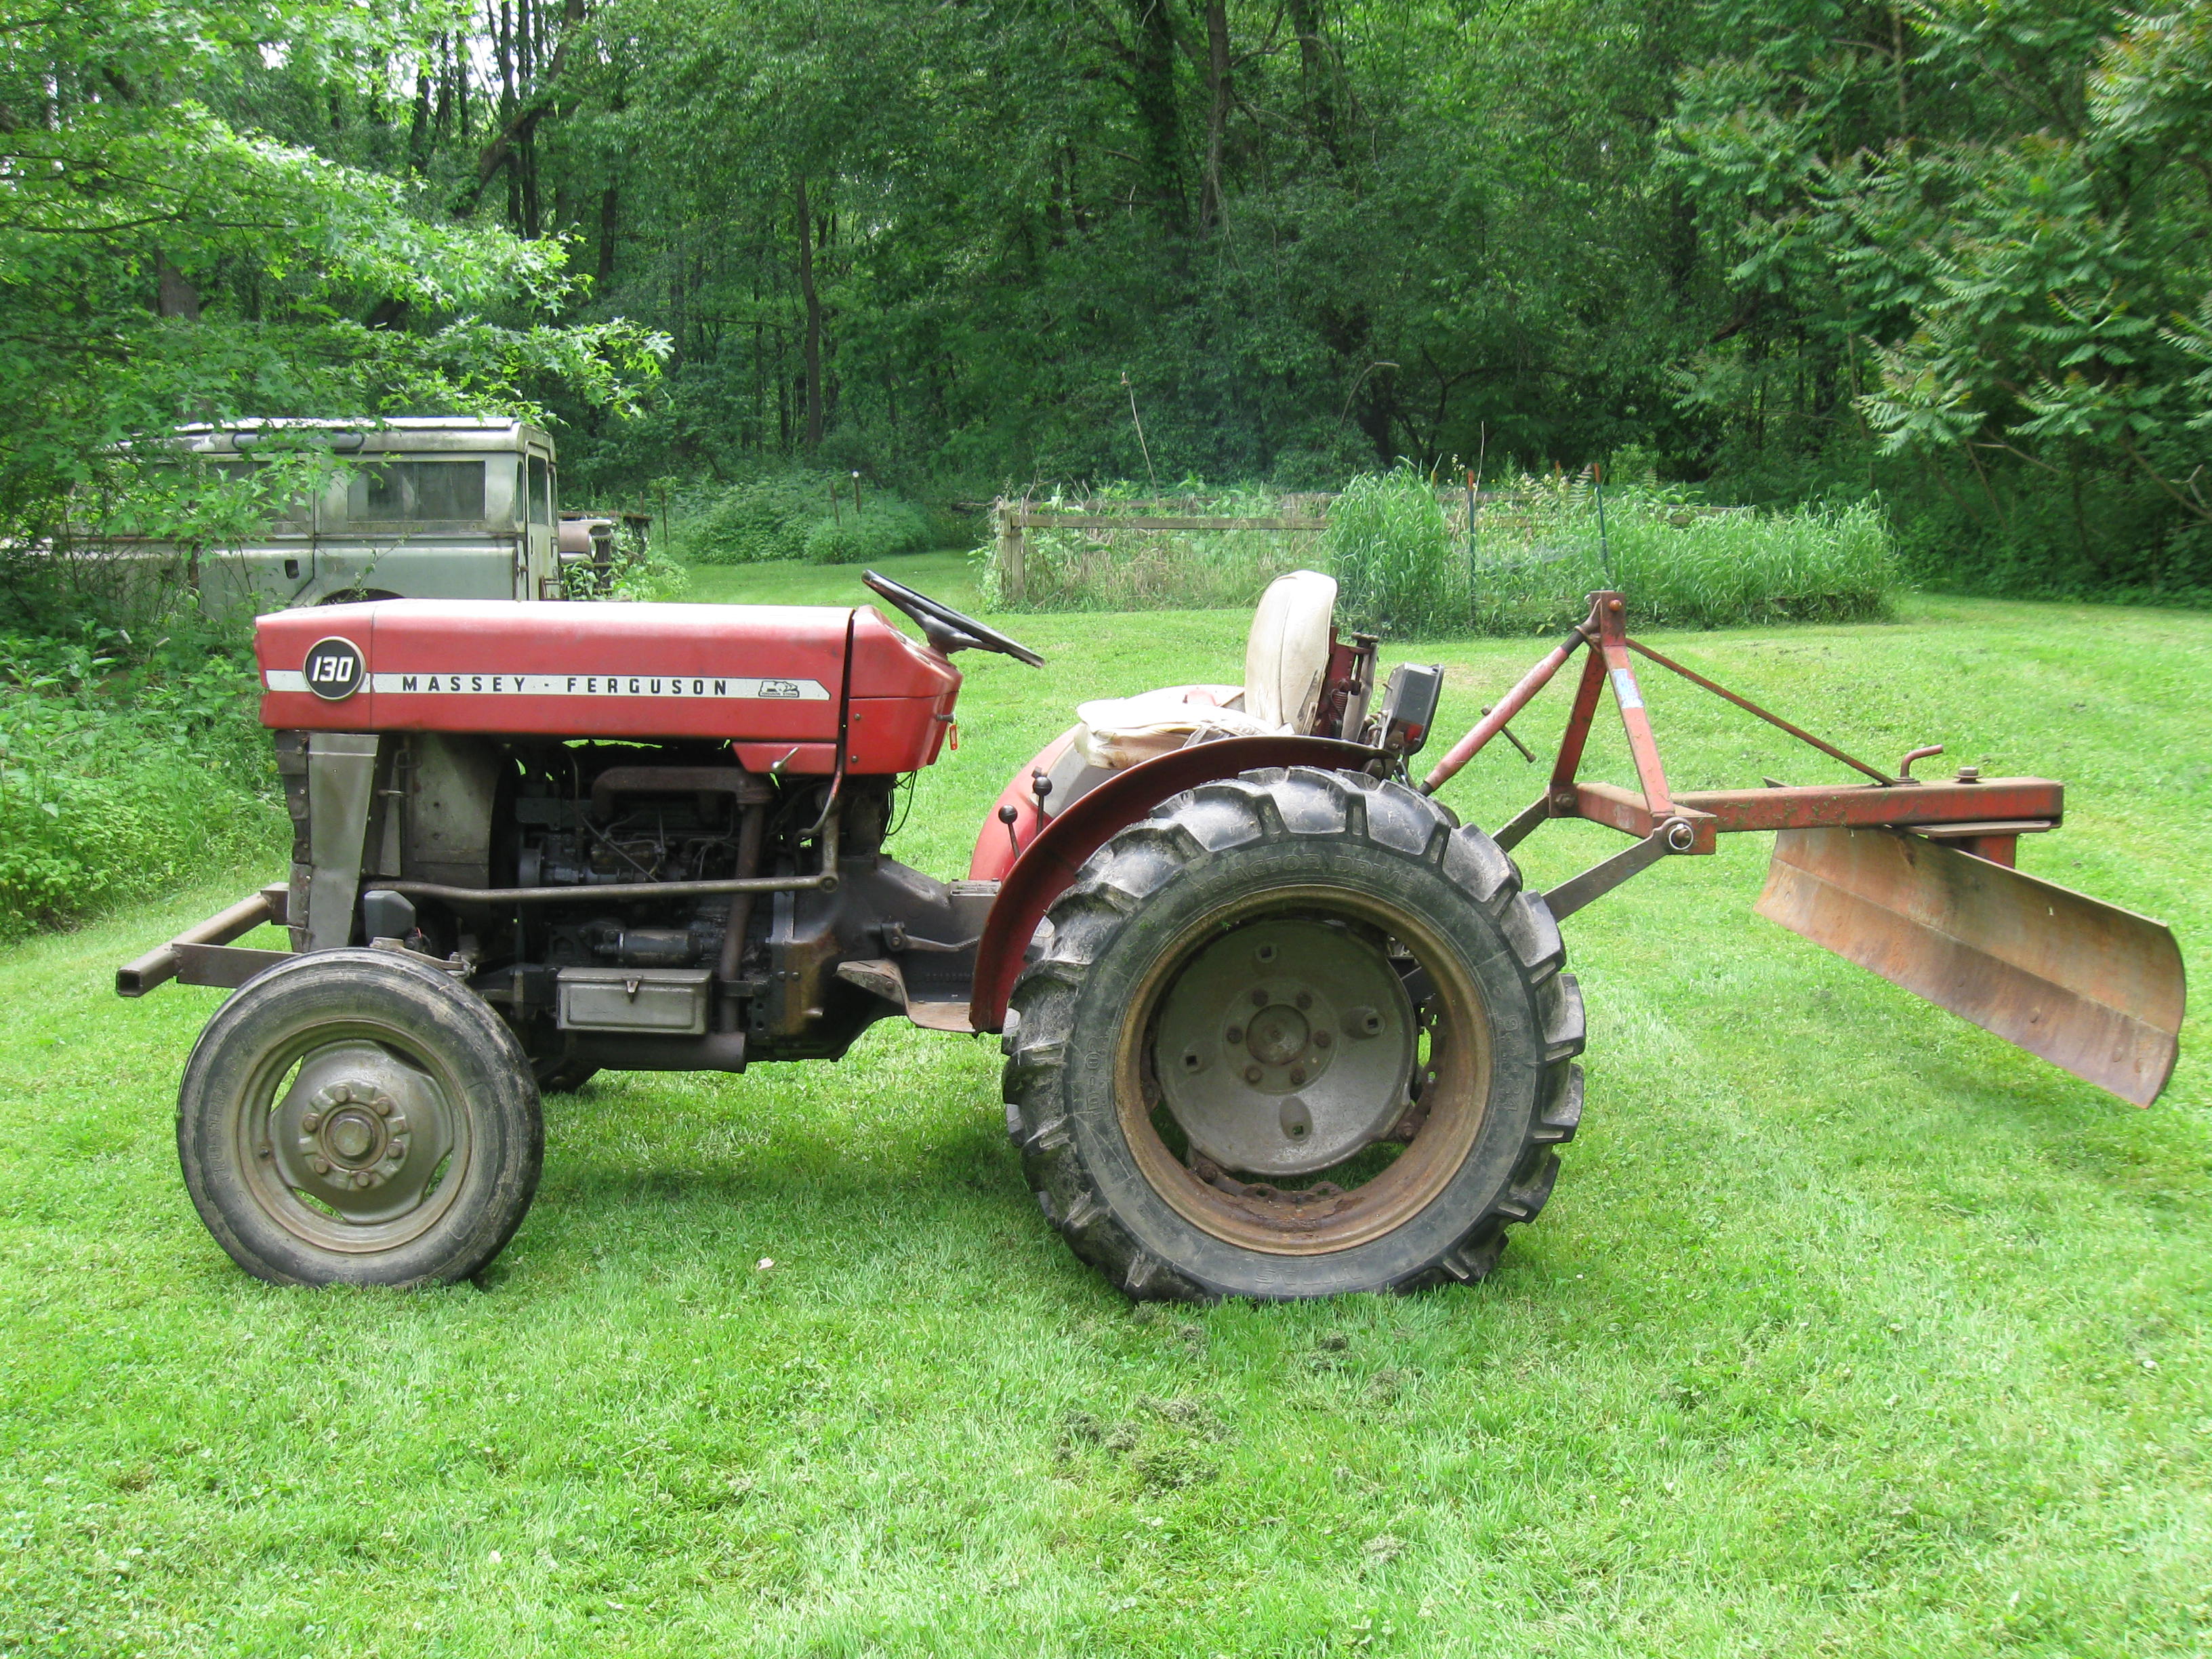
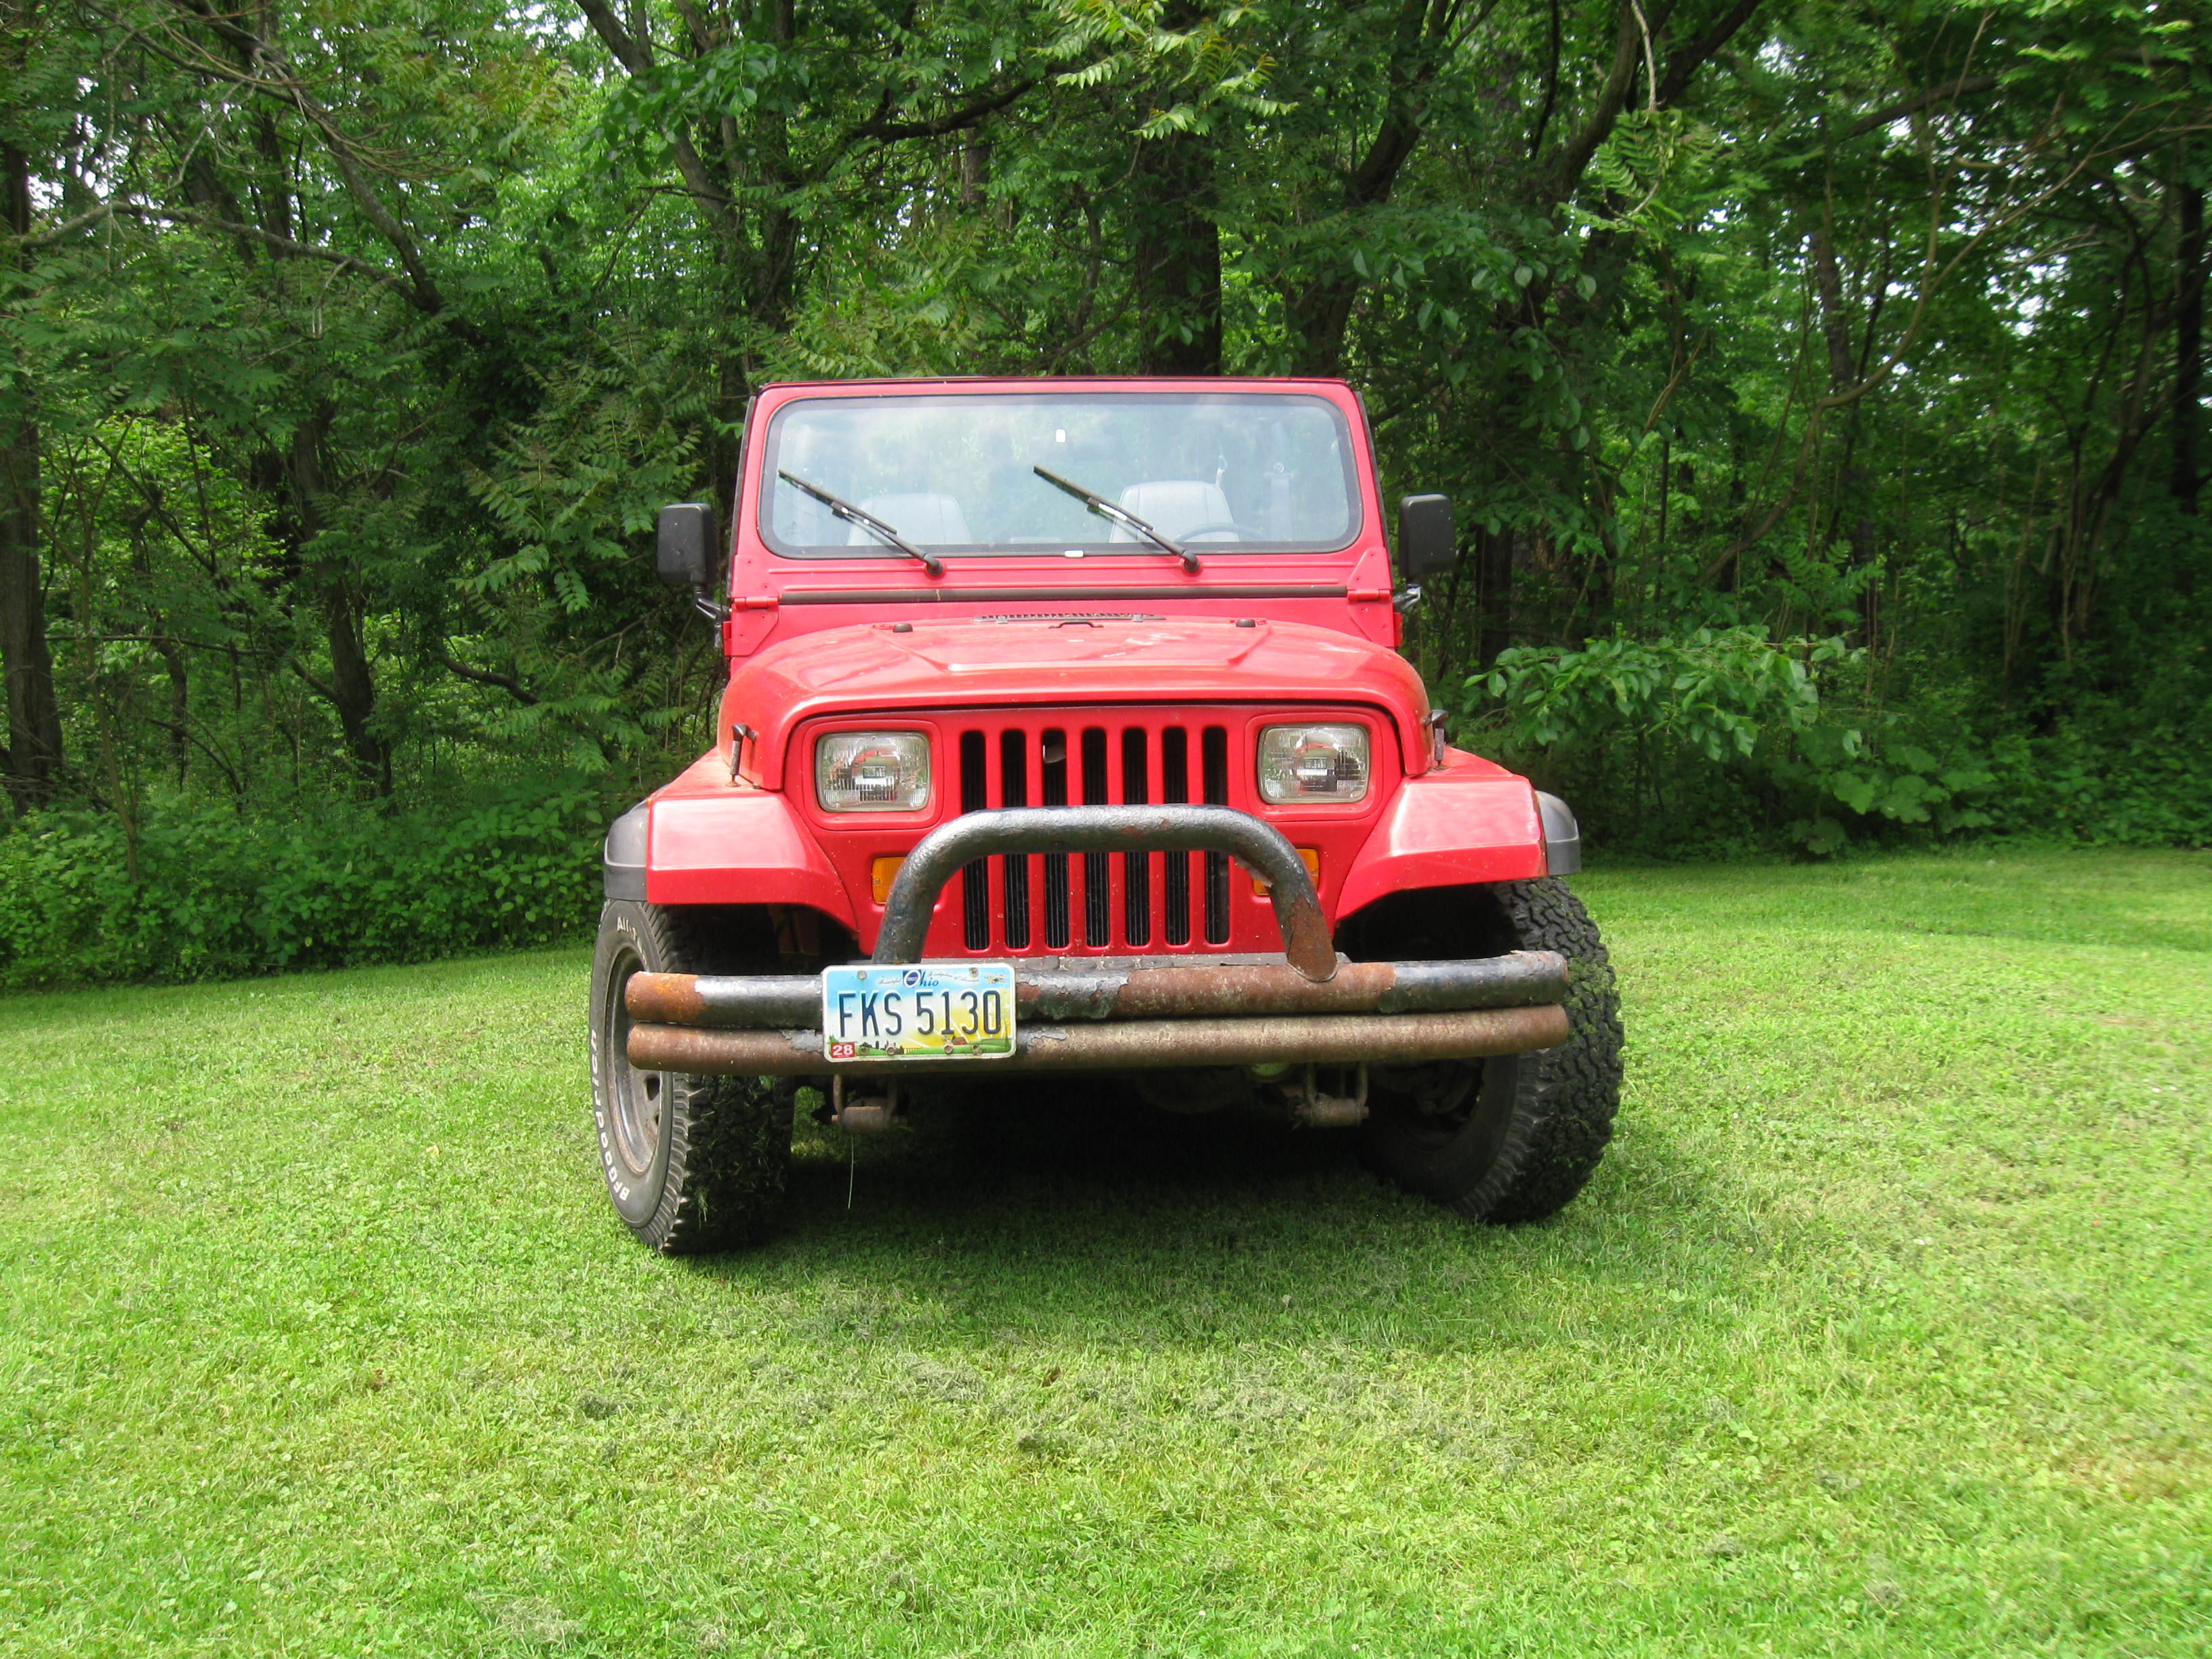
Now that the rain has stopped, at least for now, I’ve been getting busy with yard work. The first thing that I had to do was transform my Massey Ferguson tractor from Winter mode (snow blade) back to Summer operation. It would not start again, dead battery, so I had to use the Jeep to jump start it. That old battery just has to go!
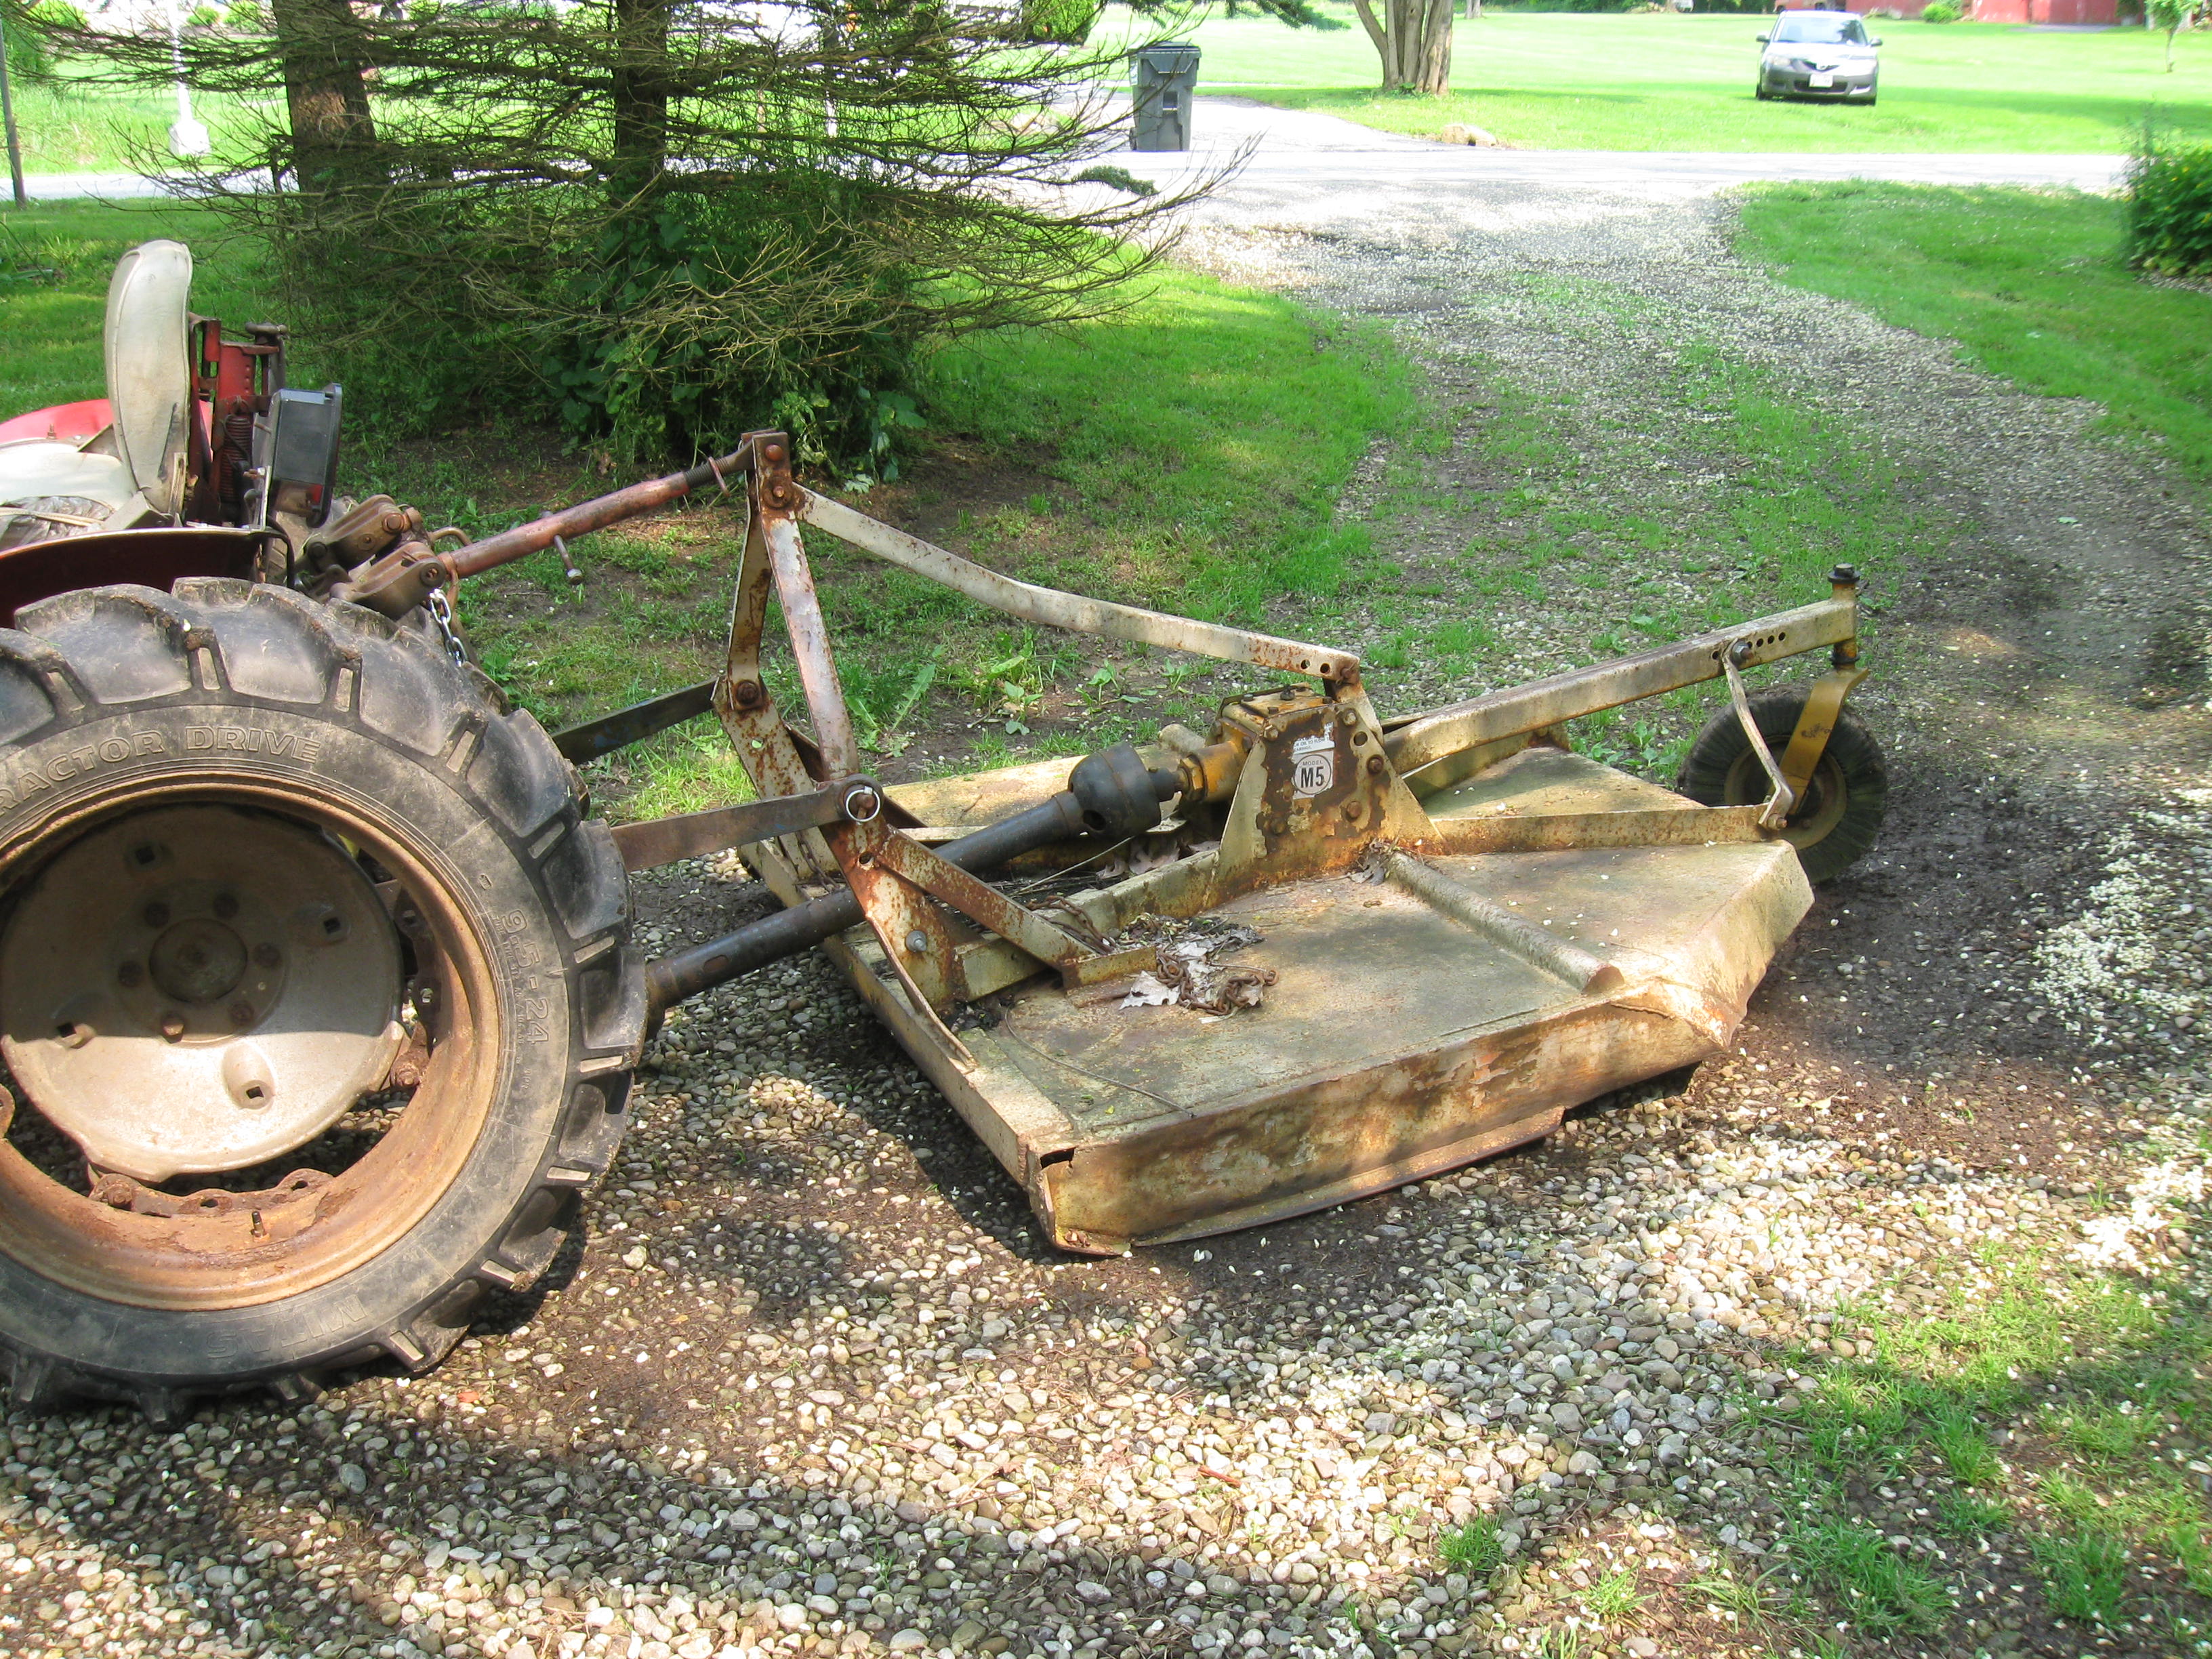
If you’ve never taken a close look at how rear implements are mounted on a tractor, I’ll give you a quick rundown. They are mounted by what is called a 3-point attachment. This was invented in the late 20’s by an Englishman, Harry Ferguson, and was known for many years simply as the Ferguson System. Its many advantages convinced Henry Ford to close a handshake deal with Harry Ferguson (imagine that today) to add Ferguson System attachments to all Ford tractors being made. This was a great sales advantage to Ford as no other manufacturers could offer a comparable set-up until Ferguson’s patents ran out after the war.

Just what is so great about a 3-point attachment? Just let me tell you. A 3-point attachment, also called a 3-point lift, connects, as the name implies, to three different places on each implement. There are two lower arms, one on each side, and one top bar, or link, in the middle. These arms are hooked up with quick release hitch pins, so no tools (other than maybe a big hammer, see below) are needed. The lower two arms are adjustable up and down, controlled by the tractor’s on-board hydraulics system. One of them has a manual screw adjustment on it to adjust side-to-side tilt. The top link also has a big screw to adjust its length, this adjustment will tip the implement front to back.
The procedure for changing implements is simple and straightforward , if not always as easy as it should be. Just use the tractor to back the old attachment (the snow plow) up to where you want to park it (at our house that’s the old strip of concrete across the back yard where they used to feed the cows. When you’ve got the implement where you want it, use the hydraulic control to lower it to the ground. Then set the parking brake (I have to use a screwdriver to jamb mine on). Pull the pins out from the bottom arms and then the top link.
Then maneuver the tractor to the new implement that you want to use and reverse the procedure. The problems come in when the pins don’t quite line up and you have to try adjusting the tractor position, arm height, top link length and the attachment location, if it’s light enough to budge by hand, most aren’t. Once that you’ve got all the pins in, use the lift to pick up the implement and drive it to a level spot (I use the driveway) to adjust the tip, tilt and working height to what you need.
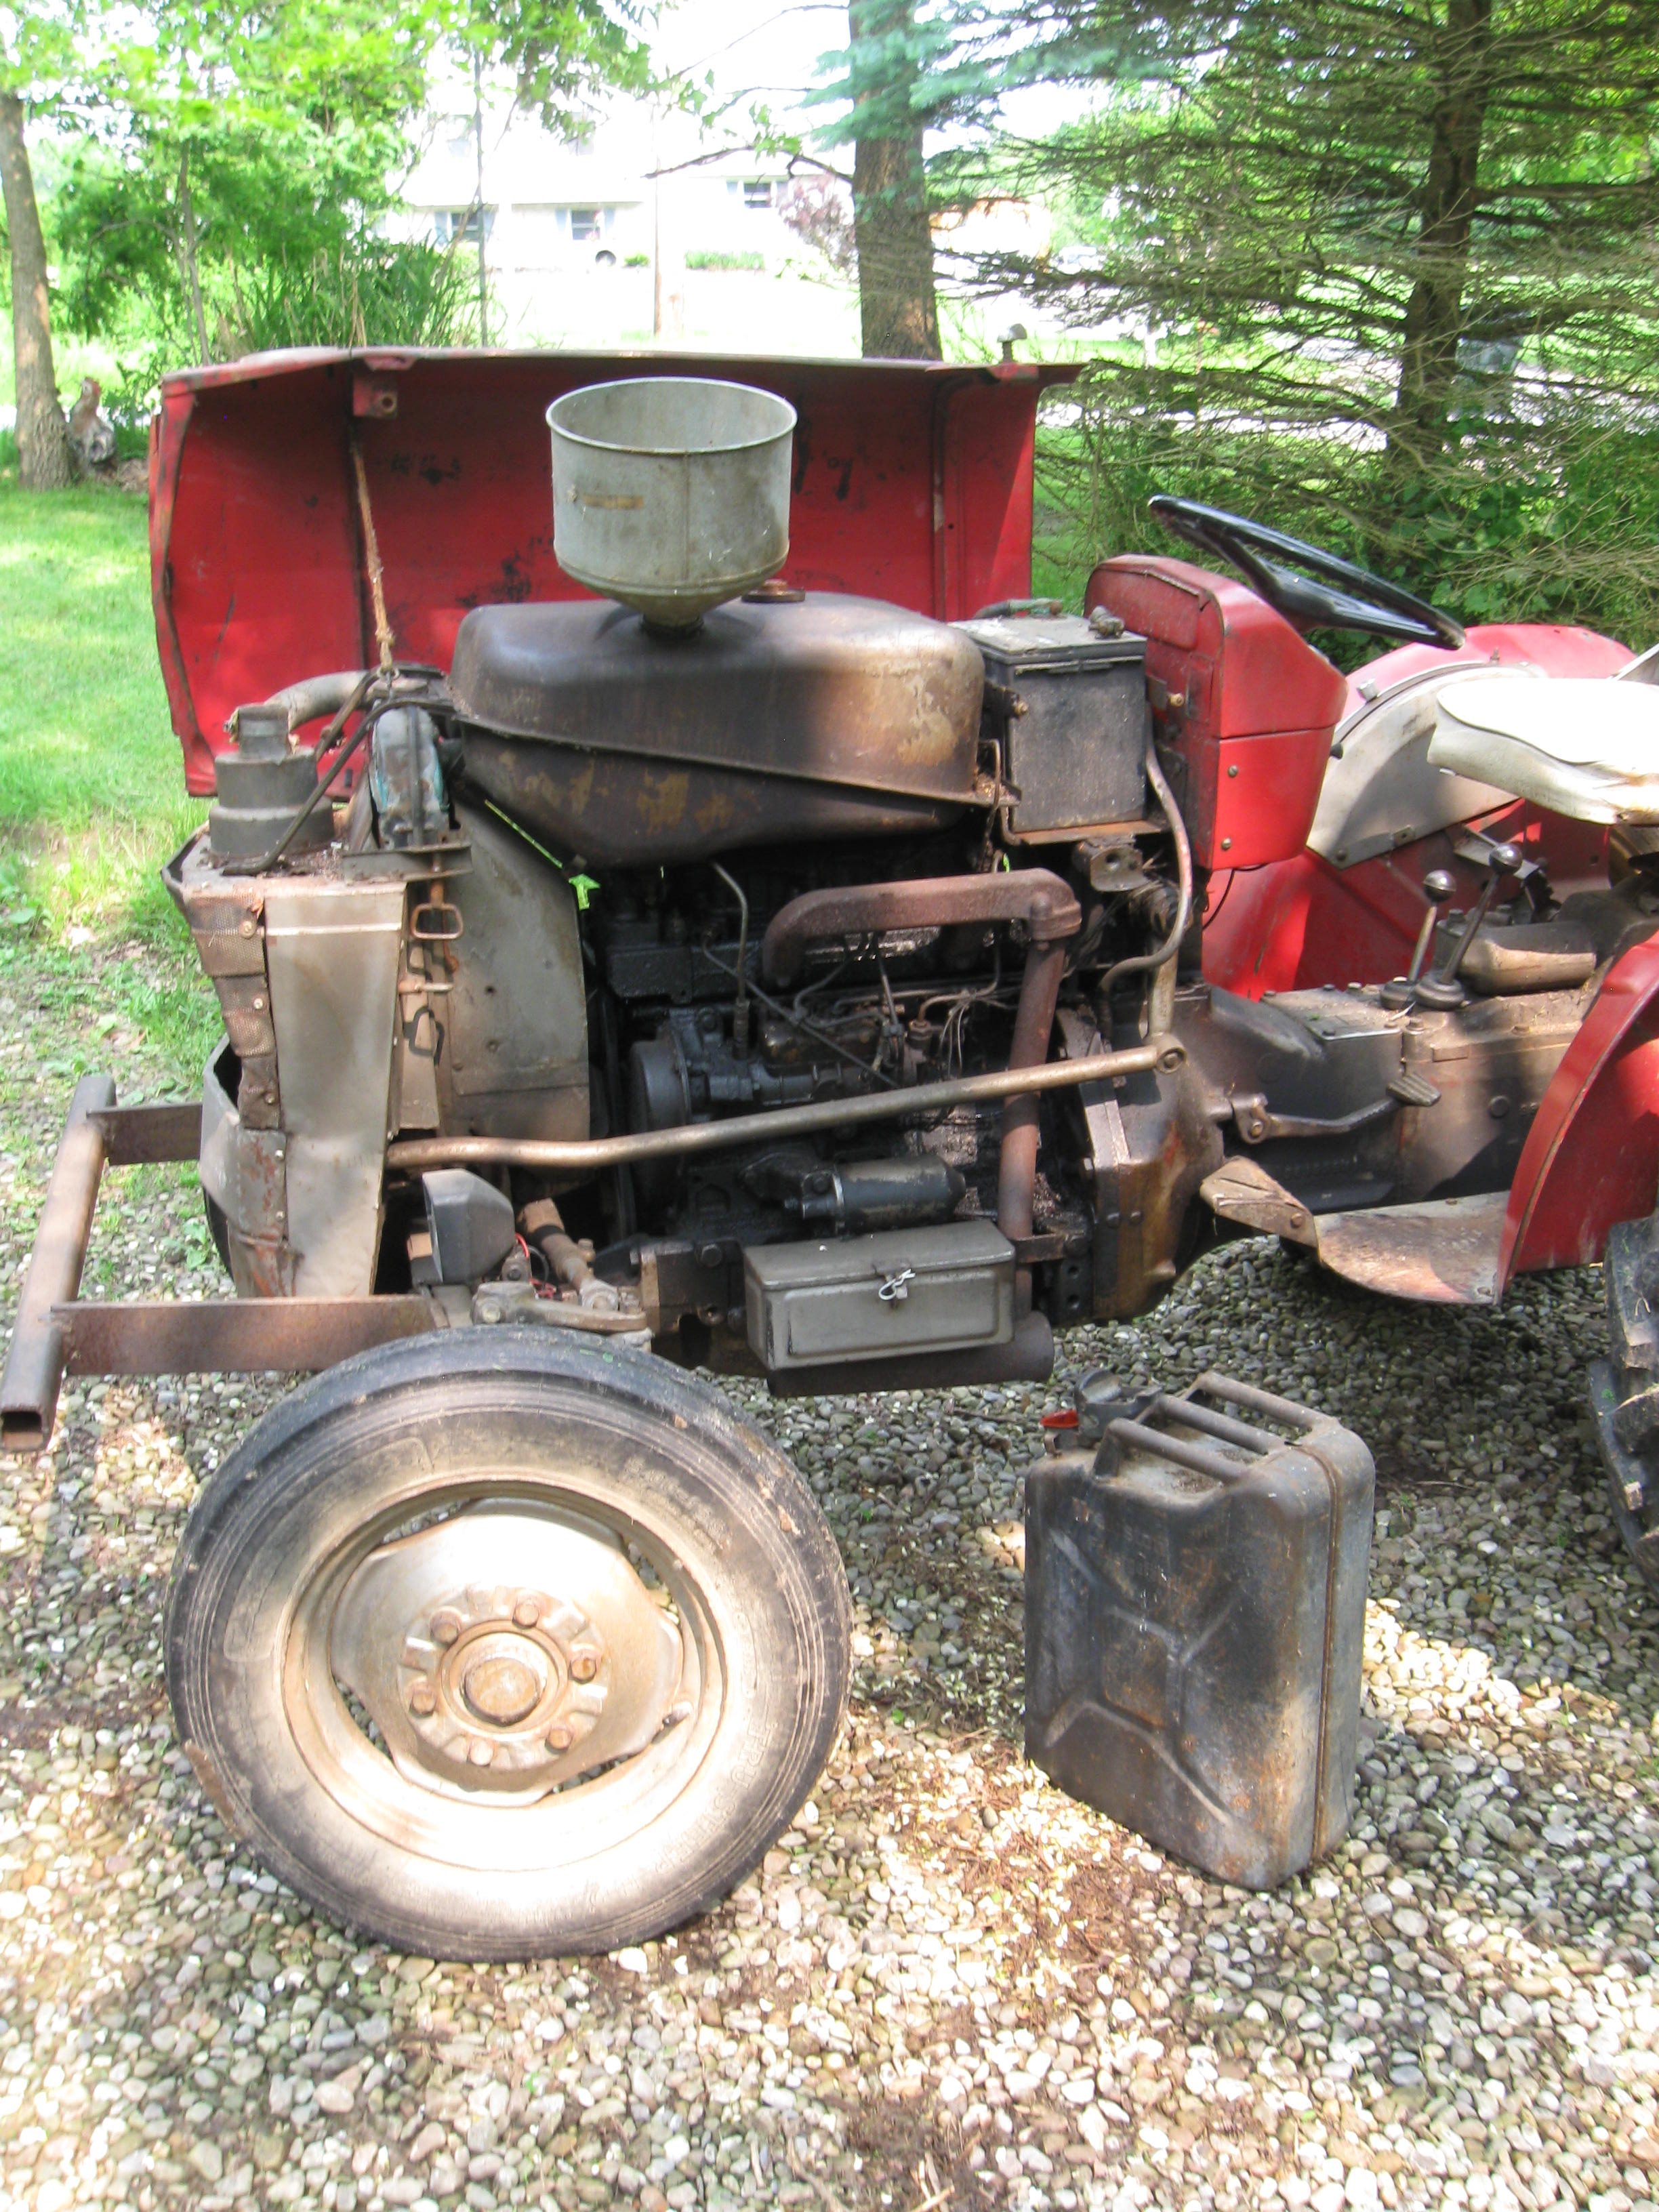
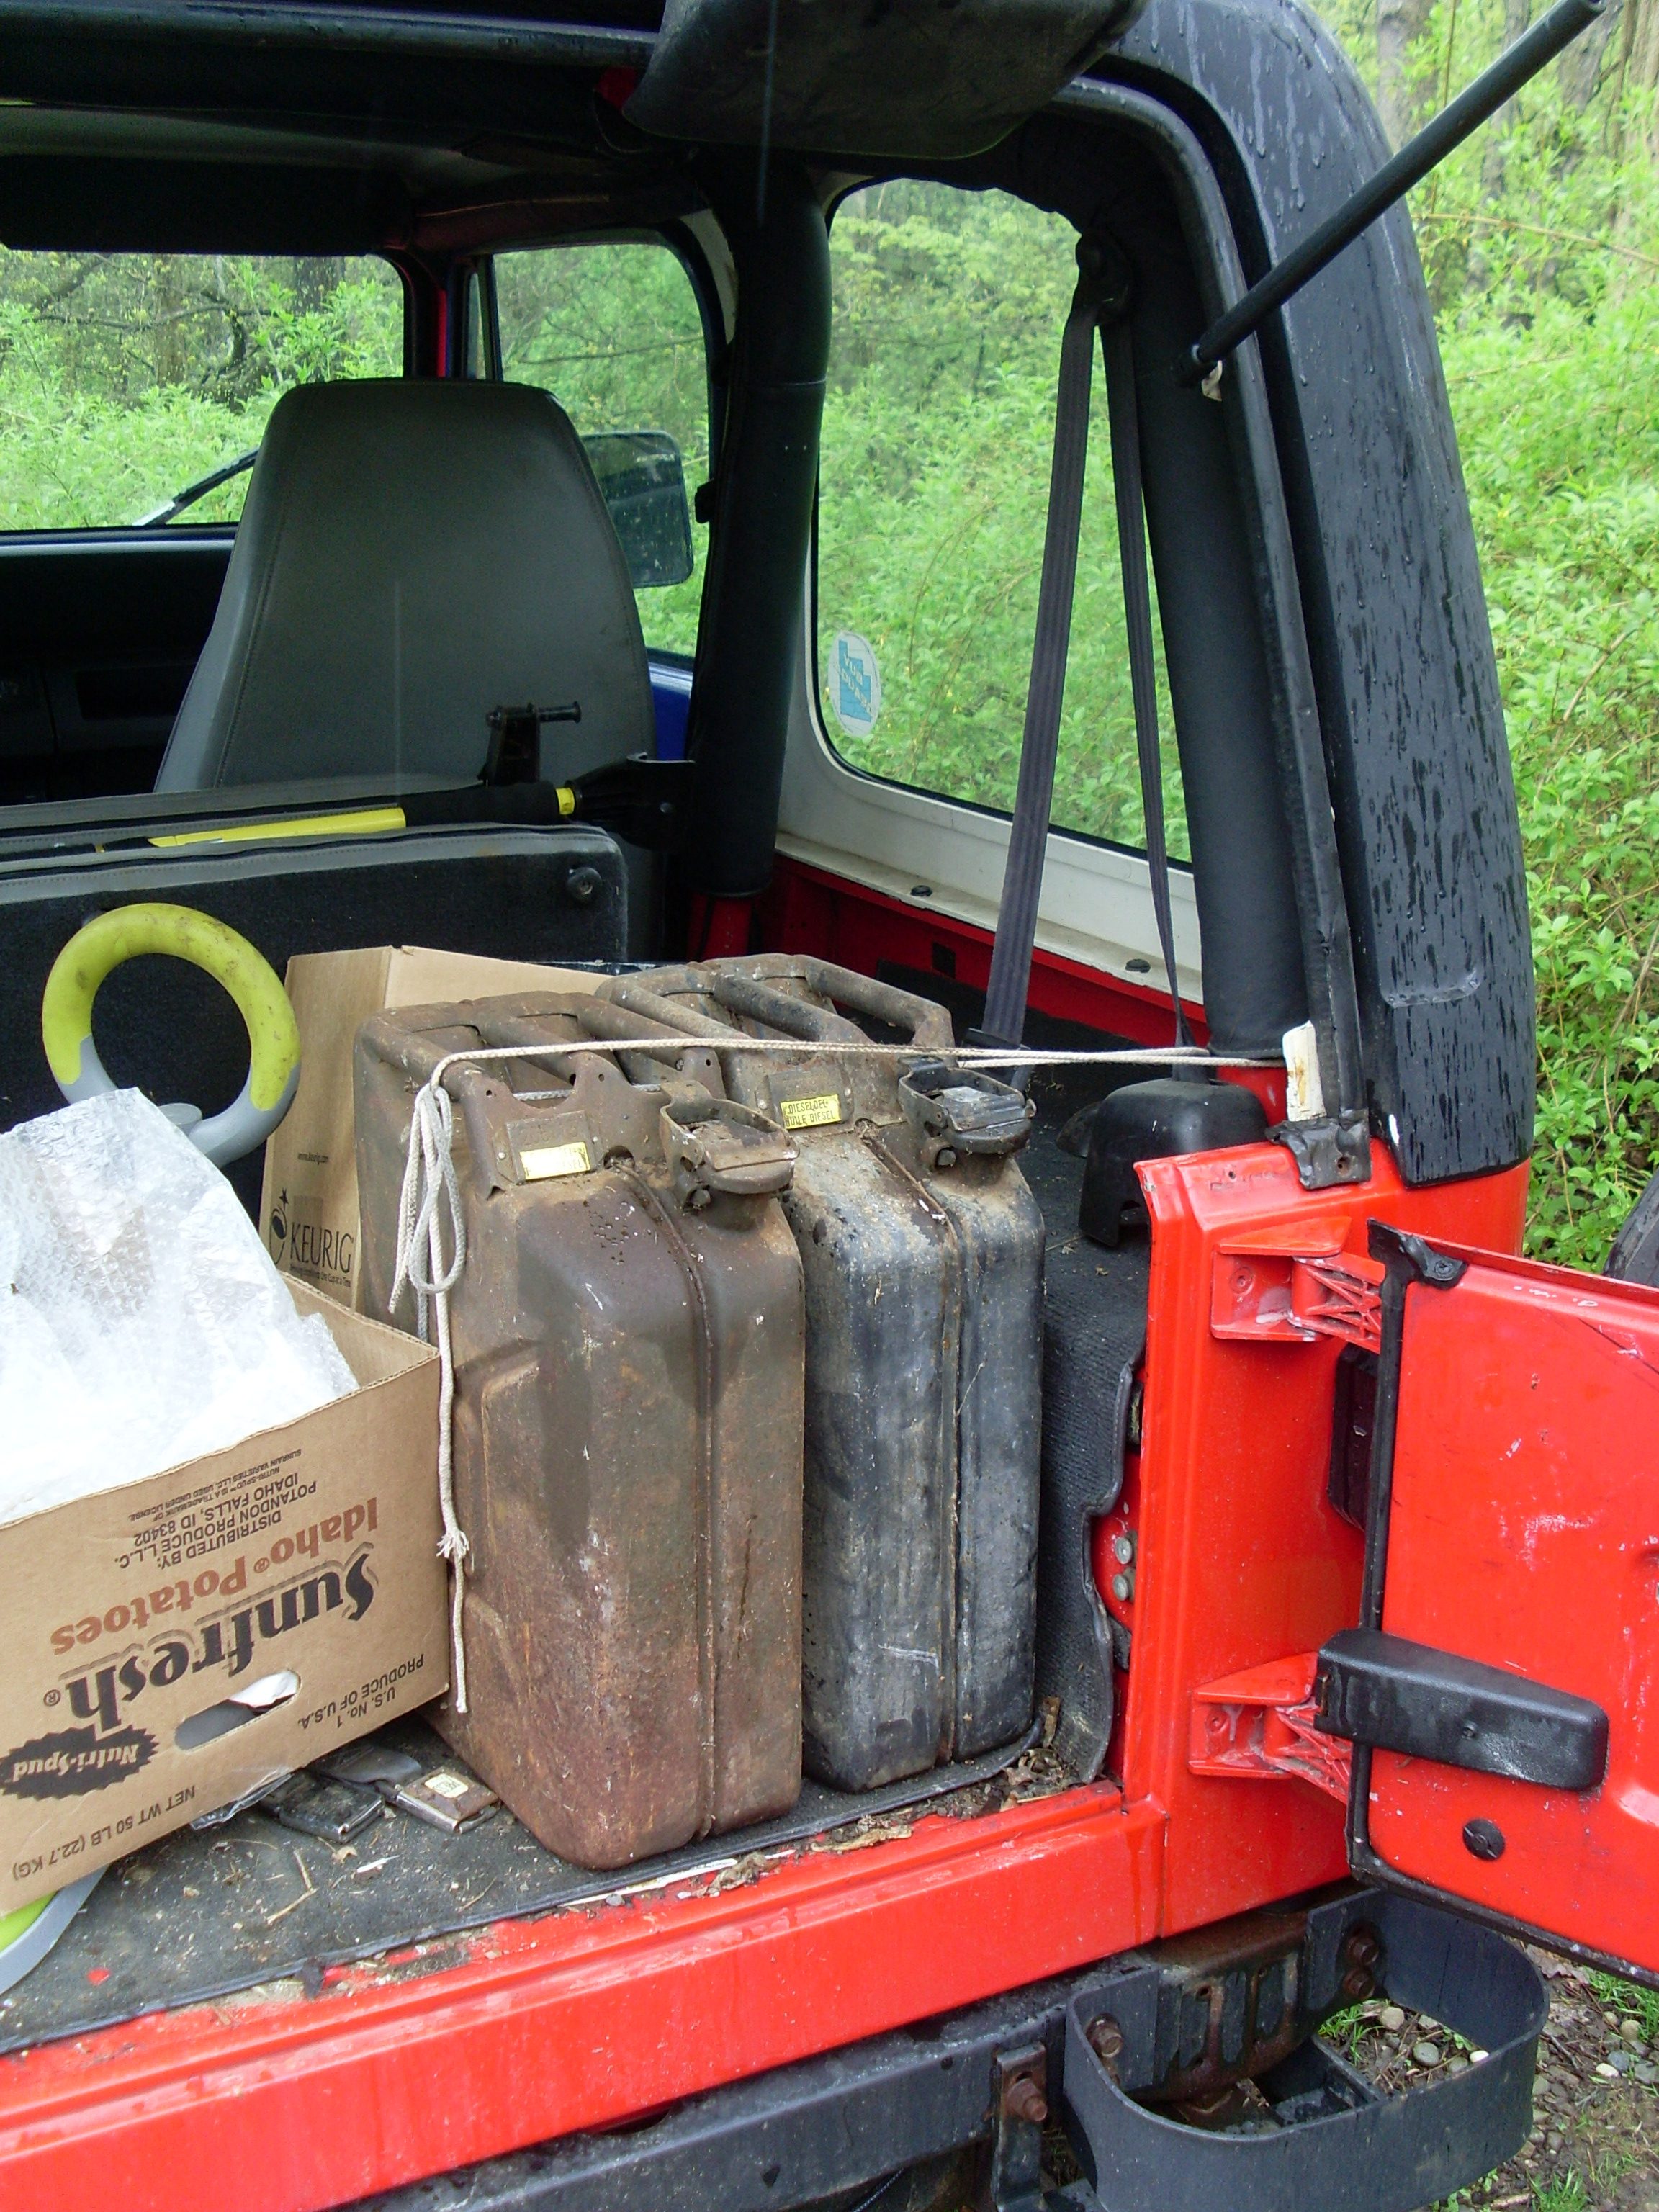
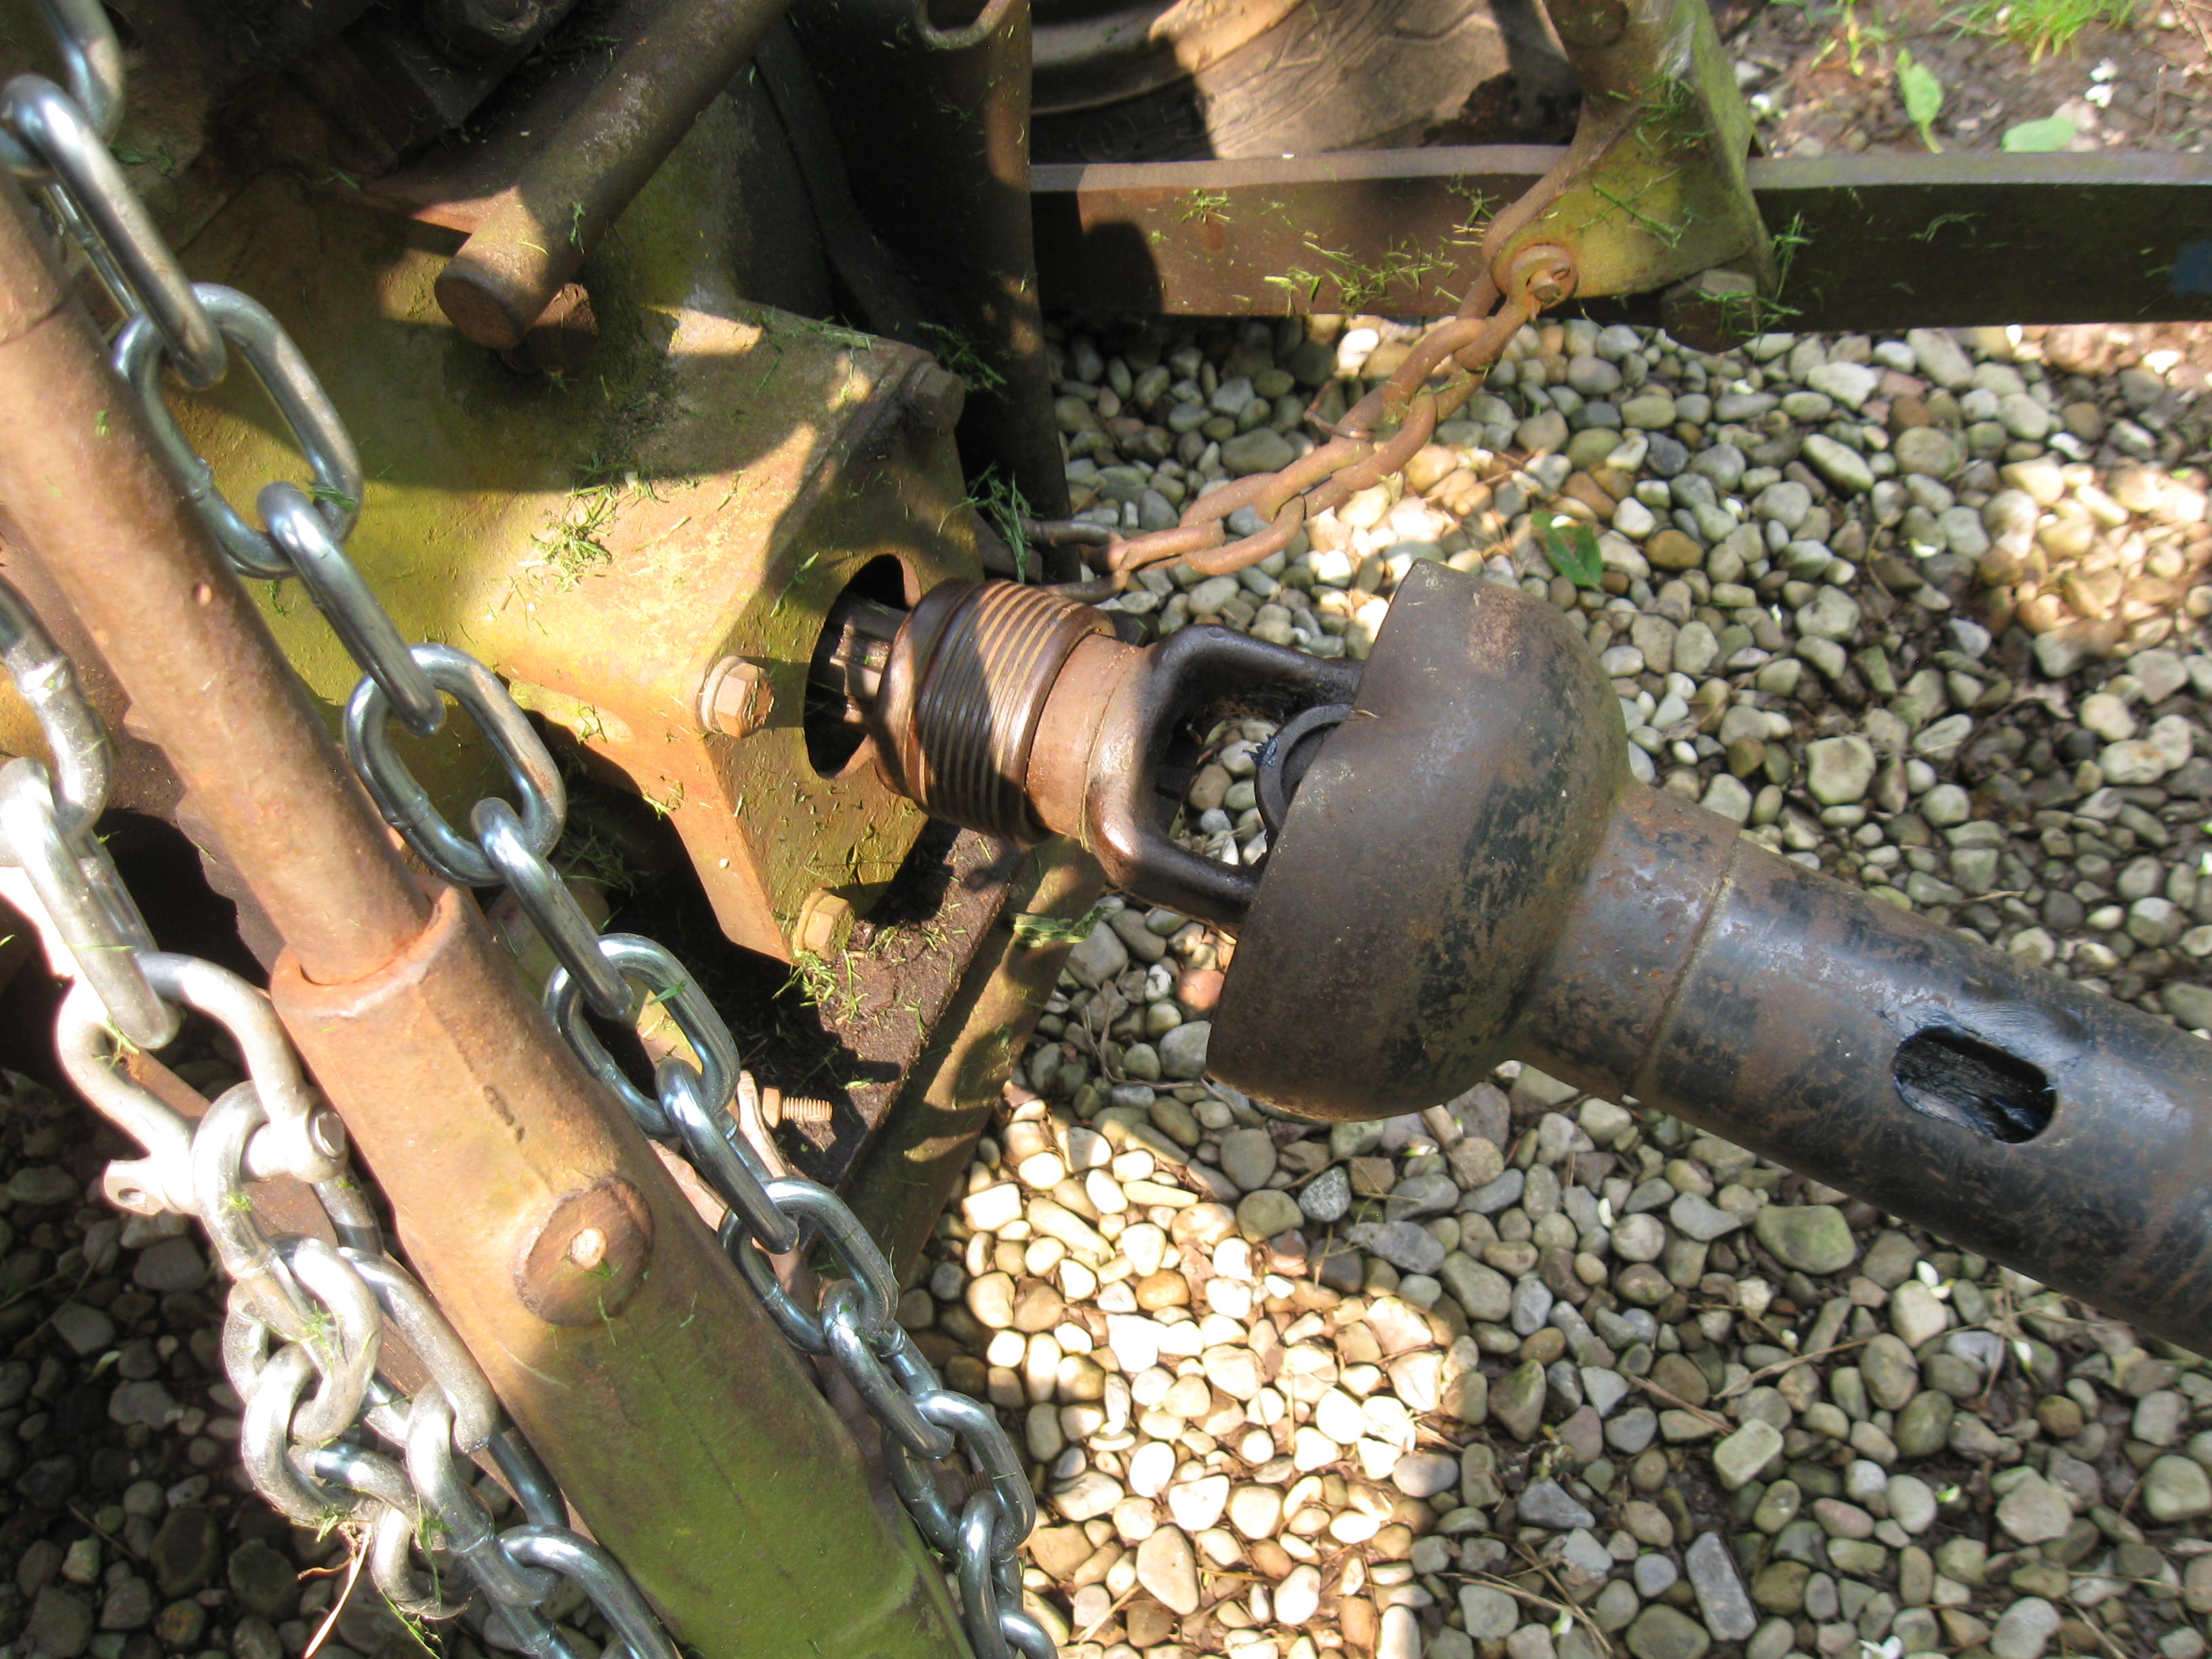
In this case I was putting on a powered implement (my big brush hog) and I had to also hook up the drive shaft from the tractor PTO (power take off). This is located on the back of the tractor between the attachment lift arms. The mower has a separate driveshaft that has a quick-connect splined coupling that easily slips over the PTO shaft (hammer optional). I also had to fuel up the tractor with diesel fuel from my German army surplus “Jerry’ cans and check the fluids. I also broke down and bought that new battery and so now I am in business. I’ve got three whole hours left to mow, before I have to be back this evening, see we’re having a special sale tonight, at The Old Hardware Store…