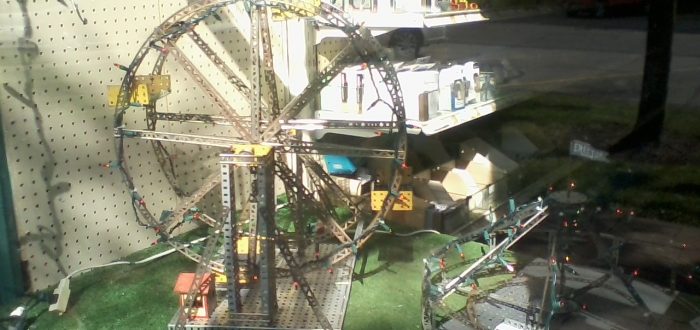
Now that the Labor Day holiday is just around the corner it was time to change out the “Hardware Man” display in the store window. Mary Anne always wants to change out the window often, but it’s been my experience that it takes folks awhile to notice the displays. The window could be months old, and yet one of our regular customers will suddenly come into the store and comment on it. So, as it is pretty difficult to come up with good ideas I like to leave them in a while.
Fair time, however is pretty easy, sort of. I like to set up a display of fair rides that I have constructed from my collection of Erector Set parts. I grew up with Erector Sets and while I only had a couple (hand me downs from my cousin) when I was younger, I have now accumulated several more since then to build with. This is important, as when you are building bigger models, you soon run out of the parts that you need.
I put together a display with a Ferris wheel and an airplane ride last year, but I also included a small sign saying that I was looking for more parts and sets to build with. I scored the jackpot with two different folks donating sets to the store for me to build with.
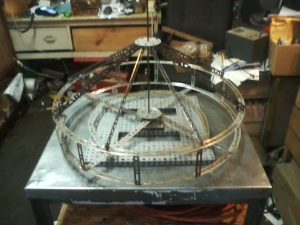
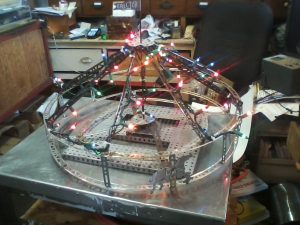
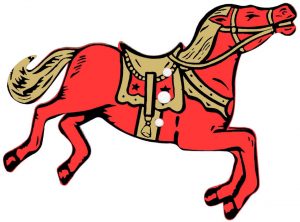
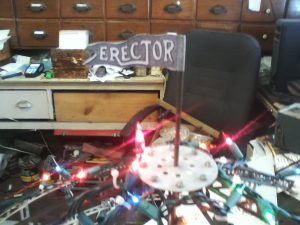
With the new parts, this year I wanted to add a carousel to the setup. I had to design my own, as the ones in the instruction manual required parts that I did not have. I finished it last night about midnight and it came out pretty good. I brought it to the store today and added a set of lights to decorate it but I still needed horses. Some Erector Sets included horses in the parts sets, but they were only paper, and none of my sets had any surviving examples. Luckily the good old A.C. Gilbert Heritage Society (the Erector Set hobby club) has a website with downloadable images of the horses. I printed some up along with an “Erector” pendant flag to adorn the top of the carousel.
I printed them onto some sticker paper that Mary Anne got for me and went to work. The flag was pretty easy, but the horses are a lot of work. I had to print them, stick them onto some tag board, cut them out and then attach them to the model with paper rivets. The first one went pretty well, only eleven more! This could take a while. I suppose I’ll just have to keep working on it when I get a little time, at the Old Hardware Store…

