
The fact that while I am writing this I am wearing a down vest (inside the store) can mean only one thing – Old Man Winter has arrived! It seems that everything has been late since last spring and sure enough, Winter was late getting here, but with the temperatures now hovering in the single digits, I’m sure it’s here. As I said before, I’m now wearing my vest in the store to keep warm. It’s one of the things that you have to put up with when you run a business in a 140+ year old building. Not everyone has that kind of problem to live with, but I thought now would be a good time to cover a few of the weatherproofing basics that will help prevent you from having to wear your outerwear inside too.

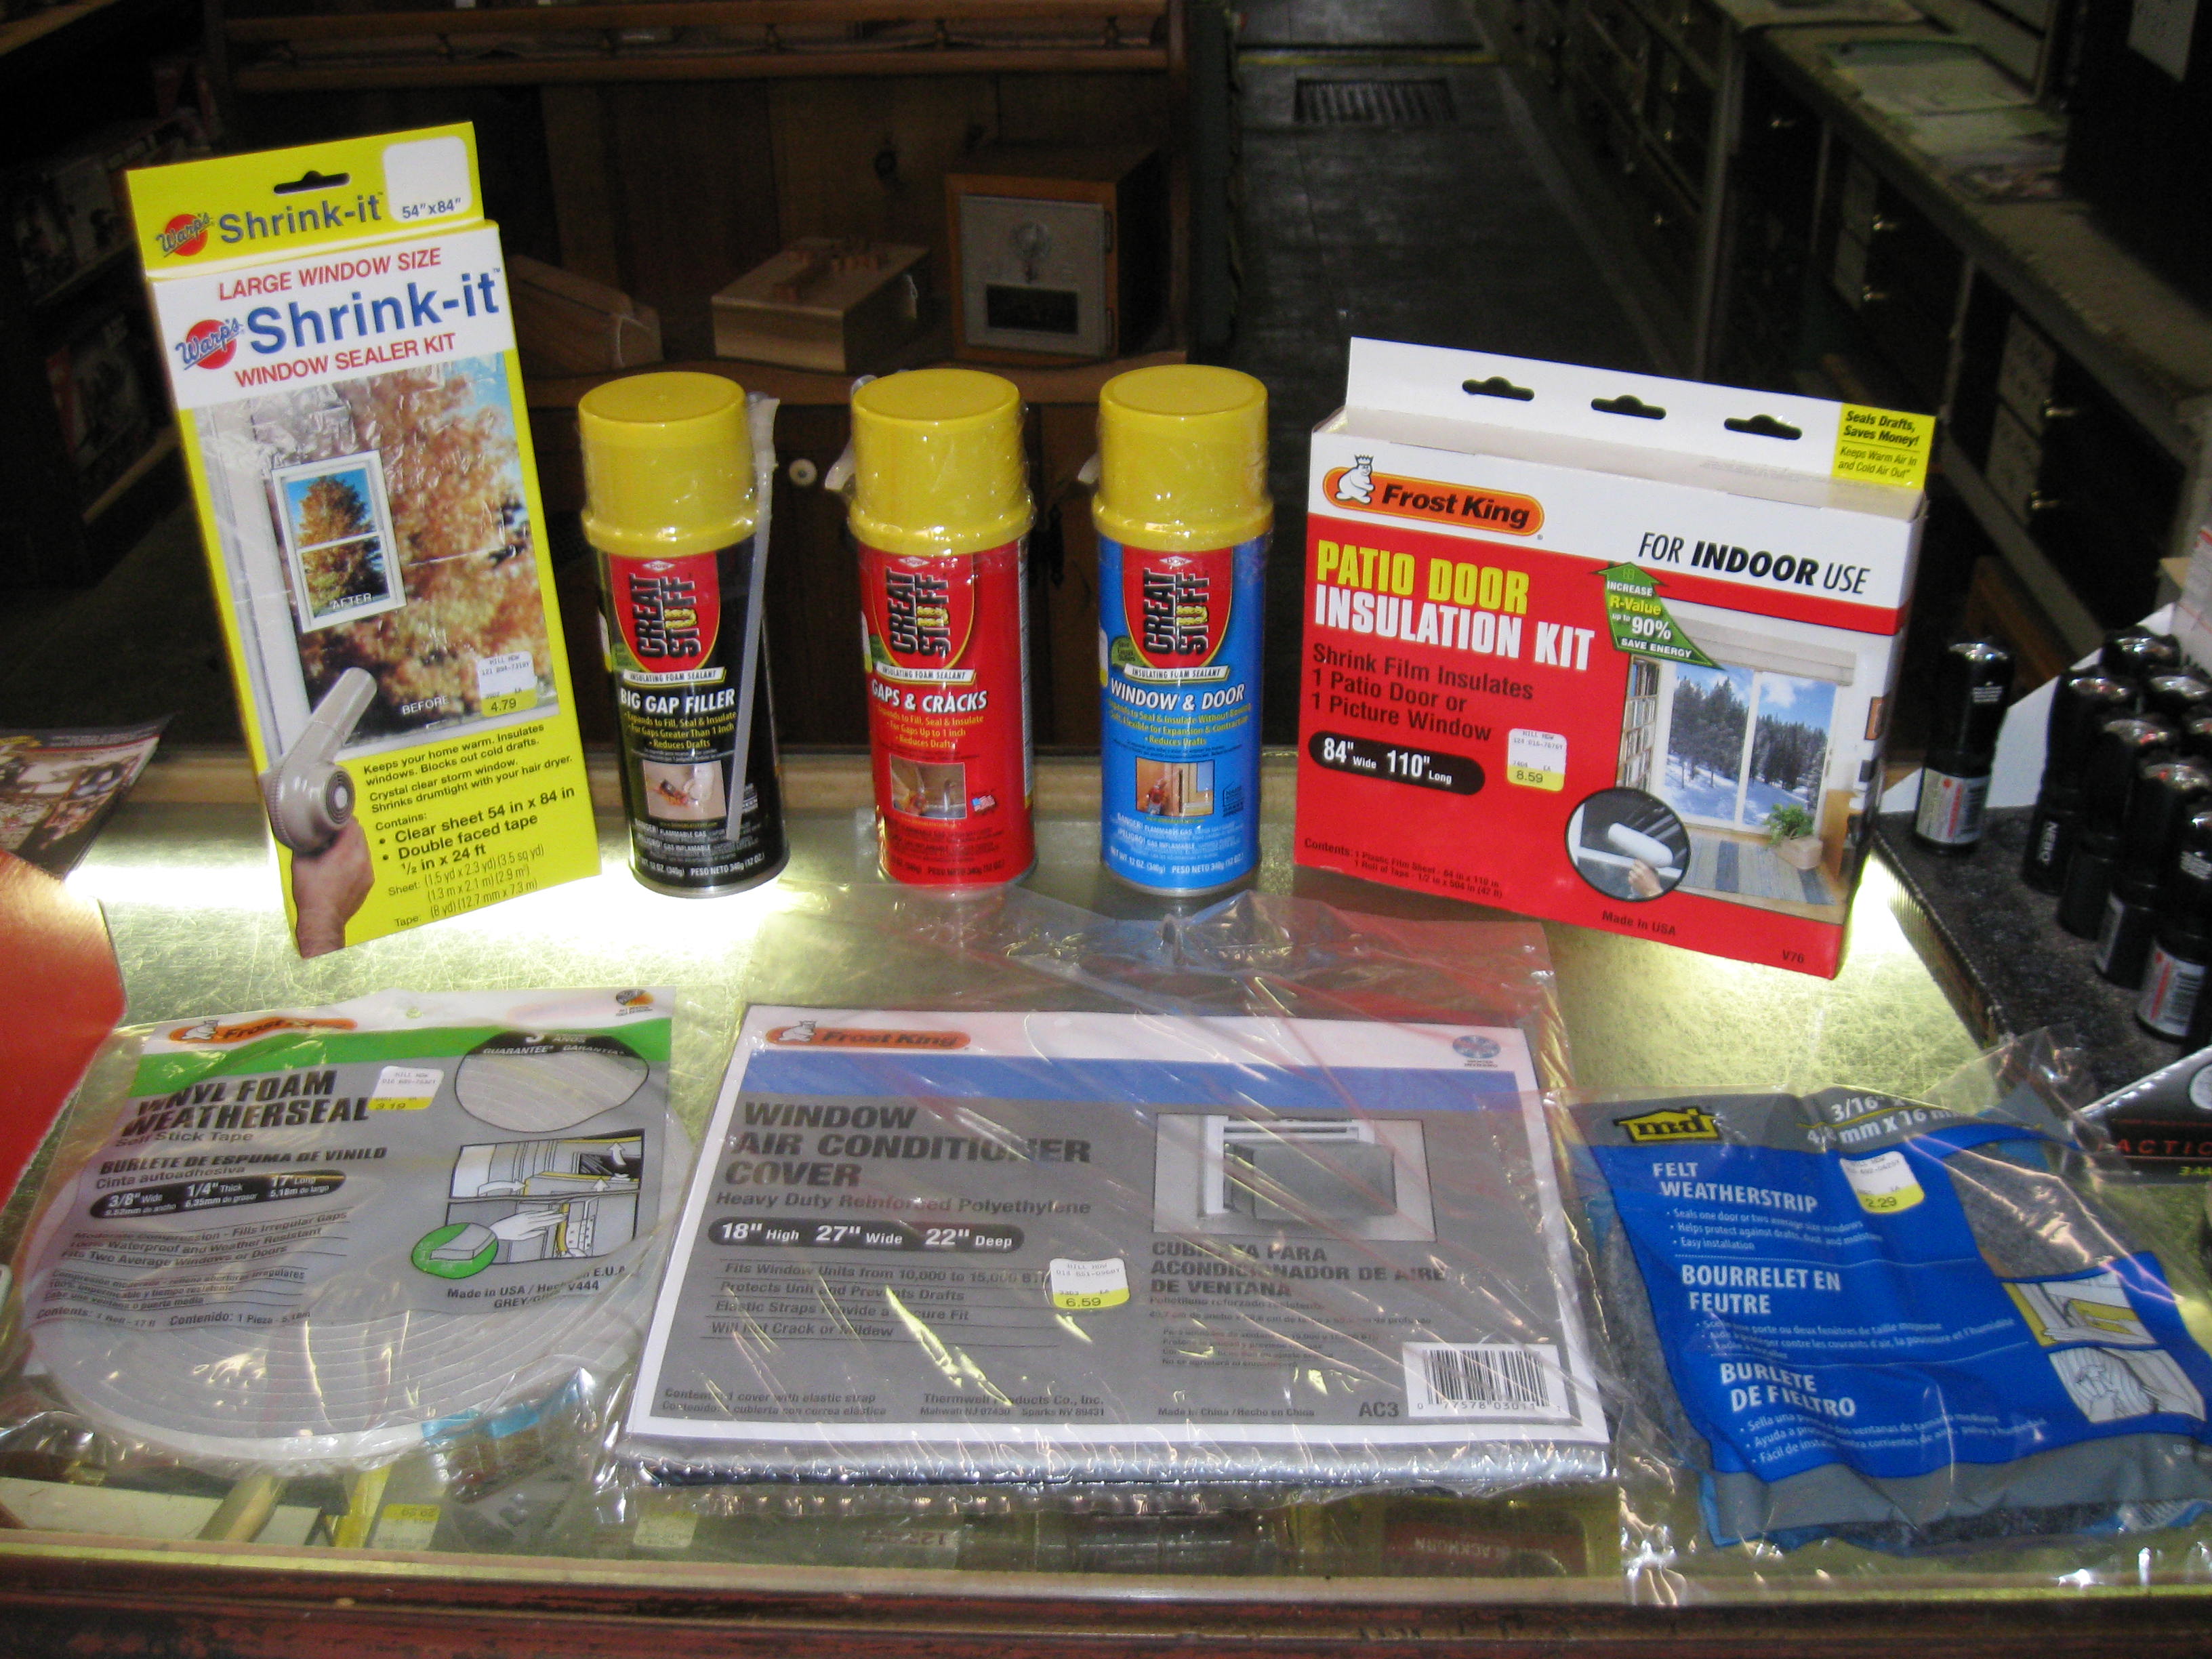
The main thing to help with keeping warm in the Winter is to keep the cold air from coming inside (also known as infiltration). Extra insulation in the walls and ceiling can be great, but they are a lot harder to do and don’t do much good if the wind is just blowing through the walls. Actually most walls are pretty solid against the wind, it’s the joints and openings in them that do the leaking. That’s where your sealing efforts will do the most good. Windows and doors are a good place to start. Any window that is more than a few years old is probably pretty drafty. The best way to seal them up is to use one of the shrink window seal kits on the market. These go up pretty easy, first you place double sided tape (included in the kit) around the window. Then you stick the plastic sheet to the tape and trim it to fit. Then you use a regular hair dryer to heat the plastic, which causes it to shrink just a little and draw tight. There, you have an almost invisible weather seal across the entire window, all for a few bucks. In the Spring you just pull it down to be able to open your windows again.
Doors are a little tougher as they need to be sealed, but still be openable. The best way to do this is to seal any cracks between the door and the frame with insulation strips. The common kind are foam rubber and have a pre-applied glue on one side. Just stick them along the gap with the door open, and when you close it, they seal the gap. The only real trick to this is measuring the width and thickness of the gap to match the size to the correct strip. That fixes the sides and the top of the door, but what about the bottom? This is a little tougher as the gap tends to be bigger, and there are things like uneven floors and carpet to deal with. One way of sealing this gap is to use a rubber weatherstrip that screws to the back of the door and hangs down to brush slightly on the floor, this seals out the cold, but still allows the door to move. The other kind is a draft strip that slides under the door and has a little cushion on both sides. This kind slides along the floor and and the cushion strips do the sealing.

Now that the doors and windows are sealed, the last thing is cracks in the walls themselves. Usually these are between different parts of the house, such as the foundation and the walls, or the walls and the door frames, etc. These cracks can be sealed with a product called expanding foam. This comes in a can and sprays out of a straw like whipped cream. The magic happens after it comes out as it then swells up to several times its original size, and hardens into a Styrofoam-like material. It comes in several types, differing mainly in how much it expands, from just a little for small cracks to a lot for bigger holes. It is great for sealing cracks and holes in the outer walls and foundations of a house. It is easy to use, but there are a few things to watch out for. First, once a can is opened, you have to use it all. Well you don’t really have to, but any remainder will harden in the can and can’t be used, so I usually scout ahead and find several places to use it all up at once. Also, it can be very messy, don’t overfill the cracks, or spray it in places that you don’t want it as it is very difficult to remove. And speaking of difficult to remove, cured foam must be removed mechanically, that means cut or sanded off, so for heaven’s sake don’t get it on your skin! Disposable gloves and safety glasses are the ticket here. Once it has cured excess foam can be trimmed with a utility knife and even painted to match.
There, now that you’ve sealed Old Man Winter out of your house, You’ll save on your heating bills, and I won’t need to wear this vest anymore…