
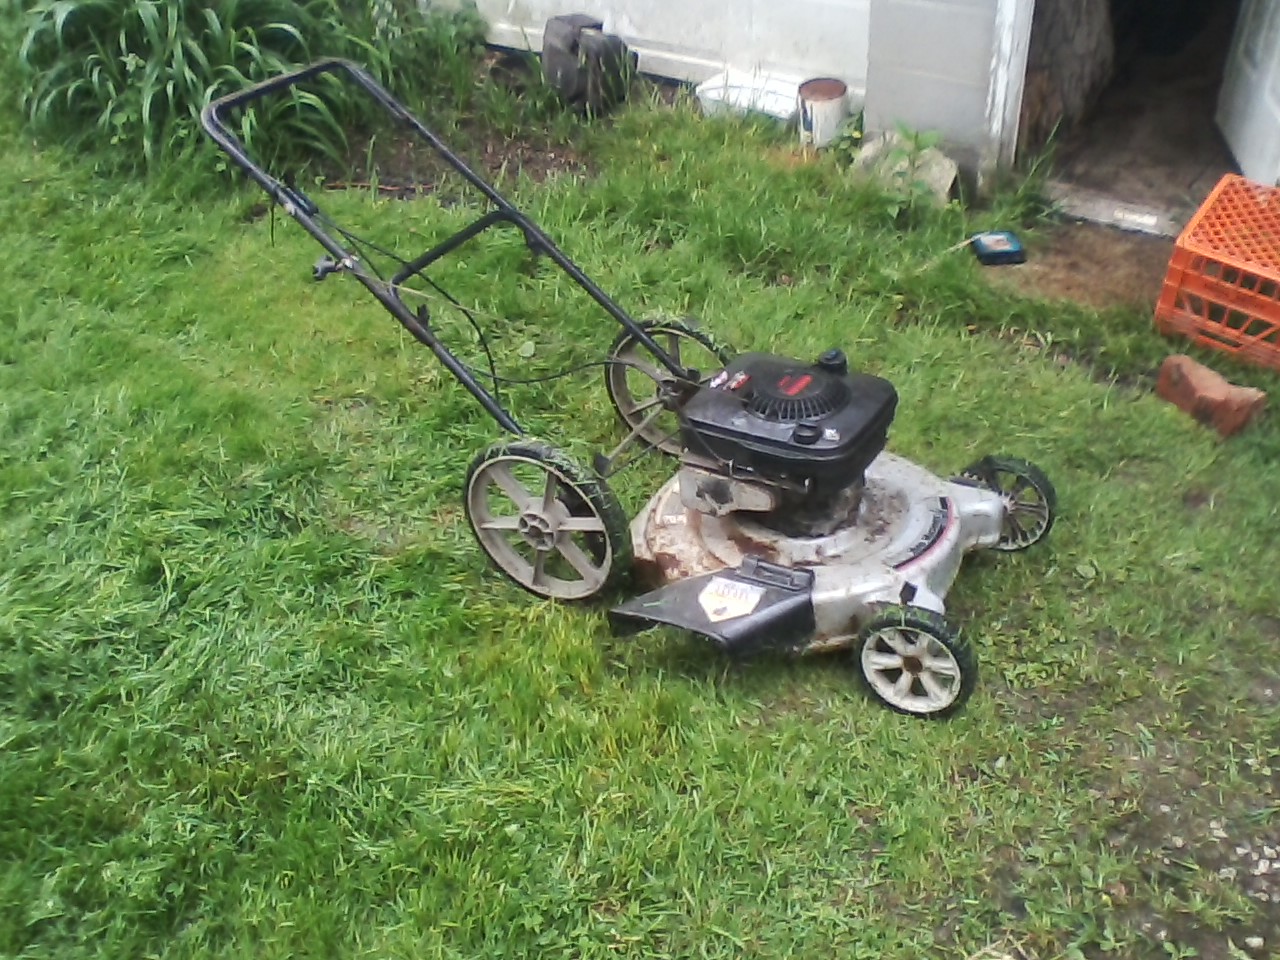
I promised last time that I would wrap up the fascinating mower story last week. Those of you scoring at home may have noticed that I didn’t. It’s not that I was lazy writing the blog, it’s that I didn’t get the mower finished ’till yesterday (boy, is that grass long!). As I was saying last time, I got the mower engine mounted on the donor deck and it ran OK. However, I noticed that I had mounted it backwards and the control cables were all pointing the wrong way. Yesterday’s project was to straighten that all out (literally).
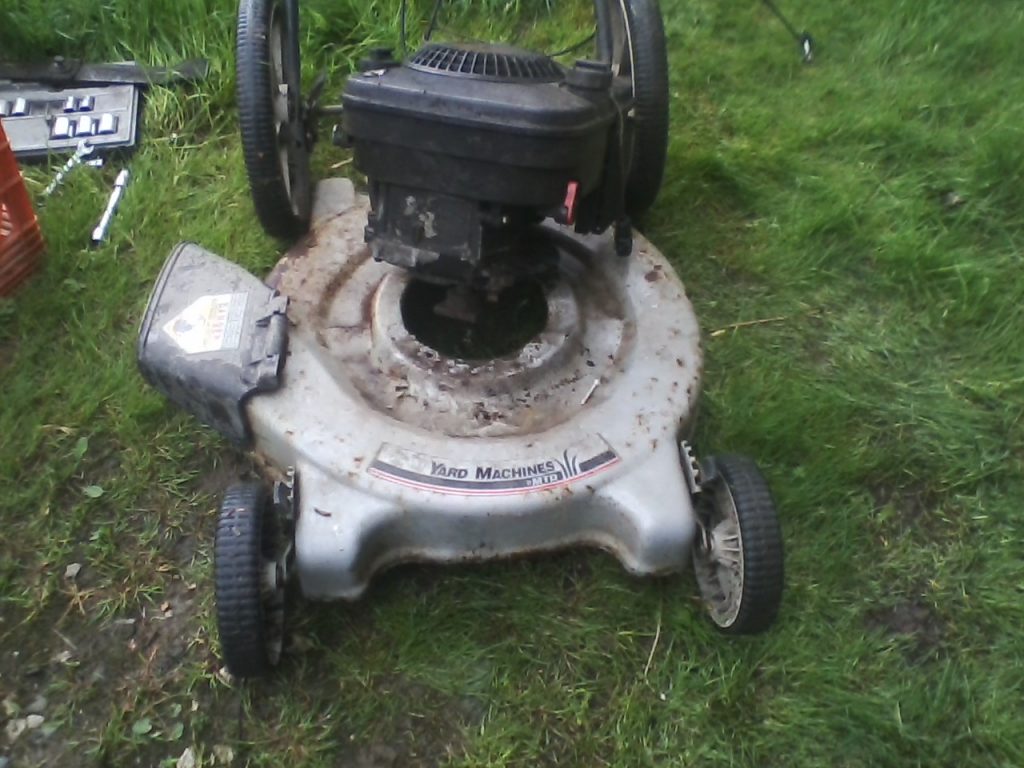
The first thing I had to do was remove the blade and three engine mounting bolts so I could take off the motor again. Then I turned the motor around and lined it up the right way. I needed to drill new mounting bolt holes in the deck, and instead of trying to carefully measure the deck and lay them out for drilling, I decided to “match drill” it. This entails simply marking the holes out on the deck from the motor and drilling them.
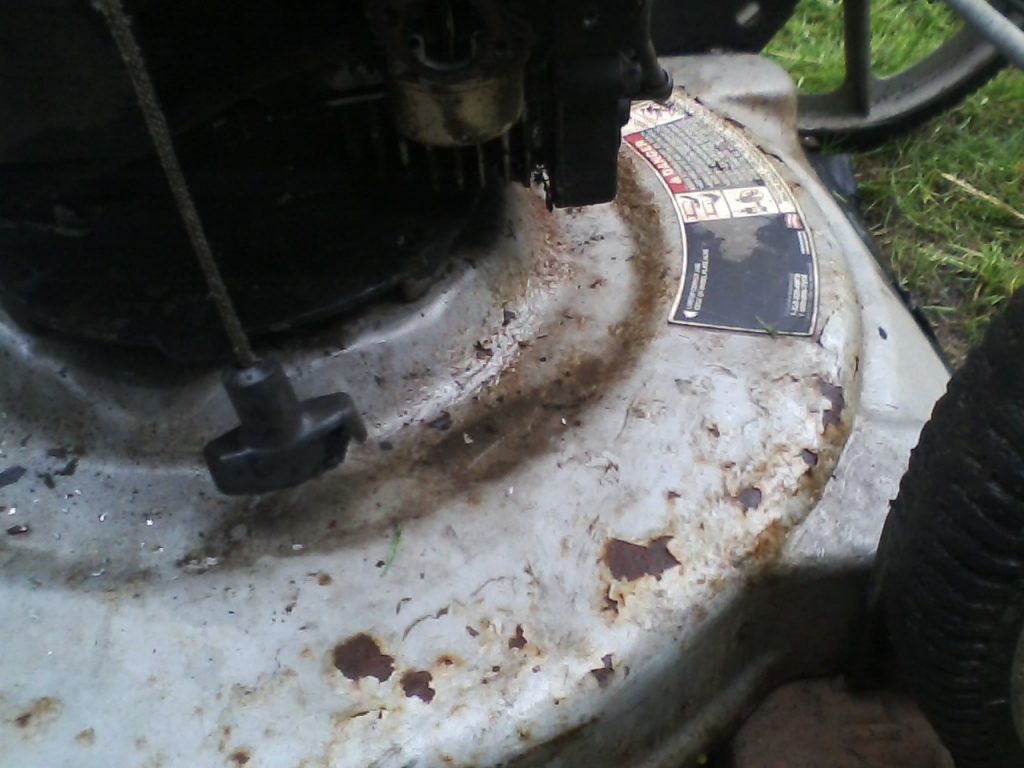
I have a set of precision transfer punches, which are pointed rods made to fit in the holes and can be used to punch a mark in the center. Because of the way the motor overhung the holes, however, they were too long to work. I looked around for something shorter and settled on a handy roofing nail. I carefully positioned the motor and marked through the hole with the nail. Then I removed the motor again and drilled the hole. It was to be a 3/8” hole, so first I drilled a 1/8” pilot hole, then stepped up to a 1/4” and finally a 3/8”. I then mounted the motor with the first bolt, and lined it up to mark the second.
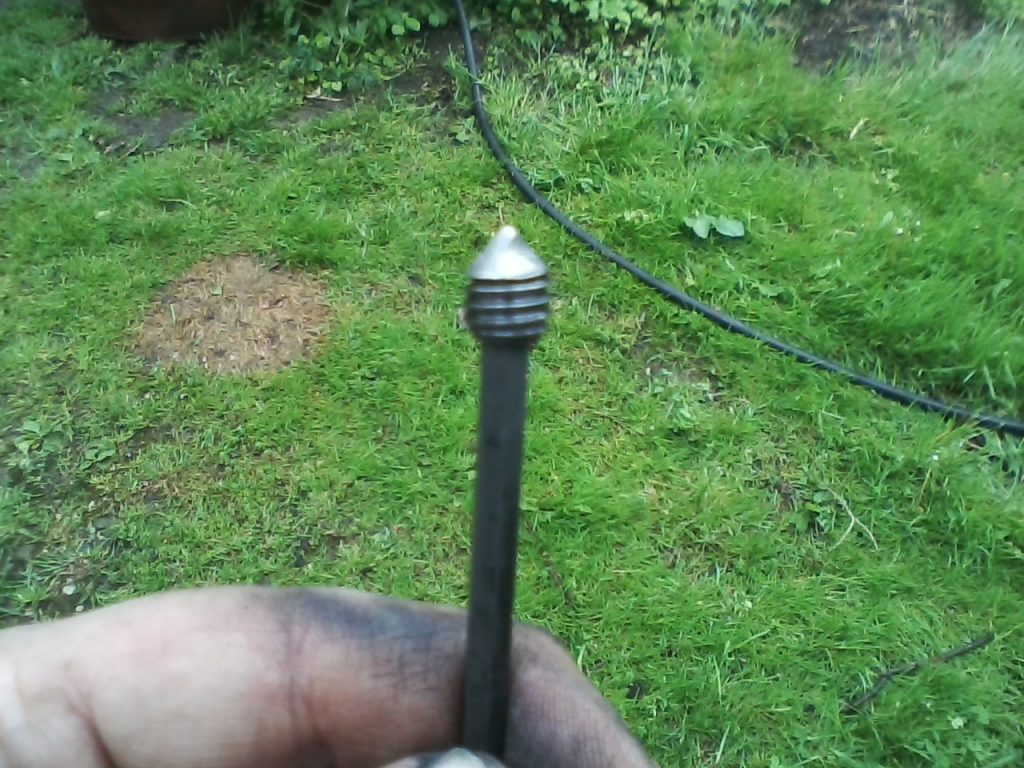
Now that it was mounted at 2 points, the third was the tough one (there’s always one!). You see it was a blind hole, which means that it does not go all the way through to the other side. To mark this one I used an old millwright trick that I learned on my first job at the barrel factory. You can mark a blind hole by screwing a headless screw with a point on it into the hole and then pushing down on the item to leave a mark. They make sets of these “transfer points”, but of course I didn’t have any so I made one up out of a headless setscrew. It worked fine, and I drilled the last hole.
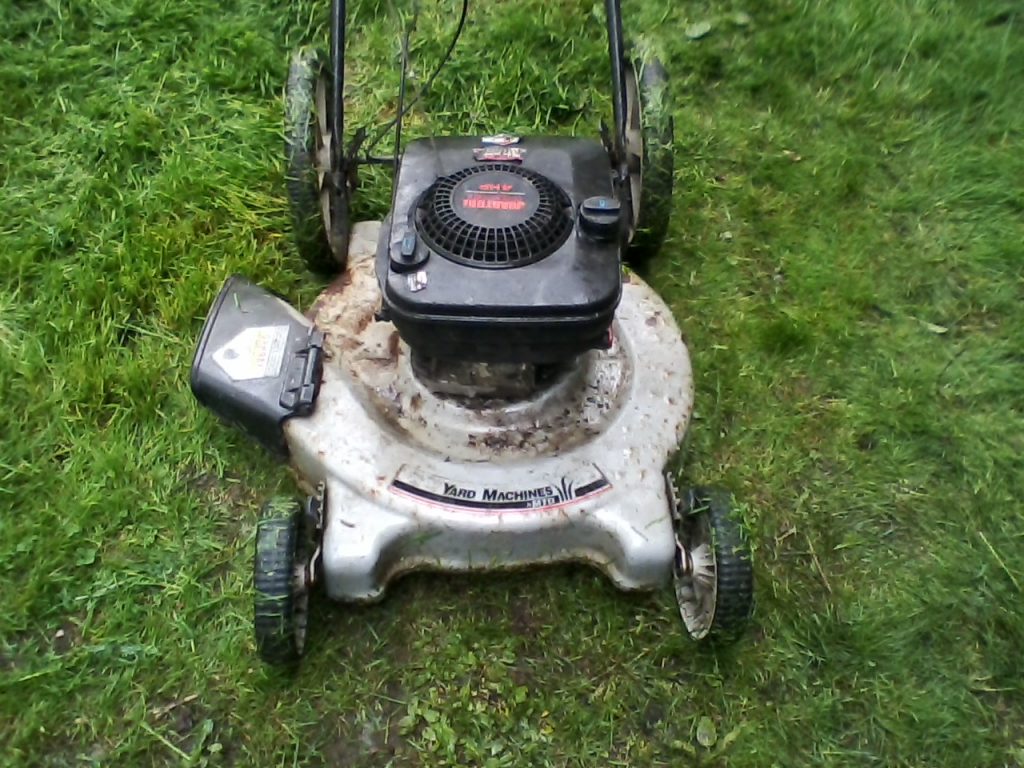
The holes were very close, but I had to enlarge them all by 1/64” to get the bolts to all go in at the same time. Then I replaced the blade and mounted the throttle, pull start and the motor safety shut-off on the handle (they reached a lot better now). Now that it was all done, I stepped back and admired my handywork. Wouldn’t you know it, even thought he motor is now facing the right way forward, I’ve got it just a little off center, just enough to tell that it isn’t right. Well, I suppose that the grass will never notice, that’s just the way it goes, at the Old Hardware Store…