

Yesterday, I had the day off, so of course I was at home working like a fiend. My project for the day was to rework the set of cultivating discs that I bought at the farm auction a few weeks ago. It was complete, but it had been sitting, so the axles were stuck and the discs were loose. It just needed to be taken apart, adjusted and put back together. It ended up taking me all day, and I ran into just about every problem that is out there, so I figured that it would make a good story for the hardware store blog.
As repair mechanics will tell you, any repair job would be easy if you could just get everything apart. In theory that’s easy, but in the real world it’s all usually stuck fast. That was the case with my farm discs. They had been sitting outside for a long time and every nut and bolt was rusted tight. The first thing I did was to hose down every nut on the discs with penetrating oil, I used WD40, but any good product will do. The important thing though is to give it time to work. I oiled everything, let it sit for two weeks, oiled it again, and then once more when I started work. I got every bolt loose on the axle boxes without breaking them.
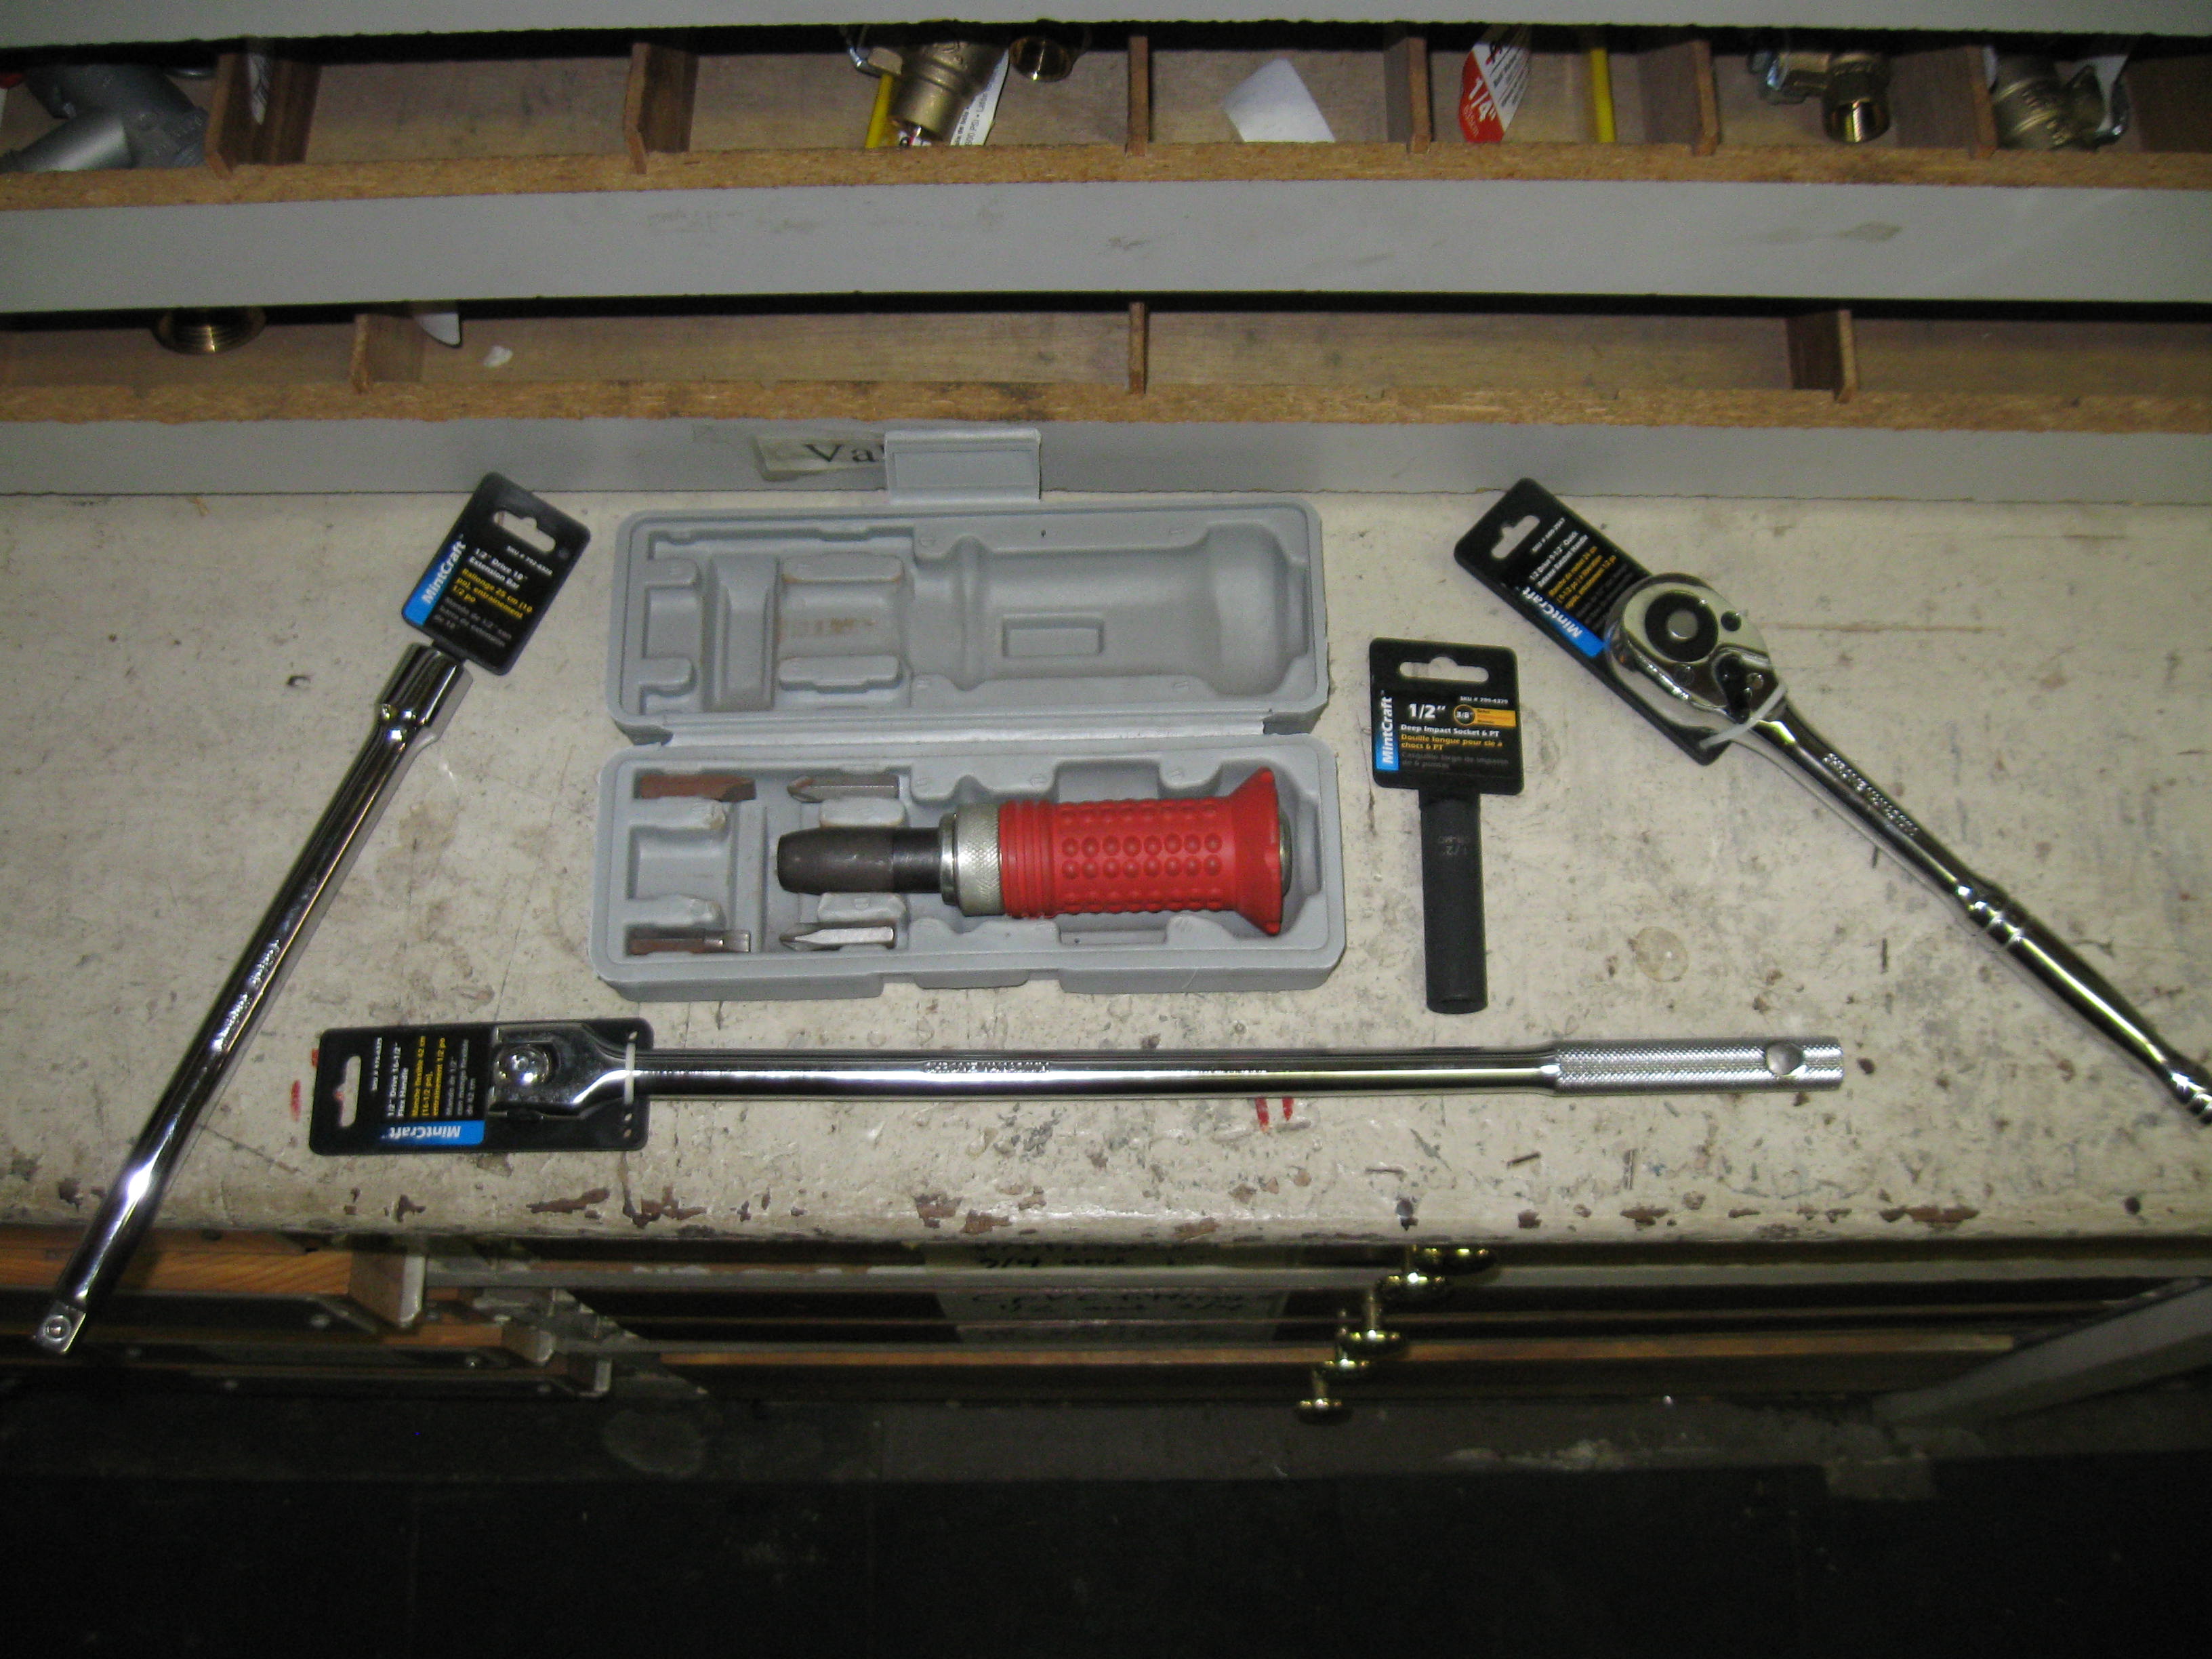
By the way, this is where you should use a breaker bar, also known as a flex handle with your sockets in place a ratchet handle. A breaker bar is usually longer than a ratchet, giving you better leverage, and more importantly, it does not have a fragile ratchet mechanism in the head. The sturdy drive mechanism on the breaker bar can take much more force than a ratchet, so use the breaker to get the fastener loose, and then switch the socket to your ratchet handle to finish the job.
This was where I started to run into strange things. All the bolts seemed to be the same size, but the nuts were so rusted that the regular 11/16 inch 12 point socket that I was using kept slipping, so I had to get a 6 point socket to grab the rusted nuts. Some of them actually took a smaller 5/8 socket to grip, so I figured that someone had changed them to a smaller bolt size in the distant past during a previous repair. Once I got them loose, it turned out that I was wrong. It was just that the nuts were so rusted that they were one size smaller than they were when they were new!
I only took one axle apart at a time (there are four of them) so I didn’t get any of their parts mixed up as I wasn’t sure if they were all interchangeable. The next thing that I noticed was that the carriage bolts holding the boxes on were fine threaded. Carriage bolts are always coarse threaded, I’ve never seen fine thread ones in my life, but here they were, so I made sure that I picked up enough fine thread nuts at the store so I could put new ones on all the bolts.
I then got started on disassembling the first axle. The discs and spacers are held on the axle with a big 1-7/16” nut on one end. The first one was half-off, apparently this was as far as someone got during the last repair. I figured it would be easy to finish removing, no such luck! It was rusted solid. One of the problems was that when you tried to turn the nut, the axle just turned too. The solution is to use an impact wrench, which is an compressed air powered tool (electric and manual ones are available also) which delivers a sharp blow, or impact, to the fastener to “shock” it loose. The impact still didn’t get the nut loose, so it was time for heat. I got out my propane torch and heated the nut and tried again, still no luck, more penetrating oil (PB Blaster this time) and and then more heat. It took about three cycles of this before the nut came loose, boy this was going to be a job! I cleaned the rust out of the threads with a wire wheel and when I put it back together I used lots of anti-seize on the threads. Now we were in business.
Little did I know that the discs had more surprises in store for me, and that my mechanical skills were to be put to the test, stay tuned for next week’s installment in this gripping story, from The Old Hardware Store…